Altec MLTL with Model 19 drivers

You are too kind sir. I just make things look artsy cause I can't make a straight line to save my life.

Well, I've seen a few of the things you've done and I think it is a little more than that, you have a very creative style. :yes:
 
Why havent I bookmarked this yet? Looks like a very interesting project Lance; can't wait to see the end product. :thmbsp:
 
Why havent I bookmarked this yet? Looks like a very interesting project Lance; can't wait to see the end product. :thmbsp:

Me too, Tony!:yes:

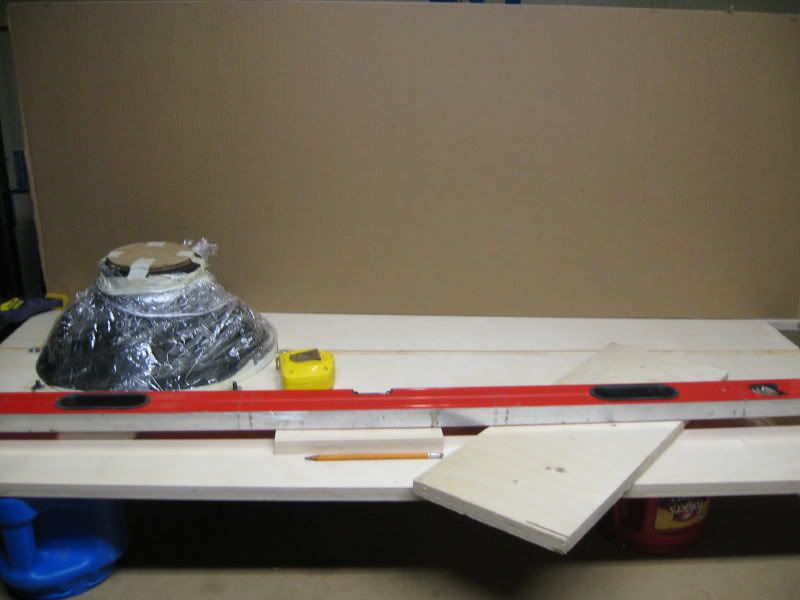
I am templating the center brace...

IMG_0002-5.jpg


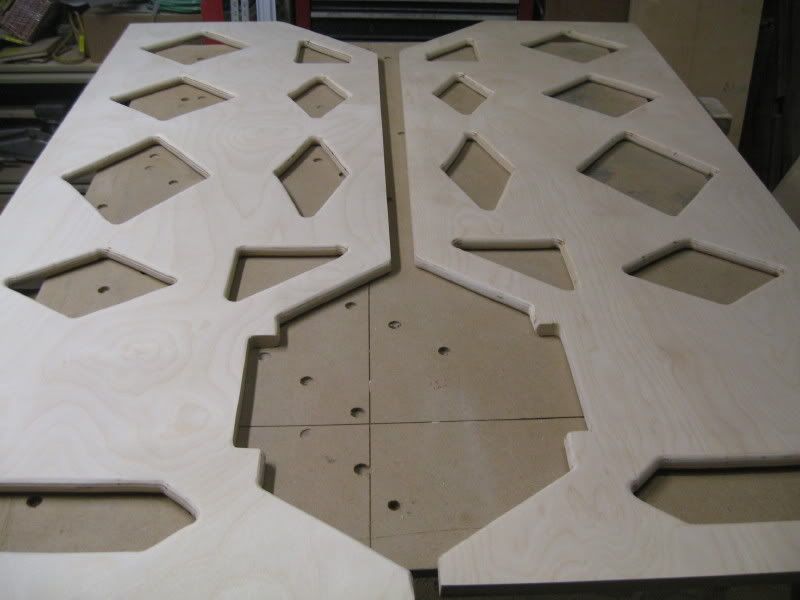
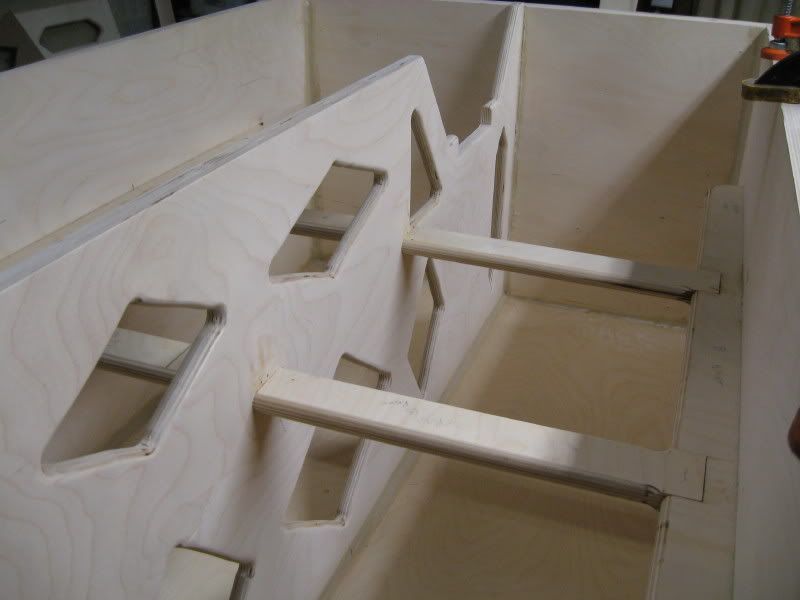
Edit: I think I have a workable template for the center brace. I marked out the areas where structural integrity needs to be and then divided those areas off. Then, a decision had to be made as to the type of cutout and how much of the brace should be cutout. It was mentioned in some product literature that GM sent to me about bracing that "30 to 50%" was the amount of panel to be removed. This allows for enough openings to maintain the pipe action and to break up any standing waves. I went with a diamond design since it is easier to cut and I would wear myself (and a few router bits) out, trying to get circles cut in the brace. Hope the pictures are good enough to show the cut outs. After all the cut outs are made, I'll ease the edges with a round over bit.
 

Attachments

  • IMG_0001_1.JPG
    IMG_0001_1.JPG
    84.1 KB · Views: 41
  • IMG_0002_1.JPG
    IMG_0002_1.JPG
    104.7 KB · Views: 50
  • IMG_0003.JPG
    IMG_0003.JPG
    87.5 KB · Views: 38
  • IMG_0004.JPG
    IMG_0004.JPG
    79.8 KB · Views: 42
Last edited:
Today, I bought another sheet of BB plywood for the second center brace. Final total will be 5 1/3 sheets for those that are counting. If a builder used two side window pane braces, the total would be six sheets. I am about to start the Drill-a-thon on the braces in order to do the cutouts.
 

Attachments

  • IMG_0001_1.JPG
    IMG_0001_1.JPG
    67.4 KB · Views: 25
  • IMG_0002_1.JPG
    IMG_0002_1.JPG
    74.7 KB · Views: 24
As the Master speaks, the student listens.....
I perhaps came across as a bit impetuous with "calamity" and such, forgive the phrasing, please.

Hey Lance, I didn't realize you had this thread going here too.Looks like you are in good hands !

Greg is "The Man" ! :yes: :banana: :smoke:
 
Hey Lance, I didn't realize you had this thread going here too.Looks like you are in good hands !

Greg is "The Man" ! :yes: :banana: :smoke:
Yes, GM is a heck of a guide! How are you doing on your build? I've been trying to keep abreast on the Altec Users Board of your results.
 
Well, the center braces took about 1/2 the time to cut, route, and sand than it took to layout and cut the template, lol.

I cut the openings with a Bosch jig saw, used a 3/8" roundover bit in the router to ease the edges except the driver cradle. A quick sand and all seems good.

IMG_0001-4.jpg


Next, I will be fashioning an assembly jig to start gluing up all the panels. I think the whole operation would be easier with something square to orient these big panels.:scratch2:

Diamonds are a girls best friend. :banana:
 
Yes, GM is a heck of a guide! How are you doing on your build? I've been trying to keep abreast on the Altec Users Board of your results.


Well my project was on hiatus for 2 months due to the fact That Bill (GPA) had my woofers.He was having trouble re-magging as it turns out the spider was bad on the one so the coil wasn't in the gap and on another the coil was scored from some debris maybe in the gap.So I had to have them re-coned.But I told him not to send back until they all were at factory spec.He did one better and they all are almost identical WRT T/S specs. :banana: :thmbsp: :smoke:
 
Hope you are in a weight training workout program, looks like you'll need it to move those things around.:D

Nice work on the brace, are you keeping the guide template to rent out?
 
Well my project was on hiatus for 2 months due to the fact That Bill (GPA) had my woofers.He was having trouble re-magging as it turns out the spider was bad on the one so the coil wasn't in the gap and on another the coil was scored from some debris maybe in the gap.So I had to have them re-coned.But I told him not to send back until they all were at factory spec.He did one better and they all are almost identical WRT T/S specs. :banana: :thmbsp: :smoke:
Great, sure is cool to have a resource like Bill and GPA. It will be interesting to see what you get out of the dual-woofer design, I bet it will blow your socks off!:thmbsp:

Hope you are in a weight training workout program, looks like you'll need it to move those things around.:D

Nice work on the brace, are you keeping the guide template to rent out?
Doc, current tally is 5.3 x 65 lbs. = 344.50lbs./2 = 172 lbs. per cabinet and that is without driver, finish, stuffing, and the wiring bits. I have an appliance dolly to help out.

I will be selling the brace template to the first $1k bidder :D j/k If someone wants to have it it can be their's.

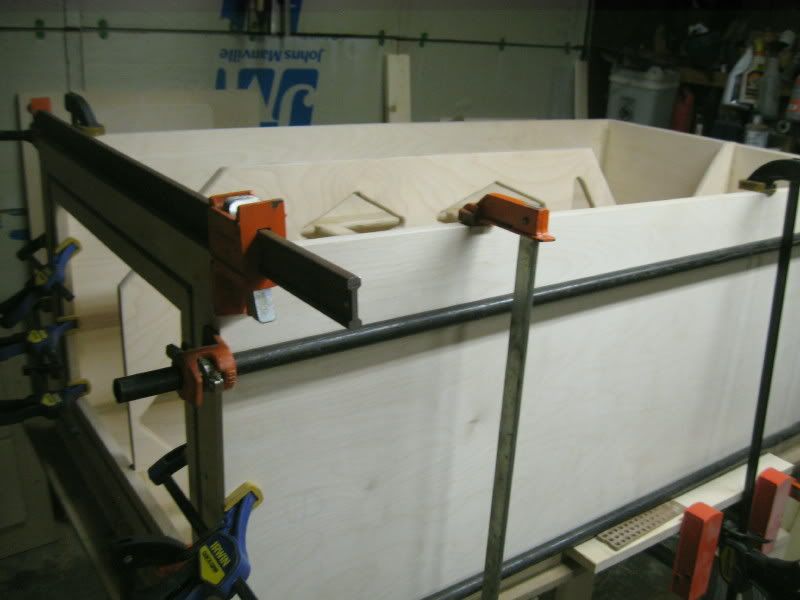
I made a couple of clamping jigs for assembly and have started glue-up. First pieces in are the side panel braces. I am using Garret-Wade's 202-GF upon recommendation from my BIL, the furniture builder.
 

Attachments

  • IMG_0002.JPG
    IMG_0002.JPG
    100.1 KB · Views: 86
Last edited:
right on Lance it looks like your progressing at a good rate. keep up the good work.
Shawn
 
Don't you just love chunks of rail road ties. Looking good west.
Yeah, that is my usual MO, big chunks of square wood to get everything square. Thanks, DJ.

right on Lance it looks like your progressing at a good rate. keep up the good work.
Shawn
Trying to keep going everyday on these, as time allows. Thanks for the attaboy.

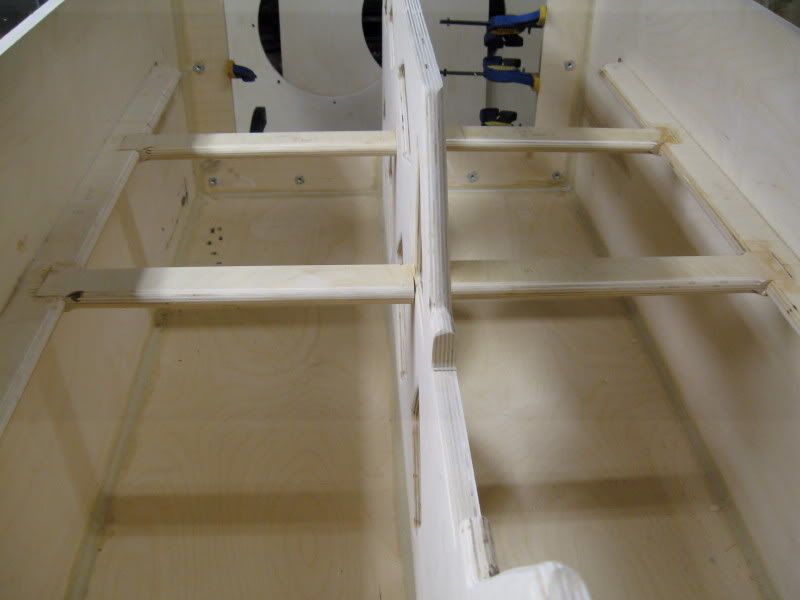
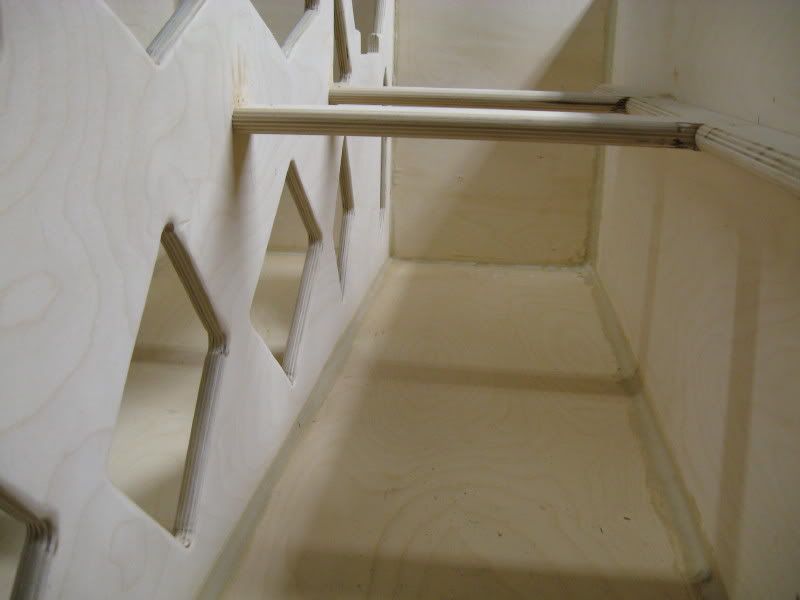
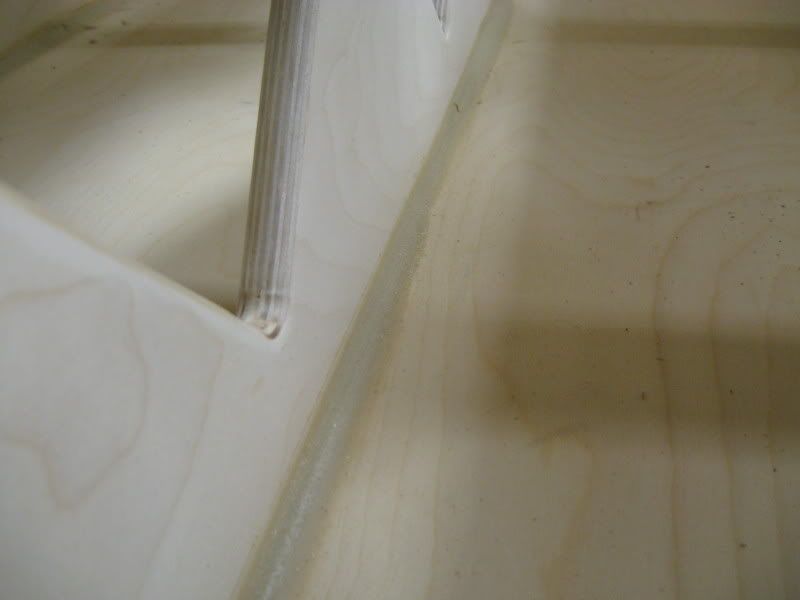
I have five sides of one cabinet glued up and will need to wait to glue on the front until I have some stuffing in hand. I lathered a couple of tubes of PL400 construction adhesive into all the joints. I've found that the PL400 really strengthens whatever I'm making. I had a couple of snafus but fortunately, recoverable. The center brace length was too long and needed to be cut, no big deal and I almost permanently glued the access hatch on the bottom to the center brace, whoops! I remembered after I had glued on the inner bottom panel that I had spread glue across the whole of the center brace so just unscrewed the hatch and set it aside. Whew!

In the belly of the beast....

IMG_0004-3.jpg


IMG_0002-6.jpg


IMG_0003-3.jpg


IMG_0005-1.jpg


IMG_0001-5.jpg


I pulled out my connector box and found that I didn't have any binding posts up to the task. If anyone has a good source for them, give me a shout, please. I'm not a WBT man but don't want bottom of the barrel stuff either. A post at least 20mm in length will be needed.
 
Looking good Lance, now that its taking shape I'm really impressed!

I pulled out my connector box and found that I didn't have any binding posts up to the task. If anyone has a good source for them, give me a shout, please. I'm not a WBT man but don't want bottom of the barrel stuff either. A post at least 20mm in length will be needed.

I just bought a bunch from Apex Jr and have only a couple to spare but a quick check shows that the posts are a bit short. I do recall that they have longer ones on hand.
 
Jeeze those things get bigger every day, impressive indeed. Was there a rehearsal for the glue up sequence.:D Bet the second one goes much easier.:yes:
 
Looking good Lance, now that its taking shape I'm really impressed!


I just bought a bunch from Apex Jr and have only a couple to spare but a quick check shows that the posts are a bit short. I do recall that they have longer ones on hand.
Thanks Jeff, going over to Apex jr and see what he has.:thmbsp:
 
I'll second the Forrest blade mentioned by Lance. Freuds are nice, but Forrests are nicer. Of course, they'll cost you a lot more.

Cool project, Lance.
 
Norm would be proud of your use of jigs Lance.

Awesome work my friend.

Thanks, Gary, they were just an idea to help get the cabinet squared up and hold things together. The bigger panels are all over 20 lbs. and over 4 ft. so a little help was needed.

I'll second the Forrest blade mentioned by Lance. Freuds are nice, but Forrests are nicer. Of course, they'll cost you a lot more.

Cool project, Lance.
Yeah, I have an older Forrest that I inherited with the saw purchase. It sings like no other one I've tried. I want to try a Tenryu, at some point, I hear they are pretty good, too.

Hey, thanks, that is like Thomas Edison saying, "Nice light you have there", lol. I now understand how much work is involved in these bigger boxes like the MDF enclosures you built (Lambda drivers?, I can't find the thread).
 
Back
Top Bottom