You are using an out of date browser. It may not display this or other websites correctly.
You should upgrade or use an alternative browser.
You should upgrade or use an alternative browser.
Make Your Own Acrylic Cover
- Thread starter thebes
- Start date
thebes
Member
Sorry Jim, just caught this. Crazy glue won't work. Silicone and aquarium repair is just caulk at it's not what you want. If there is a plastics shop in your town they will most likely have it. If not, it's readily available online. Just make sure you get syringe to apply it with. Otherwise you'll have a real mess on your hands.

Hi Thebes, I am getting ready to make a new plinth out of stacked 1.25 inch lexan. If I use Weldon 3 over a large matting surface, with it look clean when dried or cloudy? Also I will have butt joints that are 1.25 inch thick....will the weldon glue those together as well? Thanks
thebes
Member
You are on the edge of my skill set with those kind of thicknesses.
The Weldon will dry clear, but I'm not sure what you mean by a large matting surface. If you mean gluing two stacked panels I probably would just tack the corners. I've found it almost impossible to keep some bubbles out of the glue lines and those will show up visually. It should certainly be capable of holding the butted corners.
You should take extra care with how well the corners match and practice on a scrap piece. Too much pressure when you glue and the weldon won't flow into the seams. Too little and it won't fill the spaces and you'll get more bubbles.
These acrylic glues are not like say Elmers glue or construction adhesives where it will fill in the gaps. The looser the tolerances the greater the bubbles. If the edges are too wavy, for lack of a better term, you will end up with gaps the glue won't fill.
thebes
Member
On further consideration, if you are going to have two or three panels stacked to make up the plinth, you may want to just strategically add a few bolts to keep resonances between the plates to a minimum.
Tape the plates together and drill out all the holes at the same time with a scrap piece underneath to prevent cracking on the last panel. The drill holes will be cloudy, but don't try to heat them up to clarify them cause it will melt the area around the holes. No problem though because it actually lends a visual impact. Use stainless steel or chrome nuts and bolts and it will look cool indeed!
It's not ready for prime time yet but I've been working on a clear acrylic amp that embodies this technique. If you PM me I'll send you some photos to better illustrate the drilling thing.
I will cut 4 pieces that are 2" wider on each side and 2" out in front. That will make a 5" high plinth. the first three pieces I will cut out the shape from the factory plinth and the 4th peice will have a square inset hole cut out of it. Then I will stack them. After reading your posts, I think the factory surfaces on all four pieces should squish out the glue so there should be no bubbles......unles the Weldon dries so fast it gums up before I can apply pressure to the whole thing.
thebes
Member
Weldon3 is very fast setting and I doubt if it would work the way you want it to. You may want to contact the company with specific questions. Here's the link showing the various kinds of cement acrylic cement they make:
http://www.ipscorp.com/assembly/acrylic
Number 3 is applied with a syringe and uses capillary action to enter the seam.
Sounds like a very cool project and I will send you some pics of the amp I'm working on.
http://www.ipscorp.com/assembly/acrylic
Number 3 is applied with a syringe and uses capillary action to enter the seam.
Sounds like a very cool project and I will send you some pics of the amp I'm working on.
thebes
Member
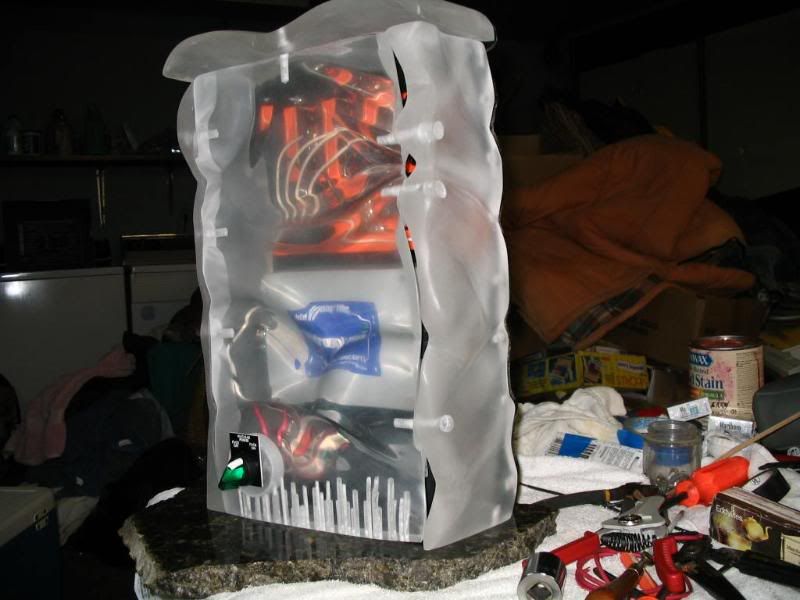
But wait. There's more fun you can have with plastic. Why not an amp made out of acrylic. Why you could even do this 6L6 SET amp I built. Amaze your friends and attract the girls!
Here's a link to Costas Sarris site which has the schematic and description of the amp.
http://sarris.info/main/6l6-single-ended-tube-amp
Here's a link to Costas Sarris site which has the schematic and description of the amp.
http://sarris.info/main/6l6-single-ended-tube-amp
Attachments


Last edited:
merrylander
AK Member
I had to replace the rear panel of the dustcover on a Yamaha PX-3 and I found that acetone glues it up really solid.
1st, fantastic post.My mind tends to wander as I have gotten older, so I especially love the step by step instructions with pics - will be a project I give a try.
Was curious though, you mentioned that if making a dust cover, it may not sit perfectly flat on the plinth or could even scratch the plinth if care is not taken - couldn't you just adhere either some felt or something similar to the bottom edge.
Just some ideas - felt along the entire edges
those felt door pads used on cabinet doors - just one of them into 4 slivers and put one on each corner
They also have some teflon pads which are similar, used on things like the bottom of chairs for hardwood floors. Again, just slice it the width of the cover and adhere to the corners ?
Down side - felt would be tedious in order to get it looking perfect, plus the color of the felt is going to be very obvious.
The teflon and felt pads - would allow a gap on the bottom, allowing dust in....teflon pads would probably look the best with the white ones blending in and not being noticeable
Just a thought that ran thru my head when I read that.
You could start making these and sell them.. seriously - your work is good enough and people are always looking for dust covers.......
great job
thebes
Member
Was curious though, you mentioned that if making a dust cover, it may not sit perfectly flat on the plinth or could even scratch the plinth if care is not taken - couldn't you just adhere either some felt or something similar to the bottom edge.
Thanks once again for all the nice folks with all the nice things to say.
Your point is well taken about using something like pads or felt, and I would encourage one to do so. Again, this is a DIY project so we can expect less than perfect and that's the reason for the cautionary statement.
I've made a couple of these for fancy Italian TT's and high end VPI's etc. Don't know why they didn't come with dust covers. I presume the dealers wanted too much from people who had already stretched their audio dollars to the max to afford the table, arm and cart and were strapped when it came time to buy the cover.
I've added this caveat simply to forewarn people not to wreck the resale value, and more importantly the aesthetics, of some high priced TT with their own home brew dustcover.
Also, to me, where the cover ultimately sits, on the plinth or over the entire table is an important planning element which must be considered before finalizing your design.
Finally, a small cap caused by pads will not really increase the amount of dust, and many of these covers will need to be open somewhat in the back to accommodate wires, off-board motors etc.