

You are using an out of date browser. It may not display this or other websites correctly.
You should upgrade or use an alternative browser.
You should upgrade or use an alternative browser.
Scott LK-72 rebuild
- Thread starter juddboz80
- Start date

juddboz80
Active Member
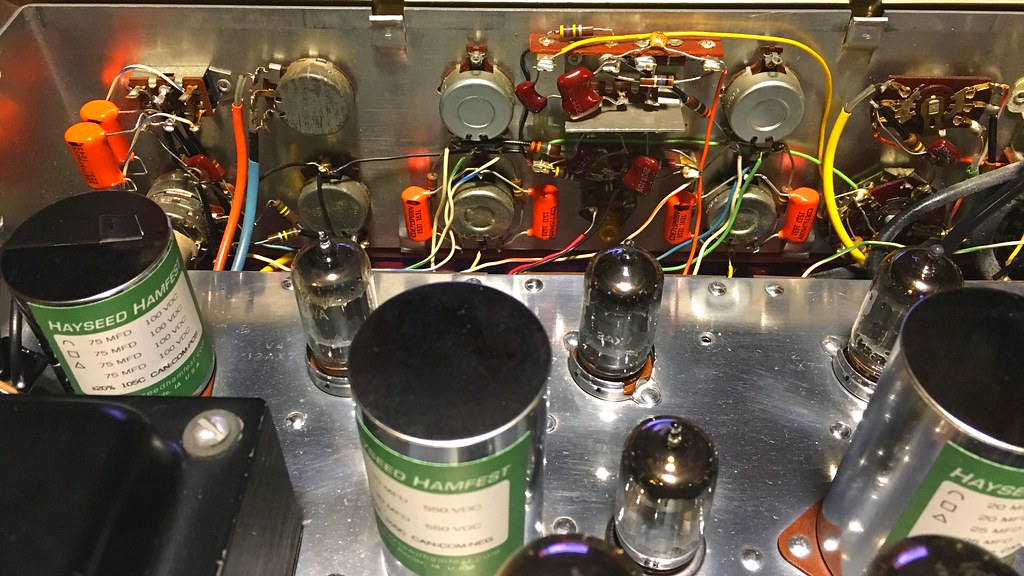
Tomorrow night I'm gonna check all voltages and go thru everything to set the bias on the output tubes....I believe I'm fairly close now but I found some dummy loads to borrow so I want to make sure it's dead on.
For the preamp heater How close should I be on my voltage after the bridge rectifier? I installed a 30 ohm resistor after the rectifier going to the first section of the can cap, I've seen online it should be around 51.6 volts, mine is running 47.8 volts, seems to be just fine and will prob make the tubes last longer but will it help to up the voltage a lil bit??
For the preamp heater How close should I be on my voltage after the bridge rectifier? I installed a 30 ohm resistor after the rectifier going to the first section of the can cap, I've seen online it should be around 51.6 volts, mine is running 47.8 volts, seems to be just fine and will prob make the tubes last longer but will it help to up the voltage a lil bit??
Scott typically specified -45 vdc as supplied to the preamp tube heaters. If it runs lower, the warm up time will be longer. Higher, and some tubes could be over current if they are a current hog. The specified voltage is a good compromise for tube life, warm up time, and low noise operation as well. This typically puts the voltage at the first filter cap at about -52 to -53 vdc. But be careful in adjusting the resistor off of the rectifier, as depending on which version you have, adjusting it can also change your output tube bias settings as well.
Dave
Dave
juddboz80
Active Member
I now have - 51 volts after the cap not before, should I change the resistor or leave it as is?? I had 460 volts on pin 3 on both of the output tubes....calls for 440volts, is directly proportional?Scott typically specified -45 vdc as supplied to the preamp tube heaters. If it runs lower, the warm up time will be longer. Higher, and some tubes could be over current if they are a current hog. The specified voltage is a good compromise for tube life, warm up time, and low noise operation as well. This typically puts the voltage at the first filter cap at about -52 to -53 vdc. But be careful in adjusting the resistor off of the rectifier, as depending on which version you have, adjusting it can also change your output tube bias settings as well.
Dave
Very nice work!
Dave
Dave
euromut
Active Member
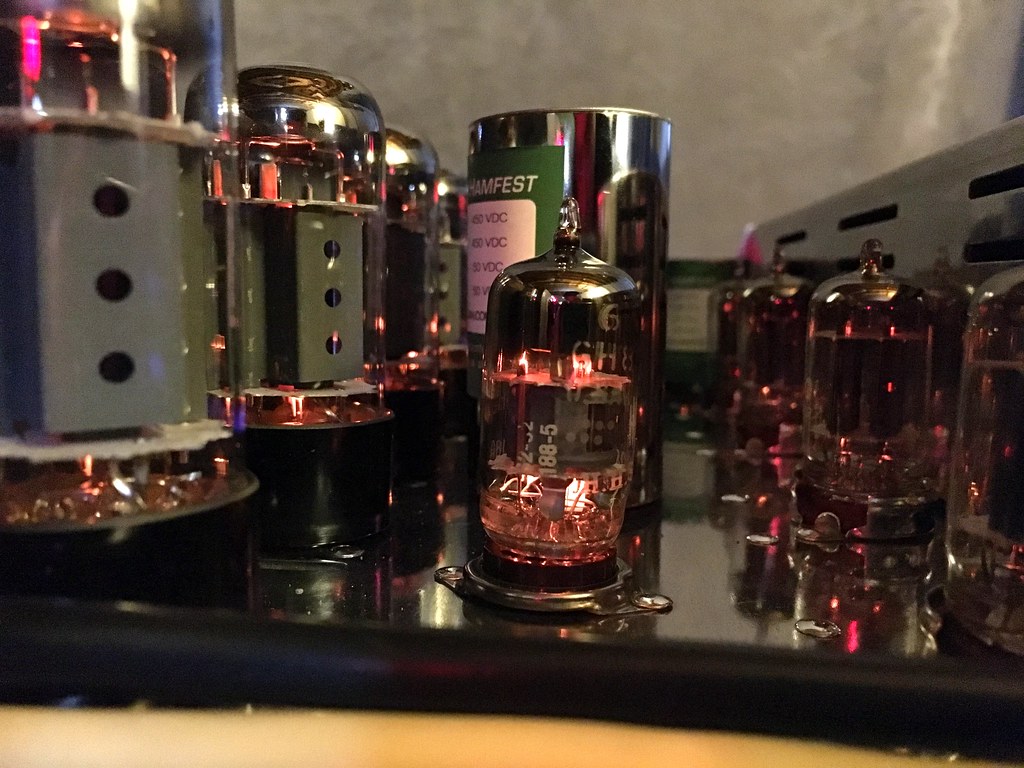
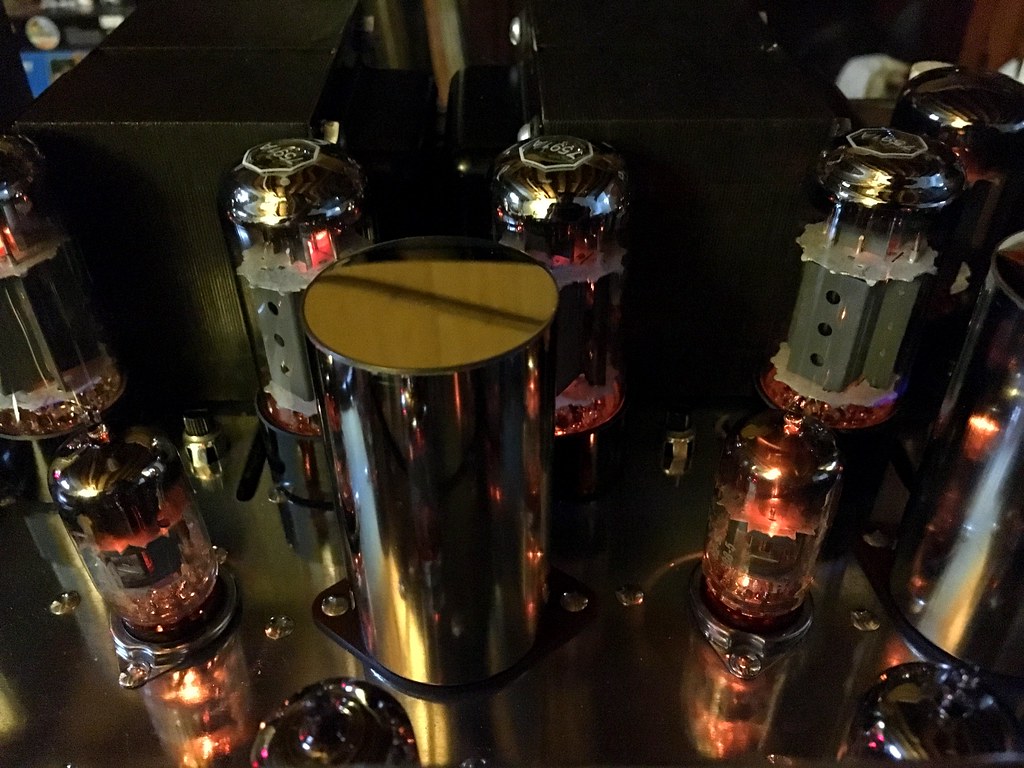
Got mine buttoned up enough to test. Still running a mixed bag of rubes. And had a bit of static pop until it fully warmed up. But it sounds so sweet and detailed. I should have new quads of 7951s and 12ax7s in a few days. Hopefully that will clear up and remaining issues. Also noticed the "pilot" light flickering slightly?
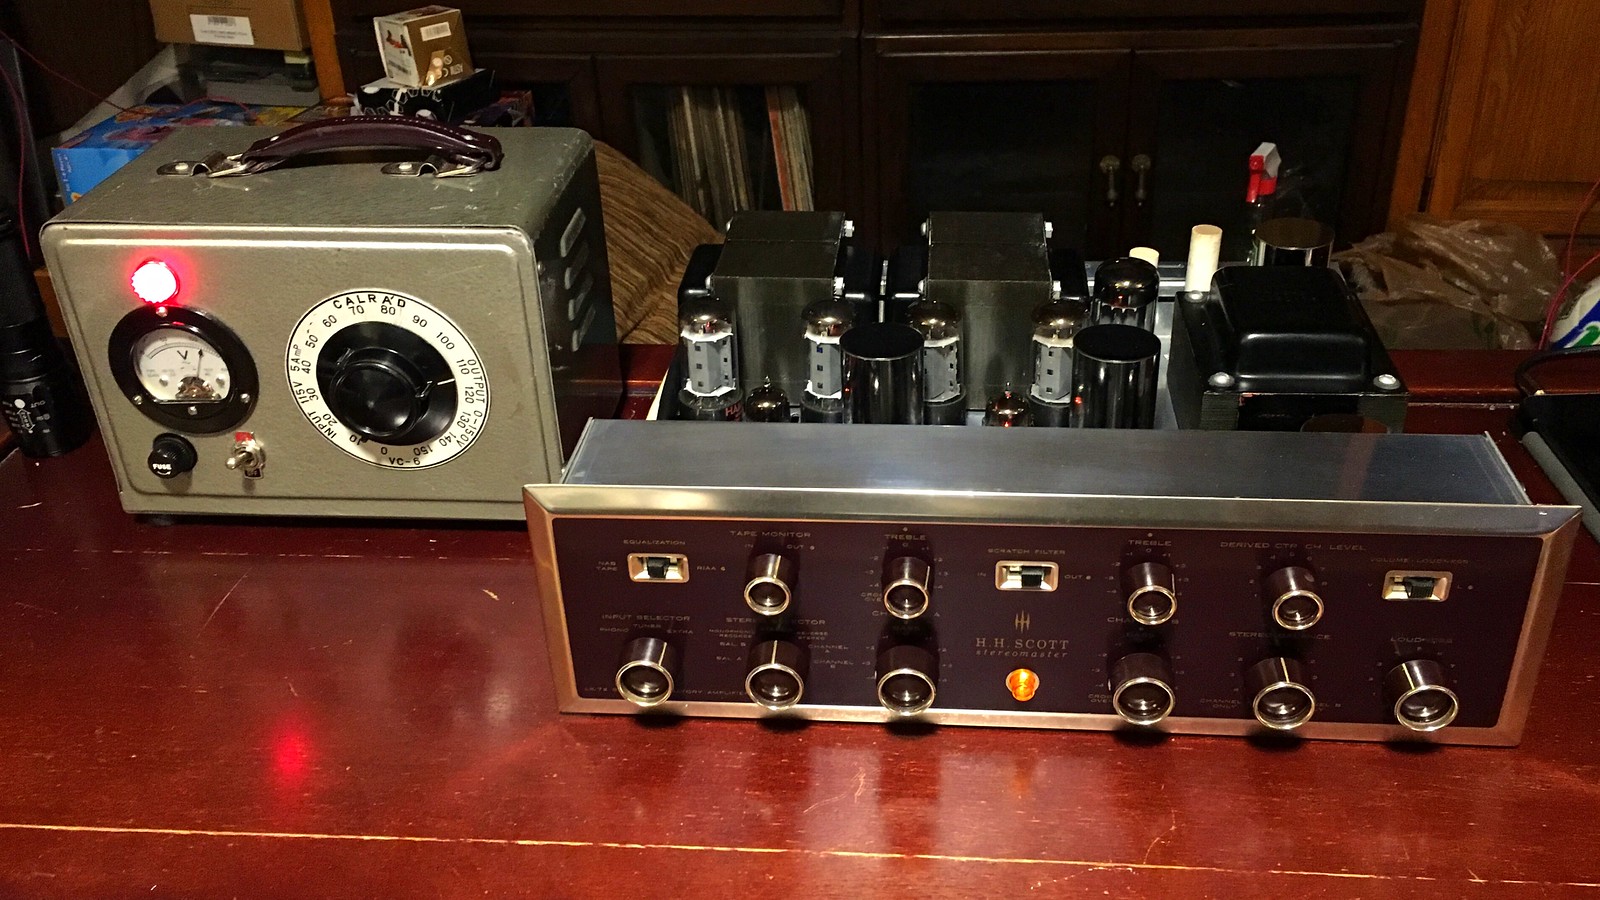
Also traded out all of those horrid hex head screws for stainless #6s with titanium anodized countersunk washers.
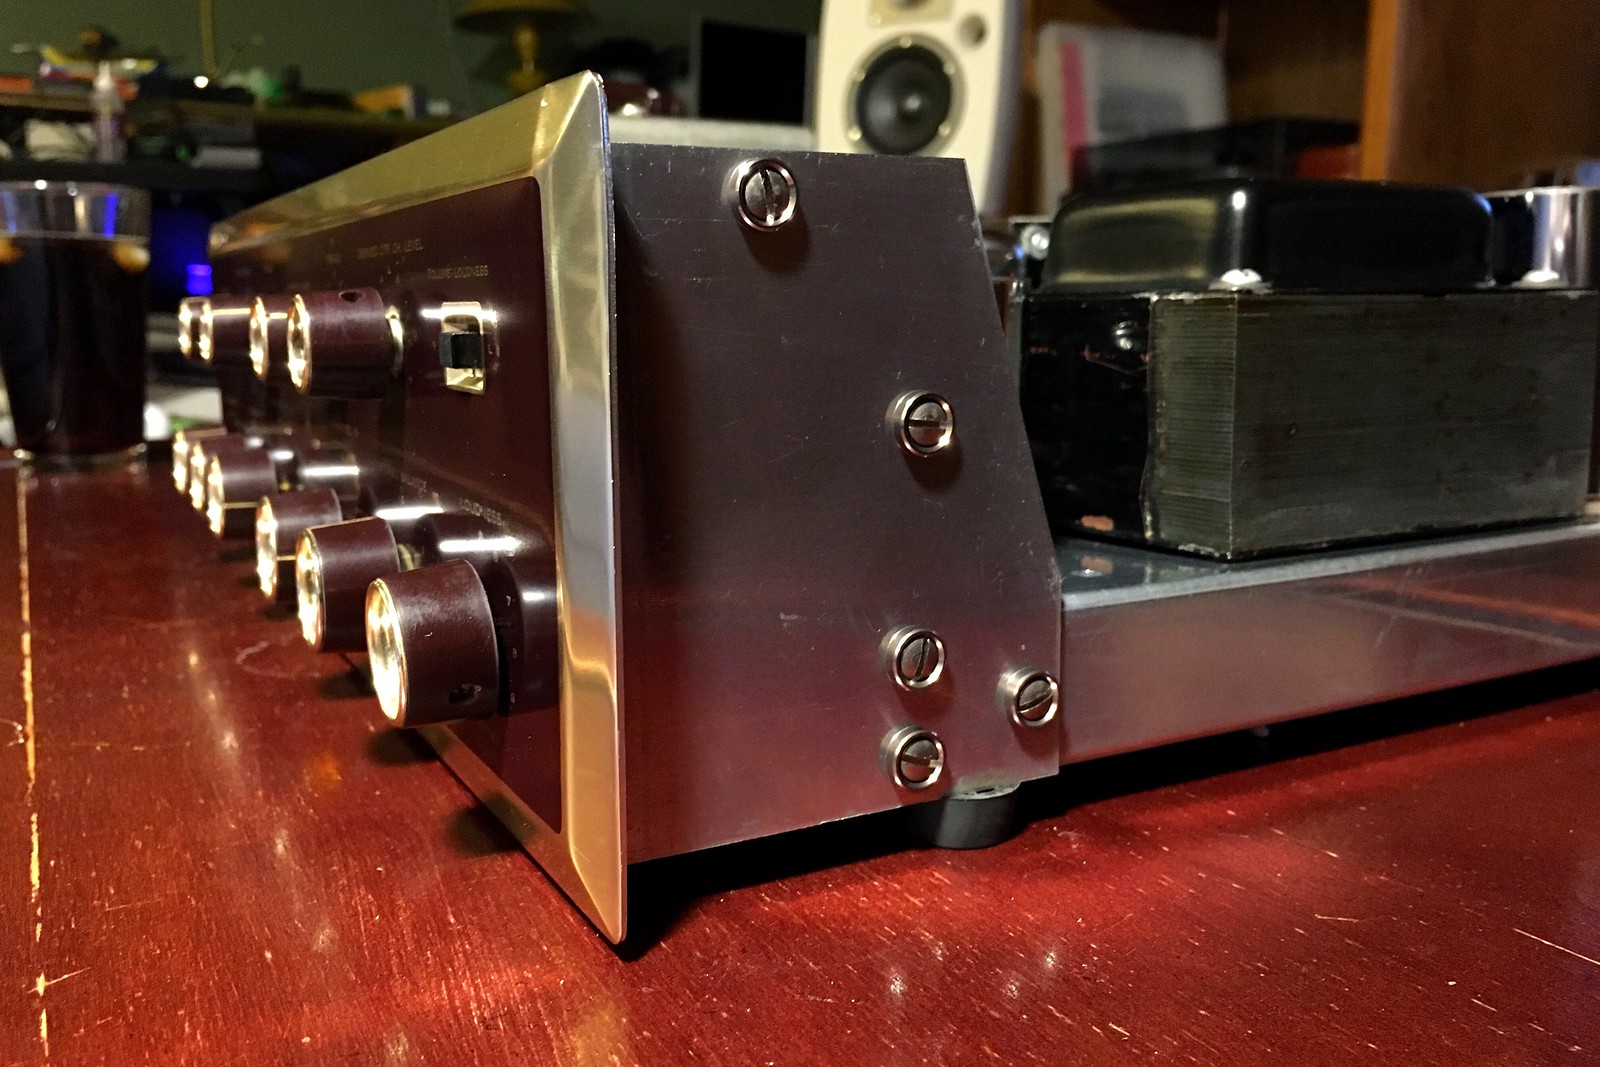
Also traded out all of those horrid hex head screws for stainless #6s with titanium anodized countersunk washers.
Last edited:
kvflyer
Super Member
Got mine buttoned up ... And had a bit of static pop until it fully warmed up...
You might try rocking a few of the tubes when it is crackling as it is warming up. It could be a tube socket. Also, you might check all connections recently disturbed by soldering, removing etc. In my amplifier, I had a problem whilst it was warming up. Rocking one of the 7199 tubes would aggravate the issue. I had replaced some components but failed to solder them. Thermal stress was making the noise!
Also noticed the "pilot" light flickering slightly?
The pilot light is neon and is powered by the B+ so you probably noticed that it doesn't come on with the power switch. Rather, the GZ34 must first start conducting, producing the B+ and then you will get a light. Those neon lamps will also get weak and fail sometimes. Make sure that the resistor in series with the neon lamp is the correct value and has not drifted high.
Just some random thoughts and your work looks nice.
crispycircuit
Super Member
Those non working/flickering neons. Shine a flashlite on them and they'll lite up , the lite beam excites the photons causing it to lite. It's a good test to see if the neon bulb is at the end of it's life. Cool trick!
kvflyer
Super Member
That is a cool trick. Mine is lit, it's like there is a second element that's not lit all the time. Maybe I'll seek out a replacement bulb just to have on hand.
These neon lamps are being fired by B+ voltage which is DC. My understanding is that you will only see both elements illuminated with AC as in house current. So, that should be entirely normal...
euromut
Active Member
Interesting. Ill keep an eye on it. I may end up rebuilding the bridge rectifier just to be safe.
So far, still running a mix of 12ax7s and new Tung-Sol 7591s its running really well. I have Tung-Sol Gold 12ax7s and Nos Sylvania 6GH8s on the way. Once they arrive ill perform the balance on our Oscilloscope with the load resistors, to make sure its happy.
So far, still running a mix of 12ax7s and new Tung-Sol 7591s its running really well. I have Tung-Sol Gold 12ax7s and Nos Sylvania 6GH8s on the way. Once they arrive ill perform the balance on our Oscilloscope with the load resistors, to make sure its happy.
crispycircuit
Super Member
My-oooo-my does that look pretty. Nice work !!
Similar threads
- Replies
- 5
- Views
- 1K