• The move to the new server is done. There are some software and database maintenance updates in process. This has us passing the hat around to help out. We appreciate any donations. Seriously, even a dollar helps. The payment page may be found here - https://www.audiokarma.org/support.html

Any chance?

Watthour

Electron Rancher - JS3600
Subscriber
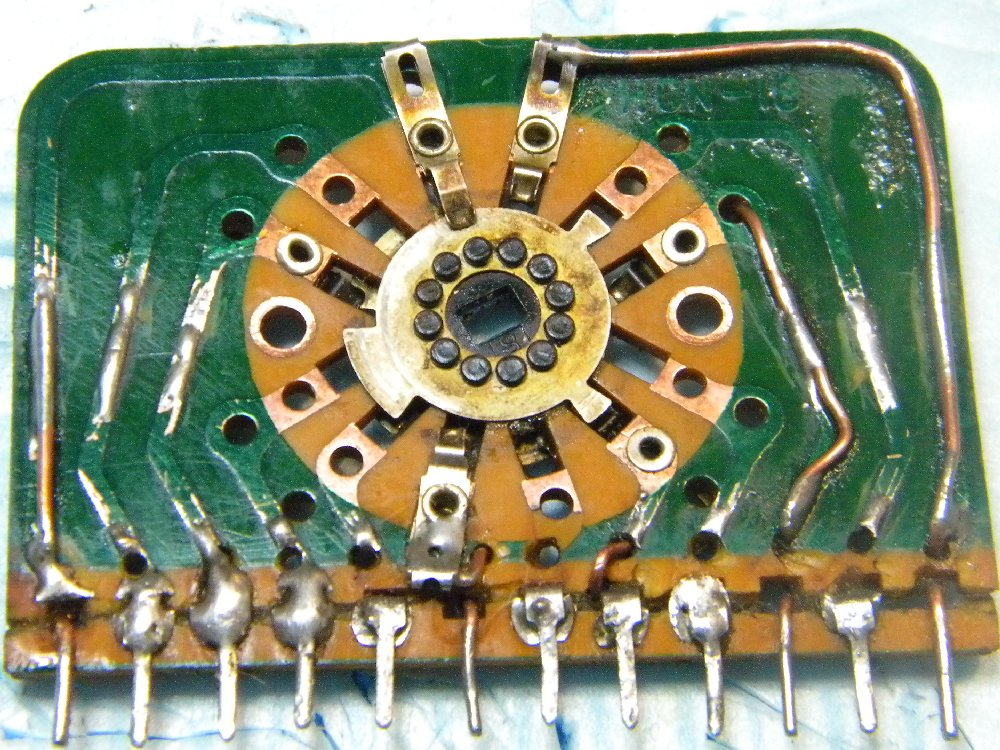
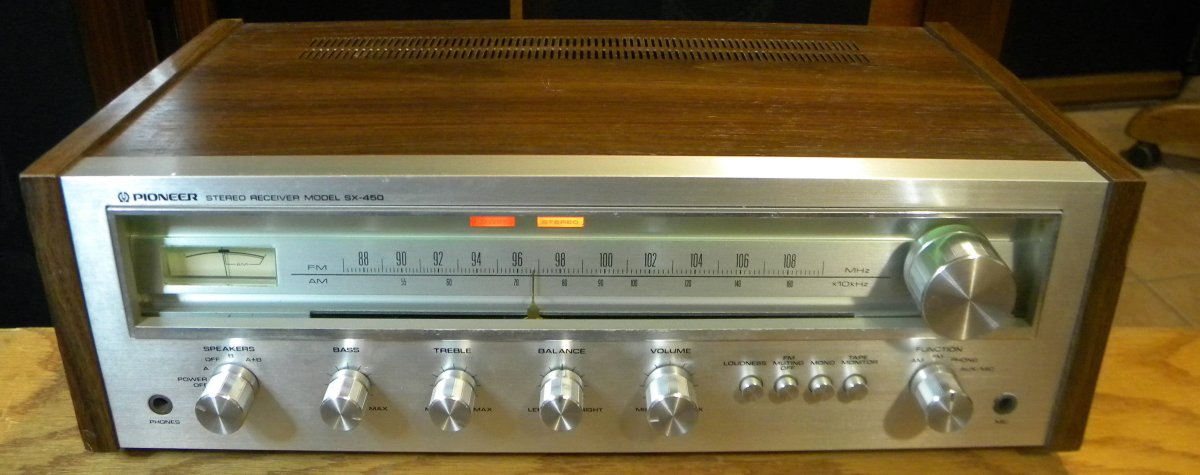
I received a little SX-450 damaged in transit ( http://www.audiokarma.org/forums/showthread.php?t=493395 ) and think it might be worth a few minutes as a challenge. Any chance this might be durable once I epoxy over the crack? I bridged even the traces that actually go nowhere, just for a bit more strength.
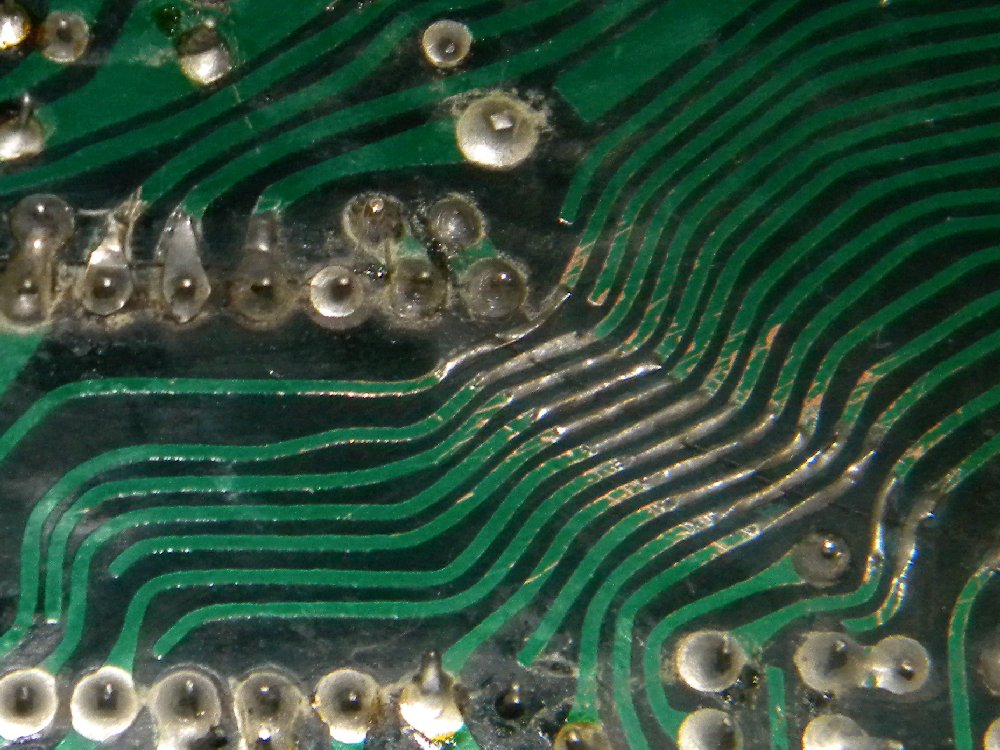
SX-450RFBoard.jpg


The board got cracked from the front, across the corner on a diagonal, and out the side. I've bridged all the traces with wire and solder, and will coat with clear epoxy when finished.

The speaker switch and all front controls were a little roughed up, too, but I think I can repair them. This one got sheared off:
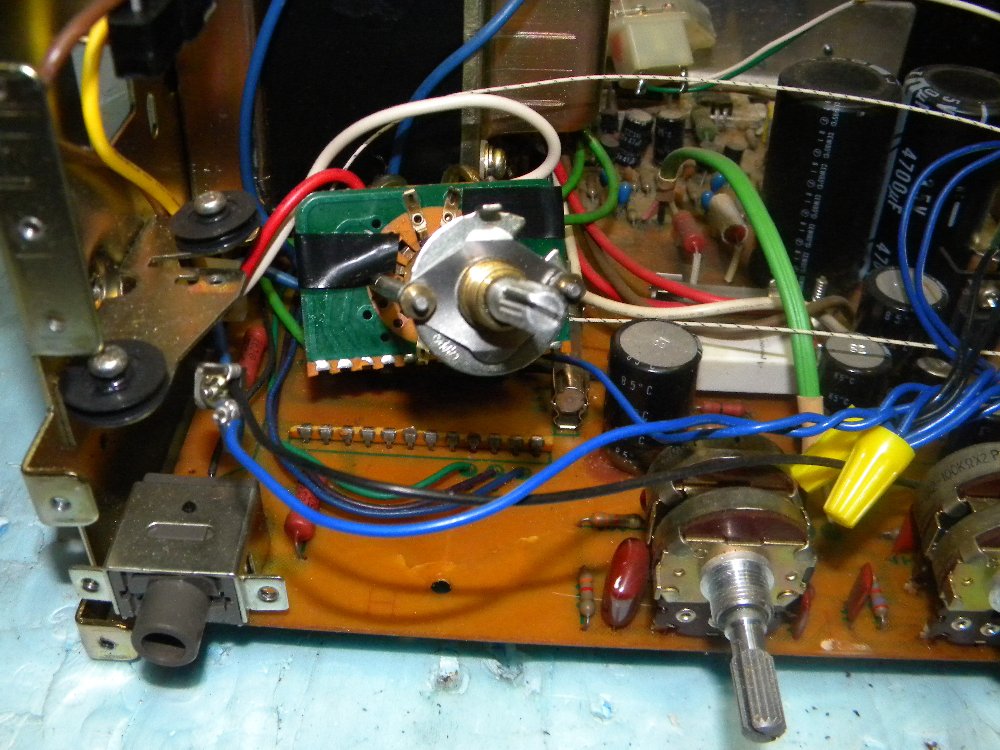
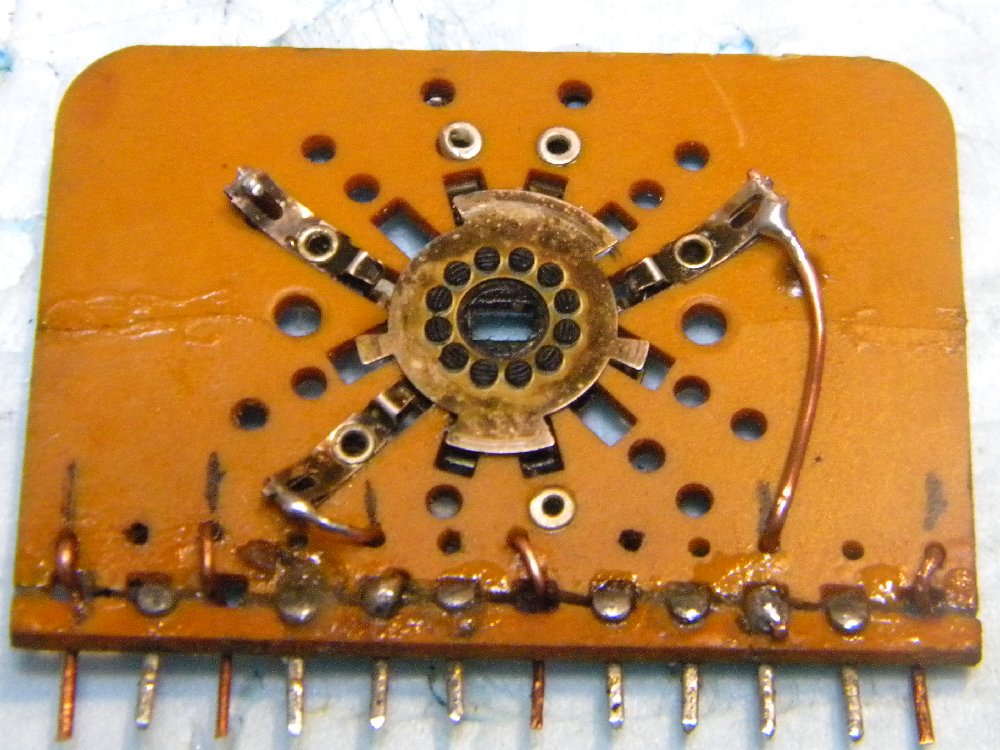
SX-450SwitchOut.jpg
 
Register to hide this ad
Love a challenge! One of those traces at the top doesn't look like it got a piece of wire and that's essential for reliability. IMO, with good bridging and a coat of decent epoxy (never use 5 minute rubbish, use slow curing clear) it should be almost as good as new.
 
Thanks for the support. I'm going to inspect the area again for other problems and will make sure there are jumpers across all the breaks. I also intend to run this before sealing, just because I'm chicken.
 
Oh, and for the epoxy I have two-part liquid that I have used before for board coating on drives and power controls in wet environments. It's slow cure, high dielectric, and builds thick and hard. I can spray, brush, or dip in it so it's pretty versatile (and has a lot of urethane/ketone solvent odor).
 
I finally got back to it today after finding a few spare minutes. Although it isn't pretty, it's functional:

SX-450SpeakerSwitchRepair01.jpg


SX-450SpeakerSwitchRepair02.jpg


Next is the testing...
 
She SINGS!

I still have to clean the mainboard and coat it, but everything works as designed. Of course, I haven't fabricated the front bezel glass yet, but now that it's proven viable I'll be on to that soon.

All the sheet metal has been straightened so the boards are no longer under stress. Power switch cleaned. It won't get much other attention but freshening the heat sink grease and checking idle and offset to be sure they aren't completely insane. Since there is no adjustment on the little entry unit, I'm crossing my fingers that the levels are acceptable or I'm into component swapping.
 
DC offset is at 14.8 mV / 2.6 mV Left/Right, idle current at 10.3mV / 21.8 mV Left/Right. I'll live with it.

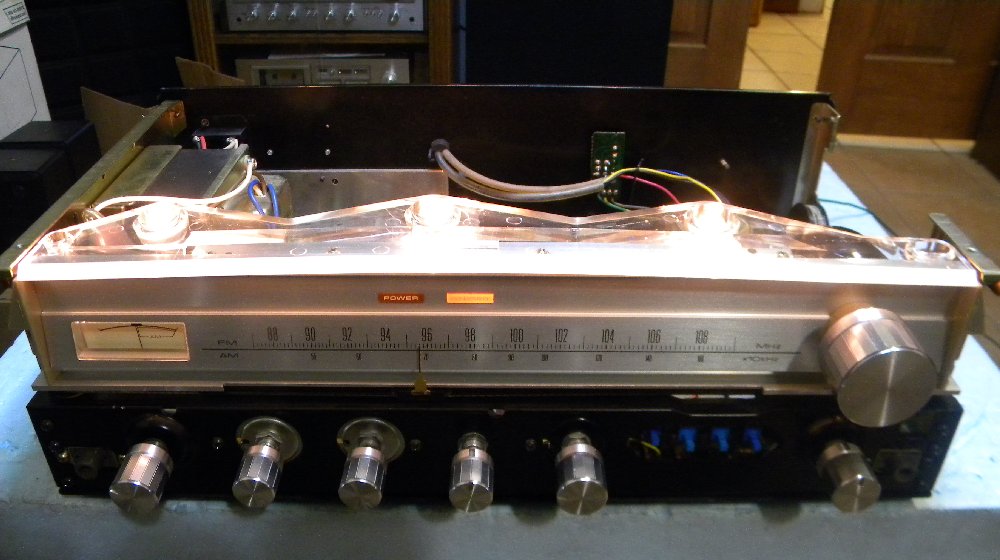
It appears the POWER indicator didn't survive the Timex test:

SX-450FrontB.jpg


I haven't tested the Phono in yet, but everything else is operating normally.

I'm ready to cut and drill glass, but am still waiting for the Lemon Pledge...
 
Pittsburg Deltron K-35 (part of the DBU family). It's a two-part urethane epoxy clear intended as automotive finish. Normally it gets a gray or red tint as a prime coat, but it can be had in clear. It is not very viscous and seeps into tiny crevices well (like spider-webbed lacquer automotive finishes, or even cracks in circuit boards). It's also a high build and hard cured surface, bonds like a crazy stalker chick, is intended to fill and self-level (as in sealing over orange-peeled automotive enamel) and is made to be sanded and shaped. If left alone it's just about a moderate/high gloss when cured.

It's worked well for me in coating boards for damp locations. Rework is a bit of a PITA since it has to be mechanically removed for any resoldering, but it can be done and then recoated in spots. If you ever have to seal a drive or power supply (800VDC) board in an area where snow or raindrops are ingested by the ventilation, or need to seal and surface old problem finishes before painting, this is the ticket. In this case, it worked very well for wicking into the cracks and bonding/surfacing them. Of course, I had to prove out the repair before coating or I'd have been fully shafted. I don't think this wafer switch is going to survive any more rework very well.

Oddly, the OEM coating on the bottom of the RF board in this looks very similar, albeit a little thinner.

I have some Permatex 30-minute and Conap K45 epoxies ( the Conap is a good MV dielectric if you ever need it - hint...hint...STVs?) but those seemed to be complete overkill for this. The Conap stuff is very unforgiving, and about as permanent as a granite headstone.
 
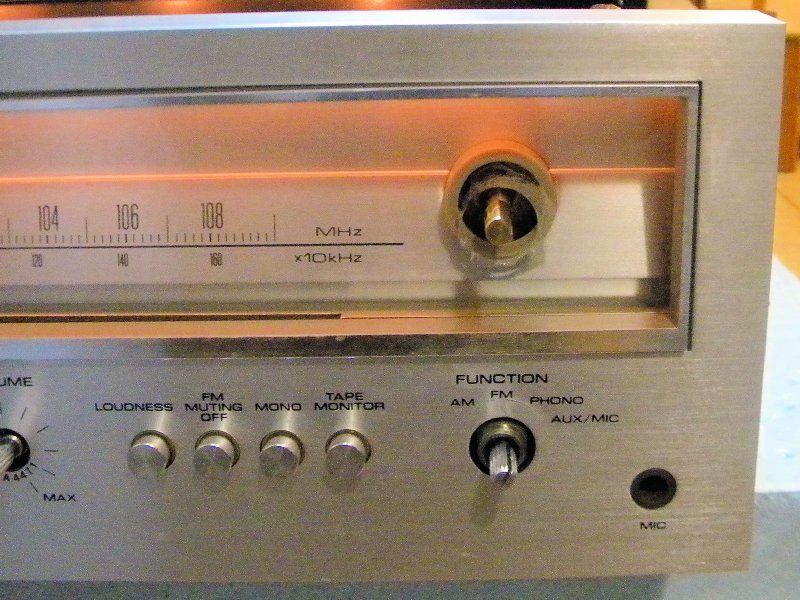
I couldn't wait for the Windex from Dave. It's apparent that my bit wandered a bit when boring the dial glass, but I also discovered that some of the other Pioneer units I have don't have the hole perfectly aligned either. Therefore, this one is just like factory original:

SX-450DialGlass01.jpg


:screwy:

With that taken off the list, I just had to close it back up to see what it was going to look like:

SX-450Front07.jpg


Yeah, I know I left a big thumbprint inside the glass near the MHz marker, but I can clean that when I remove the faceplate to replace the dead POWER indicator lamp.
 
WOW, I was following your story and I have to say great job! You did a great job getting to a functional and esthetically pleasing state!
 
I just finished replacing the POWER lamp and coating the bottoms of the boards yesterday. It's assembled today (panels and such) and is being put through the paces on speakers and resistors to get it good and hot. It's been running for hours since the actual repairs were done and it's proven out to be a solid little unit.

If I don't ship it anywhere in a Kleenex box it should be O.K. ;)

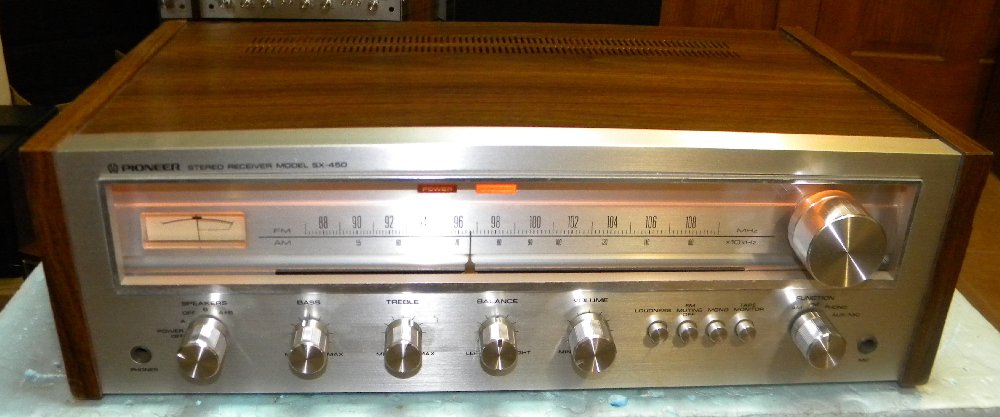
EDIT: It's no museum piece, but considering the rock crusher it survived, it's in good shape:

SX-450BFront08.jpg
 
Last edited:
Back
Top Bottom