
Son-of-Vere
Super Member
I see lots of faces in the burl. It would freak my kids out no doubt.
TT Rorschach test! Kinda looks Mayan or Inca? Can't remember who had the block hats in their hieroglyphs.

I see lots of faces in the burl. It would freak my kids out no doubt.
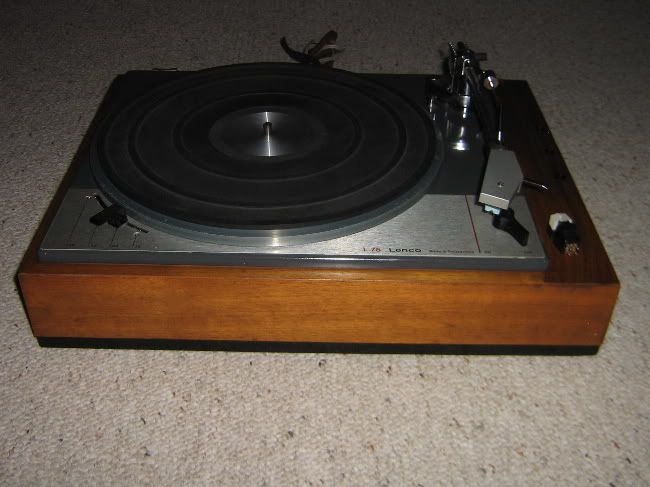
Got any photo's of it? Love to see it.

Beautiful work, AA! Now you can start on mine.
I just posted a thread about improving resonant box plinths rather than tagging it on here.
http://www.audiokarma.org/forums/showthread.php?p=9061139#post9061139
Seriously, analog addict, you and your client might want to reconsider this. I moved my ROK L-34 from a box plinth to a massive layered one, and the difference in performance was not minor (although it weighs a ton!). It could still be veneered to look pretty.
I hope your expensive, heavy turntable is not sitting on what looks like a $4.99 plastic wobbly thrift store stand!
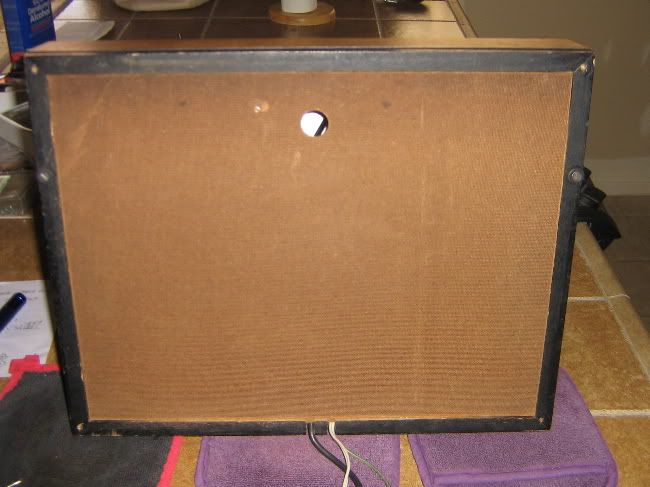
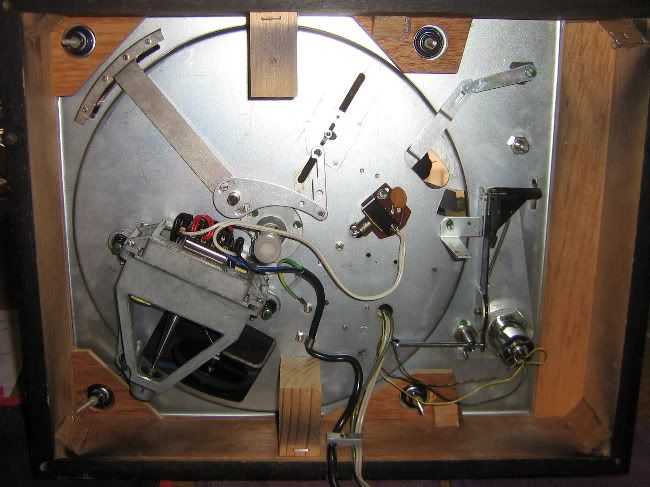
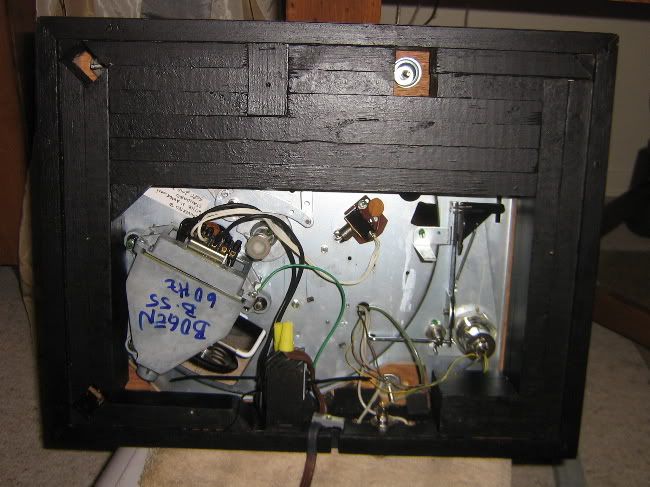
So you built up the stock plinth on the inside? I've been thinking of doing something similar with the huge open box on my R-O-K B12-H as a relatively simple starting point. The open box is definitely a very good resonator.Two inside jobs:
I did a Lenco for a friend by creating a "butcher block"-like pattern on the inside of a stock L75 plinth, and also included some remnant soapstone for mass, and, for another CLD layer. It worked out really well.
I also buit a massive theory plinth within an old phonograph cabinet; and utilized isolating points to keep the turntable from feeding back with the onboard speaker. It worked.
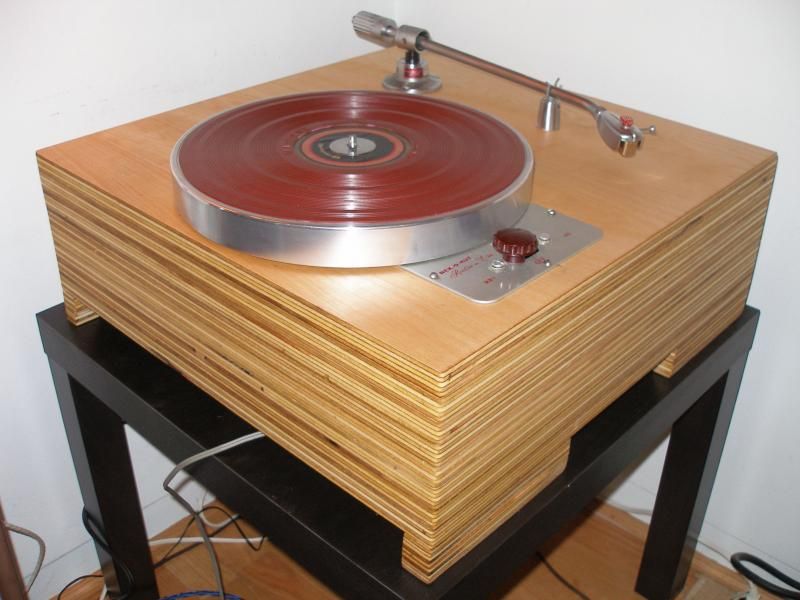
With this said ^^, this plinth build is looking really nice.


So you built up the stock plinth on the inside? I've been thinking of doing something similar with the huge open box on my R-O-K B12-H as a relatively simple starting point. The open box is definitely a very good resonator.


That's a beautiful job. Congratulations to both of you.
That ROK arm is in pretty good visual shape and with a little TLC, cleaning, lubing, adjusting, and a low compliance vintage cartridge or a new MC and surprising magic may very well begin.


