mfrench
Addicted Member
My DIY RCM based on a VPI wand and an antique Victor Victrola cabinet.
I built it around 2007'ish.
I call it the Vactrola
Some of you have seen it on other forums. I've never done a highlighted write up on it before. I've only ever posted a couple of pictures of it in other threads. Here is the more comprehensive writeup of the build, as follows:
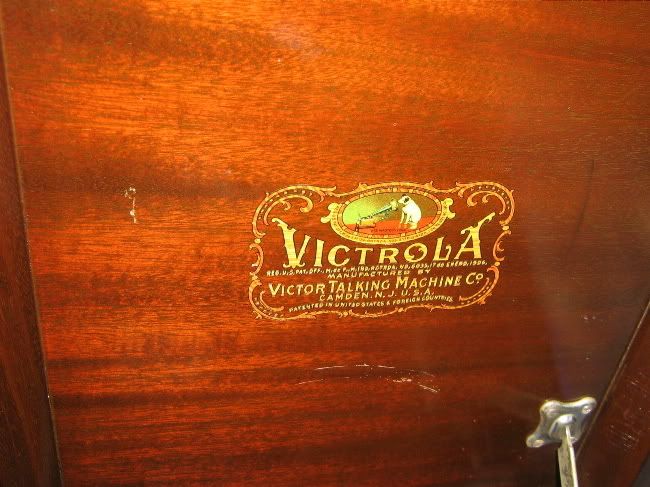
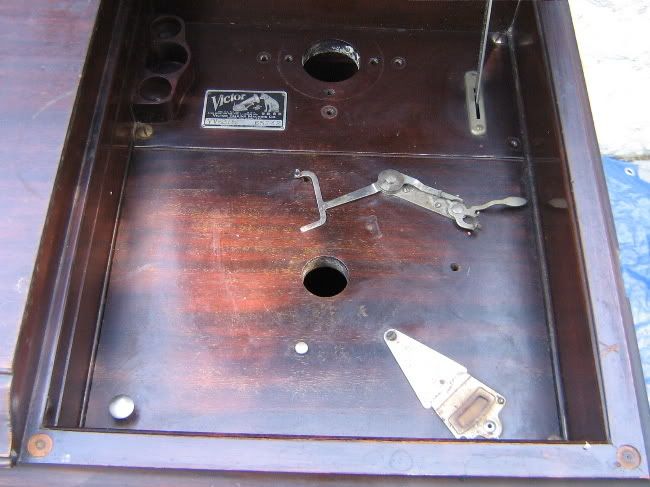
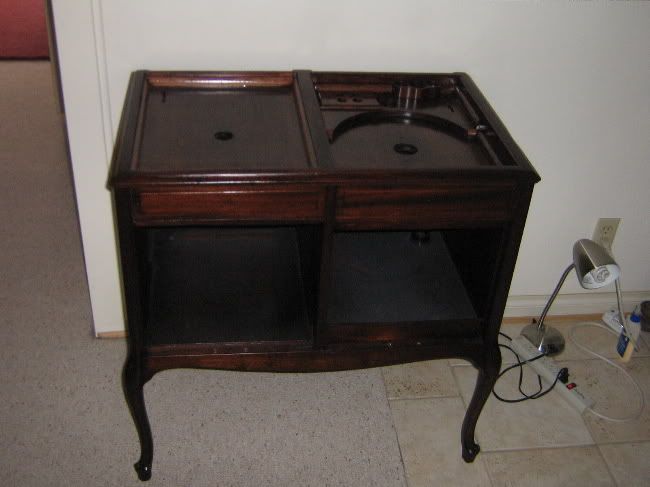
Victor Victrola cabinet, c. 1924
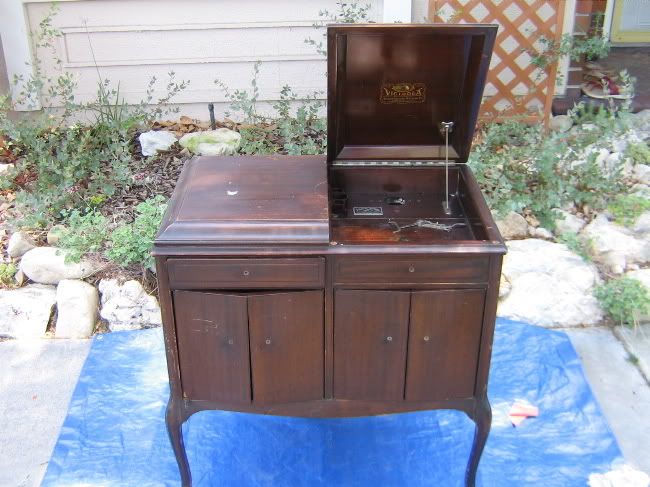
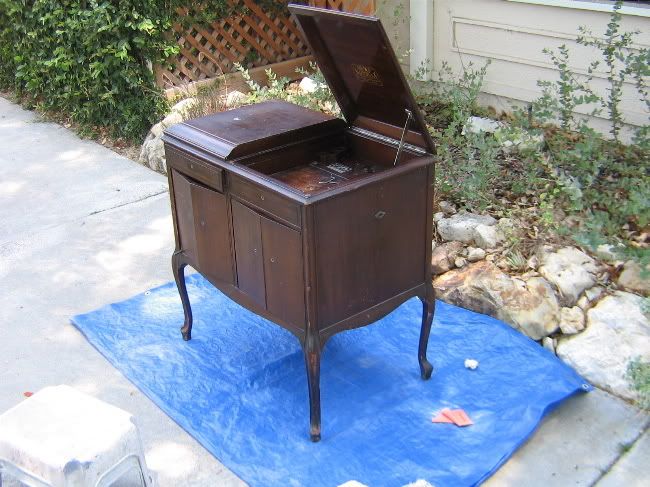
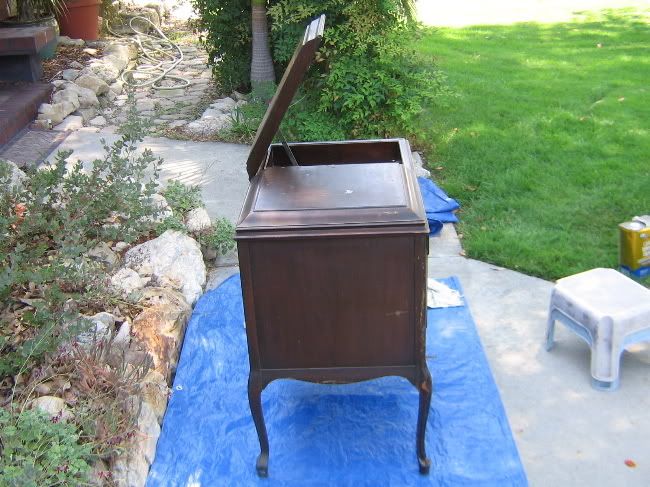
Previously gutted of any TT and horn;
You can see the doors are barely hanging on their hinges (they're propped against each other in these pics and look more solid than they were. They were literally falling off). There was a complete blue enamel splatter all over the entire cabinet from someone that didn't cover it while painting the house. The right front leg was 95% broken off at the curve.
The left lid was permanently affixed with nails and glue at the factory.
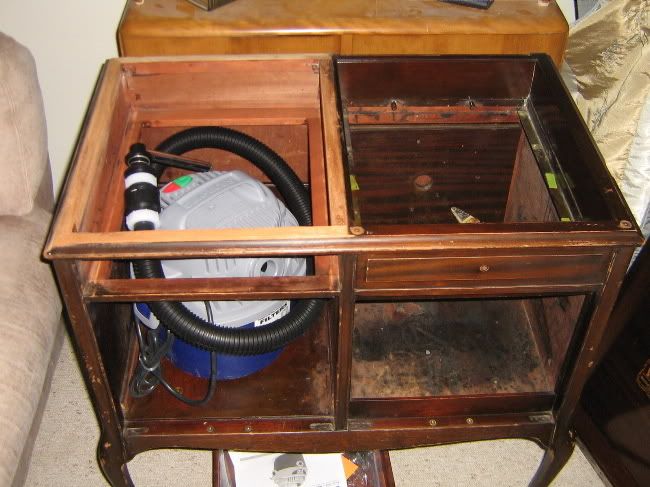
I carefully cut the lid off to make it a two bay/two platter cleaner.
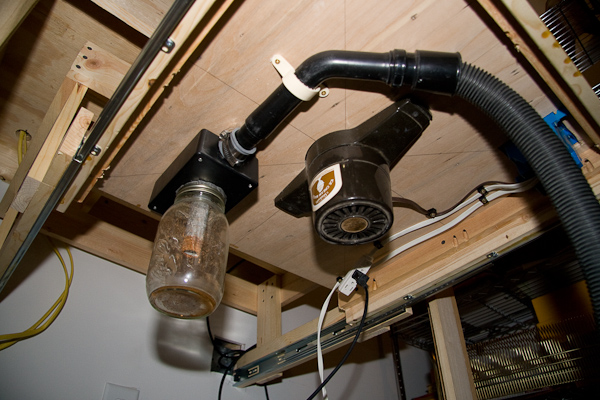
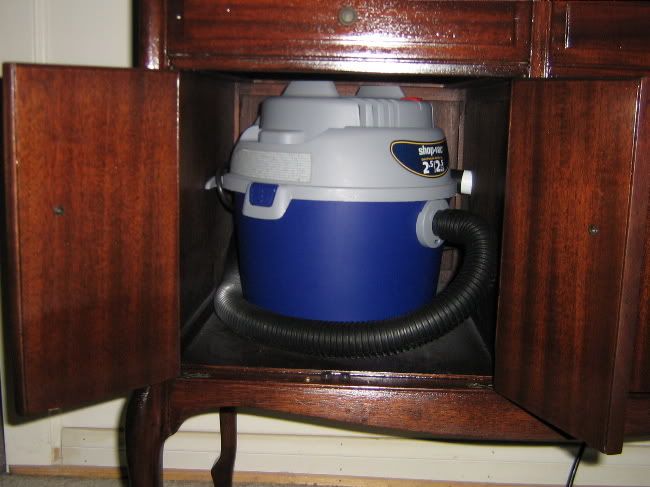
This pic was taken while I was test fitting my vacuum, a ShoVac Wet/Dry 2.5 gal model (because it fit and was cheap).
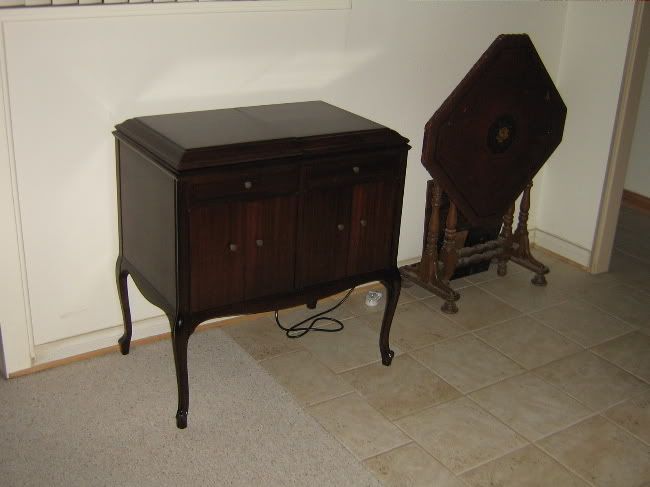
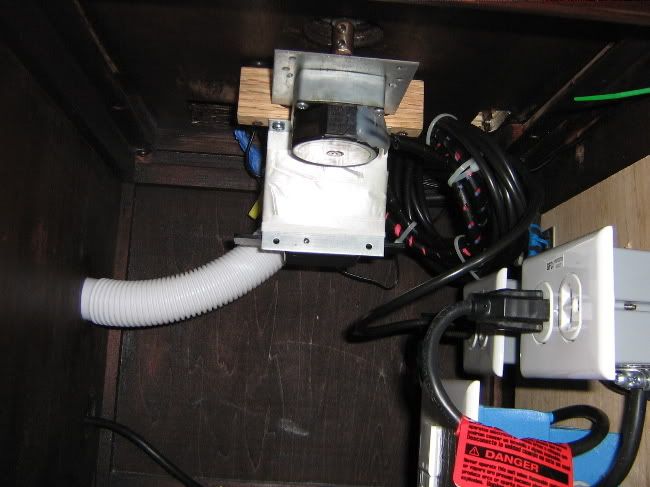
Cabinet after finish, and showing the wood work to fit the platters and VPI mechanism. The VPI mechanism required an elevated platform to reach the proper "VSA" (Vertical Sucking Angle);
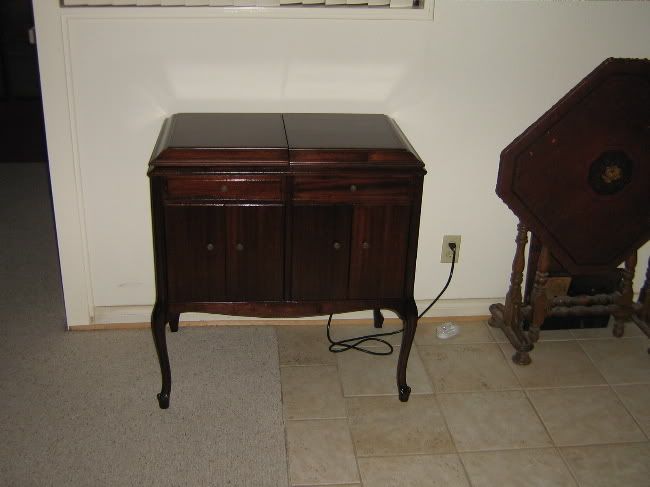
Reassembled and ready:

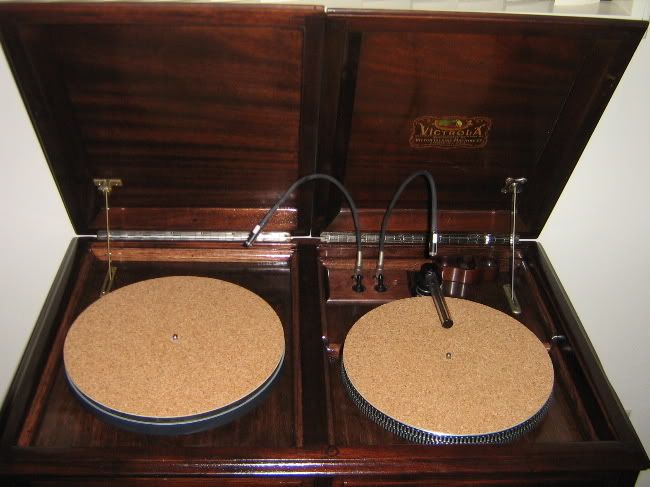
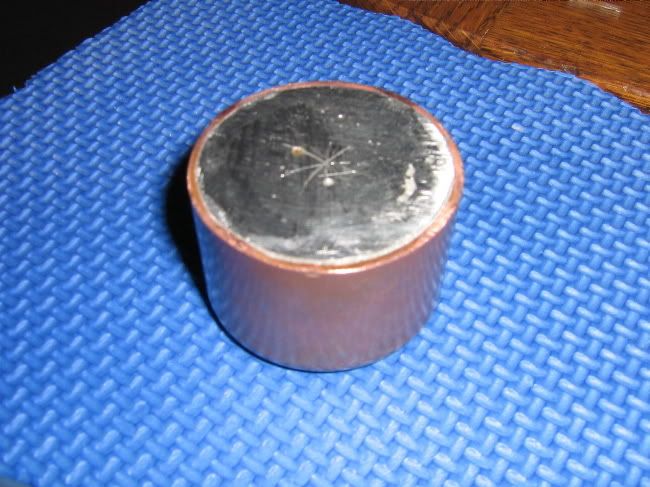
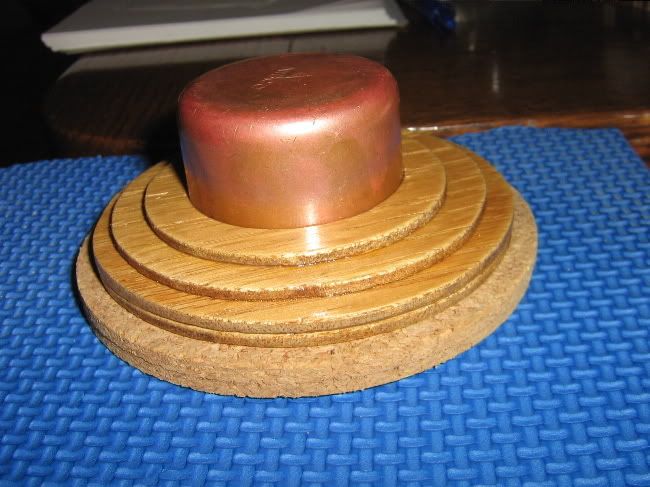
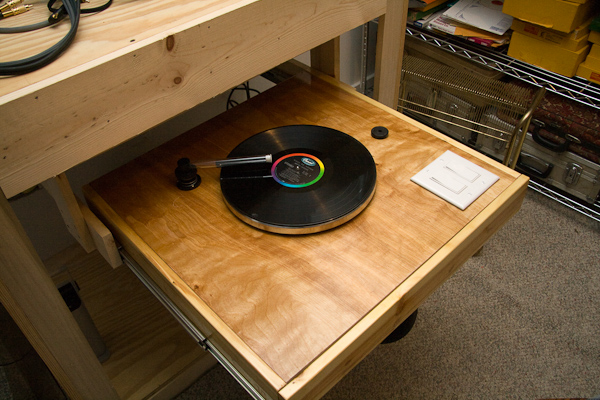
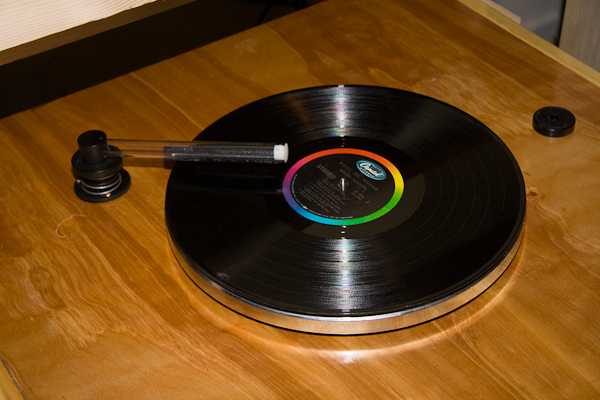
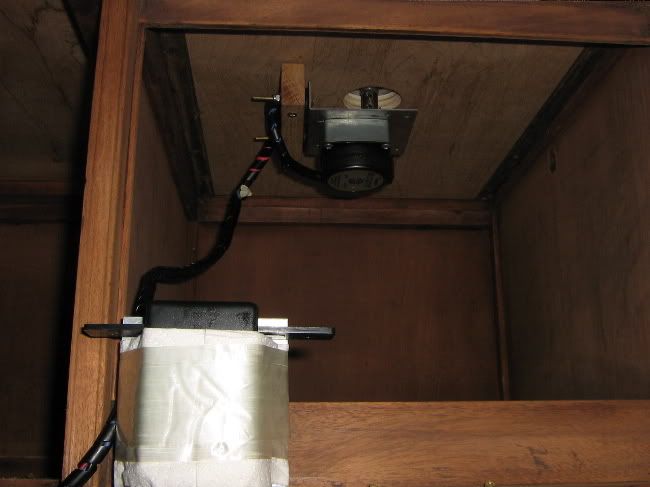
The left platter is manually turned, and is my wet cleaning side. The right side is powered by a 6rpm motor, directly coupled to the platter spindle for pure turning torque. I had to devise a new thrust bearing arrangement to make this work. I originally installed computer LED's that I'd soldered to some RCA connectors. The LED's proved to be too weak, and burned out. So I revised this thought and mounted a more centered single automotive dashboard map light (a flex neck thing from my truck).
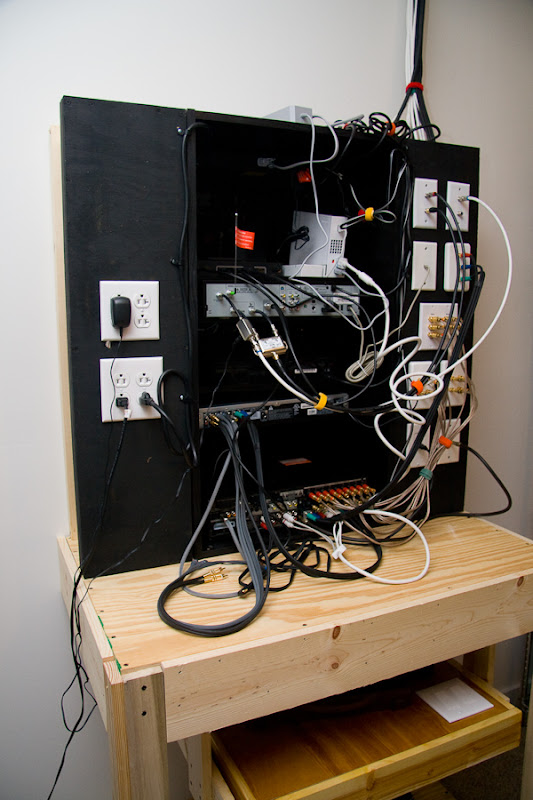
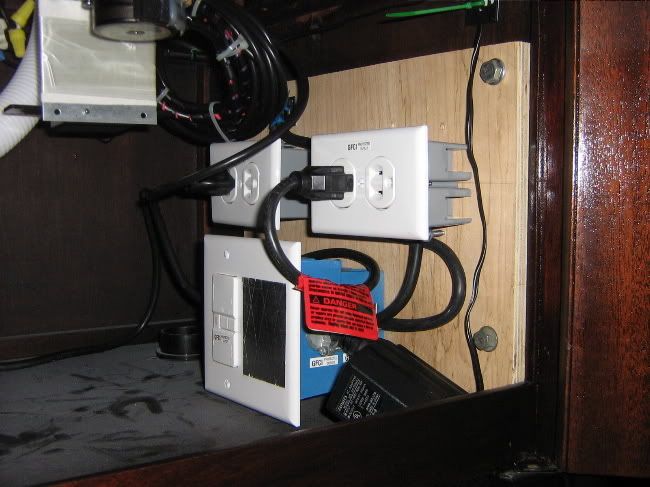
I used a blank wood wall switch plate to mount my motor and vacuum switches to.
Because I cut the left lid away from its permanently closed attitude, I had to give it a hinge, and, a lid prop, and match the opened lids so that they looked like they were originally made to both be opened. I roughly matched the OE lid prop with some brass stock.
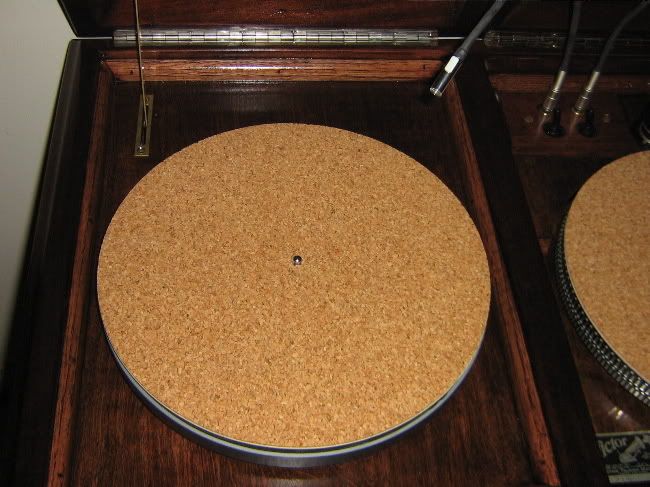
cleaning platter:
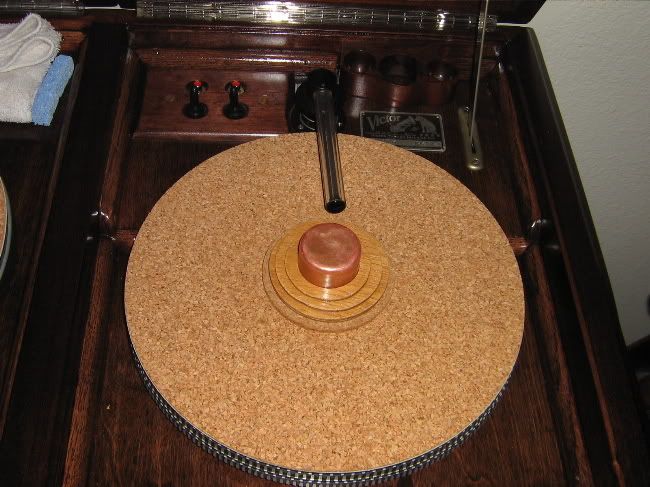
vacuum platter:
I built it around 2007'ish.
I call it the Vactrola
Some of you have seen it on other forums. I've never done a highlighted write up on it before. I've only ever posted a couple of pictures of it in other threads. Here is the more comprehensive writeup of the build, as follows:
Victor Victrola cabinet, c. 1924
Previously gutted of any TT and horn;
You can see the doors are barely hanging on their hinges (they're propped against each other in these pics and look more solid than they were. They were literally falling off). There was a complete blue enamel splatter all over the entire cabinet from someone that didn't cover it while painting the house. The right front leg was 95% broken off at the curve.
The left lid was permanently affixed with nails and glue at the factory.
I carefully cut the lid off to make it a two bay/two platter cleaner.
This pic was taken while I was test fitting my vacuum, a ShoVac Wet/Dry 2.5 gal model (because it fit and was cheap).
Cabinet after finish, and showing the wood work to fit the platters and VPI mechanism. The VPI mechanism required an elevated platform to reach the proper "VSA" (Vertical Sucking Angle);
Reassembled and ready:
The left platter is manually turned, and is my wet cleaning side. The right side is powered by a 6rpm motor, directly coupled to the platter spindle for pure turning torque. I had to devise a new thrust bearing arrangement to make this work. I originally installed computer LED's that I'd soldered to some RCA connectors. The LED's proved to be too weak, and burned out. So I revised this thought and mounted a more centered single automotive dashboard map light (a flex neck thing from my truck).
I used a blank wood wall switch plate to mount my motor and vacuum switches to.
Because I cut the left lid away from its permanently closed attitude, I had to give it a hinge, and, a lid prop, and match the opened lids so that they looked like they were originally made to both be opened. I roughly matched the OE lid prop with some brass stock.
cleaning platter:
vacuum platter:
Last edited:
")
 Considered a custom logo to match the original?