Recapping/reconditioning?

Hyperion

Roobarb & Custard
Subscriber
To me the term 'recapping' means just that, replacing ONLY electrolytic capacitors in an amplifier or receiver (or other piece of equipment), which to me makes it a half-arsed job.

Rant

But if the unit is more than say 20 years old you really MUST REPLACE the bias and offset trimmers. All too often these are the 'open frame' type which have hopelessly oxidised and are too unreliable resistance wise to even consider leaving in place. Don't bother with deoxit, cramolin, or your particular poison for cleaning contacts on these things - CHANGE THE BLOODY THINGS for new !

There I said it...

Rant off.
 
Last edited:
As mentioned recently in another thread: Replace the thermal transfer grease under the output transistors, and maybe the mica washers as well. The 30 - 40 year old grease has probably dried out as the trimmers have oxidized, and the loss of heat transfer is very detrimental to the OP TRs.
 
But if the unit is more than say 20 years old you really MUST REPLACE the bias and offset trimmers. All too often these are the 'open frame' type which have hopelessly oxidised and are too unreliable resistance wise to even consider leaving in place. Don't bother with deoxit, cramolin, or your particular poison for cleaning contacts on these things - CHANGE THE BLOODY THINGS for new !

Aamen to this,
Snotted an already unreliable Technics Su-V2 just because I didn't see the cracked wafer on one of the trimmers. Say bye bye to another STK8040.
 
Is it worth using multi turns? Most of my single turns can be touchy sometimes even when clean. I also noticed that sometimes the touch ones seem to drift a few mv. I would think multi turns would be less prone to drift. Or is this overkill?
 
Is it worth using multi turns? Most of my single turns can be touchy sometimes even when clean. I also noticed that sometimes the touch ones seem to drift a few mv. I would think multi turns would be less prone to drift. Or is this overkill?

Personally I use multi-turns most of the time, the reason? I think they can be a distinct advantage when setting sensitive adjustments. Also in the presence of varying and sometimes quite high temperatures, I believe multi-turn pots will vary their resistance less. There is a place for single turn types, in my view particularly when the adjustment isn't a sensitive one and also where there are coarse and fine adjustment pots. I know some people use single-turn types because you can usually see at a glance where they are adjusted for comparison purposes, and actual adjustment can be very rapid.

Their is a big difference in the number of tasks associated with what I call "reconditioning" as distinct from just "re-capping". :yes:
 
Last edited:
To succinctly address the original query: recapping is just that, and only that. It addresses a specific problem, actually a potential one, because, before recapping is done, any actual problems should have been addressed already. As such it is one of many operations that MAY go into a restoration process. The other operations are good ones. For me, recapping is an option, whereas many other operations are part of the mandatory minimum for restorations. This is due to the cost to the client. All the gear I sell from my own inventory gets recapped, but clients' units do not always get that operation.

What gets me is folks that do recapping as a "repair" operation. "Something doesn't work, so I think I will recap." Bad mojo.

As for amp trim pots, I do not try to adjust old ones. Some amps go poof when you do, and hit an oxidized place in the pot. I just replace them. I do not find Pioneer amps (the brand I generally work on) to be excessively touchy, so single turn is generally good enough.

To me, it does not make sense to be so deep into a piece, so as to replace all of the 'lytics, and not re-flow all possible circuit board solder joints. I tend stay off of some joints, like those that are thermally in close proximity to styrol (polystyrene) caps -- can't take the heat, and generally no longer available. Wave-soldered joints have a shorter lifespan than electrolytic caps, and I have corrected more issues by re-flowing a joint or two, than by replacing a cap or two.

Enjoy,
Rich P
 
To me the term 'recapping' means just that, replacing ONLY electrolytic capacitors in an amplifier or receiver (or other piece of equipment), which to me makes it a half-arsed job.

Rant

But if the unit is more than say 20 years old you really MUST REPLACE the bias and offset trimmers. All too often these are the 'open frame' type which have hopelessly oxidised and are too unreliable resistance wise to even consider leaving in place. Don't bother with deoxit, cramolin, or your particular poison for cleaning contacts on these things - CHANGE THE BLOODY THINGS for new !

There I said it...

Rant off.

You're right about how words like reconditioned and rebuilt get grossly over applied.
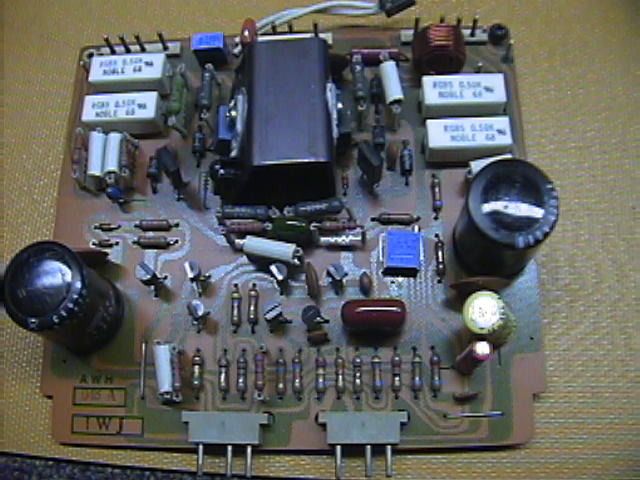
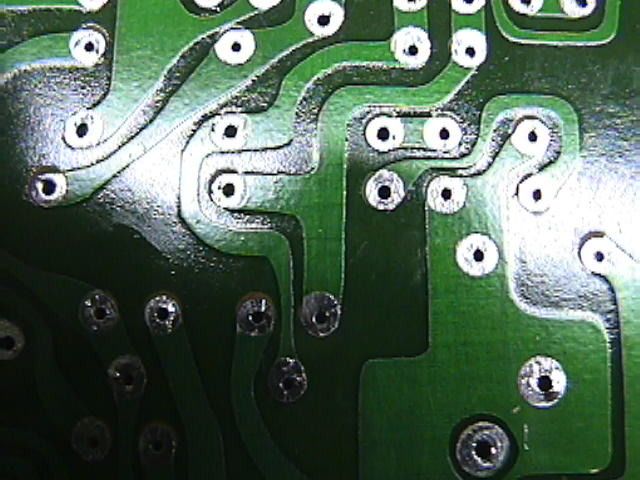
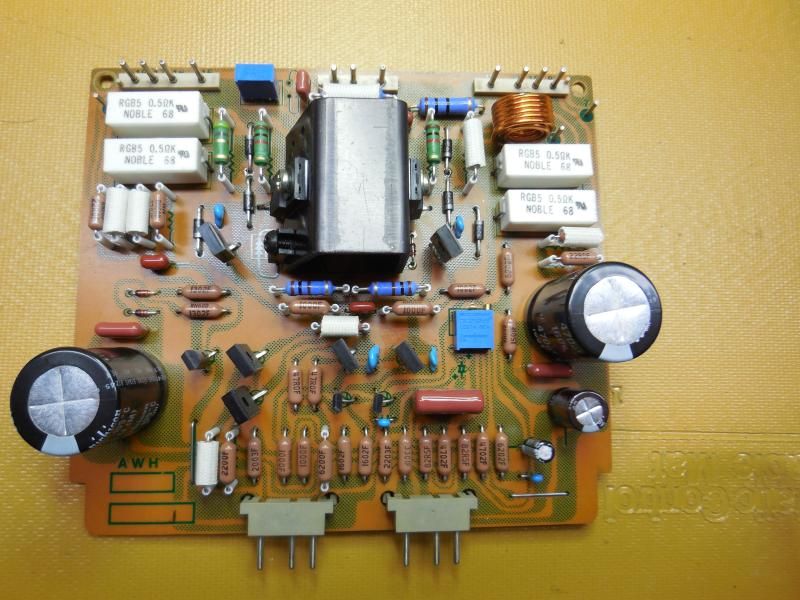
But let me see if I can brighten the landscape for you a bit. I'll show you a set of amp boards from an SX-1250 that were sent my way to be redone.

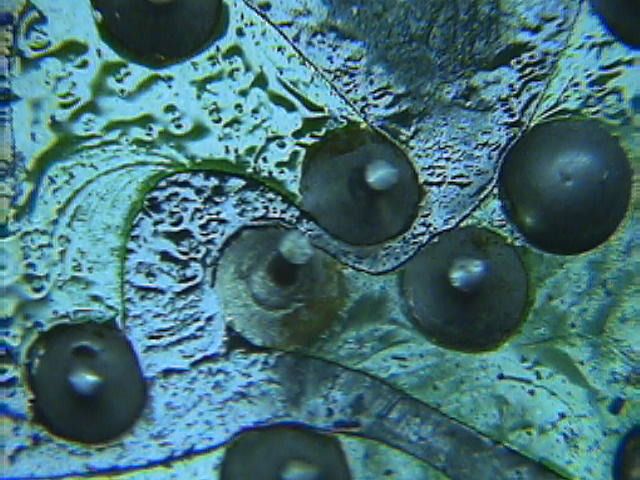
Here's a few shots showing one of them when I received it.
Some work previously had been done.


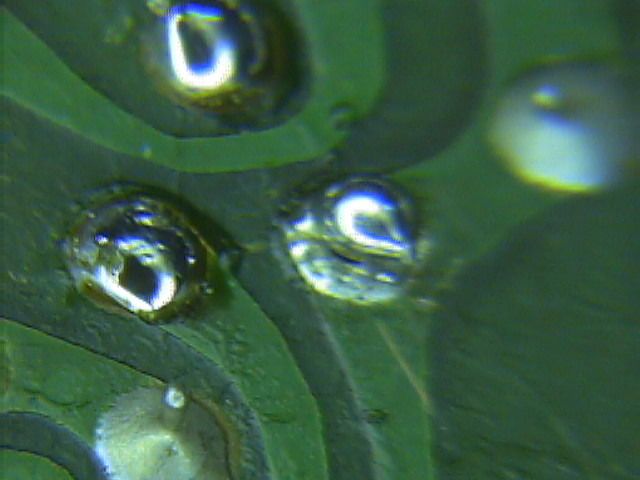
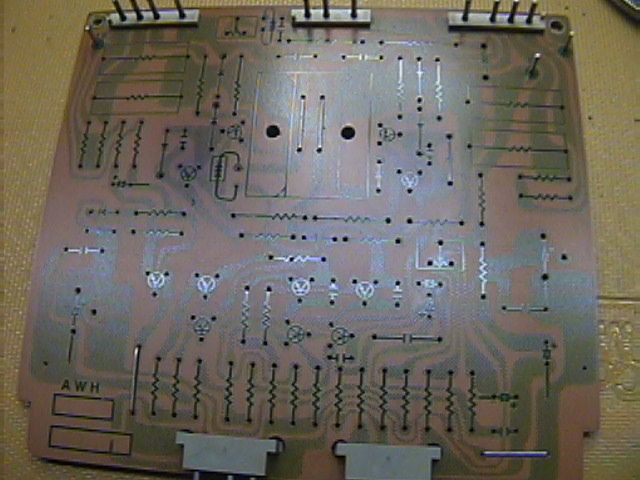
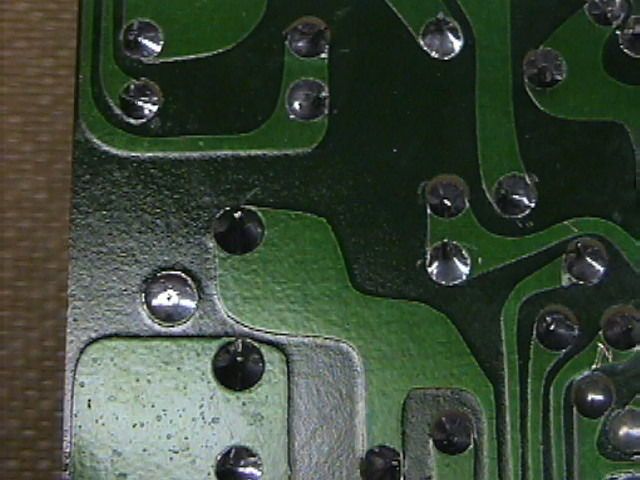
It went from above to this for preparation..


Then back to this..


Last edited:
That's absolutely beautiful- more work than I usually go to! If you want to see bad solder joints, work on guitar combo amps. The speaker shakes the boards and components and, sooner rather than later, something's going to fail.
 
You're right about how words like reconditioned and rebuilt get grossly over applied.
But let me see if I can brighten the landscape a bit. I'll show you a set of amp boards from an SX-1250 that were sent my way to be redone.

Here's a few shots showing one of them when I received it.
Some work previously had been done.


It went from above to this for preparation..


Then back to this..


Better than factory. Great job. :yes:
 
That's absolutely beautiful- more work than I usually go to! If you want to see bad solder joints, work on guitar combo amps. The speaker shakes the boards and components and, sooner rather than later, something's going to fail.

If you have everything set up and ready to go properly, the job doesn't take as long as you might think.
 
What do you guys think about zener diodes?

Included in a comprehensive reconditioning or no?

In something like an amplifier or power supply board I certainly would.
They are not an expensive item, and generally there really aren't an over abundance of them anyway.
However what you would want to try and reuse are the special thermal compensation diodes.
 
Last edited:
That is absolutely beautiful work glen65 - music to my 'eyes' :D

Dare I say I don't have examples of my own work which is as thorough as that, as I usually leave 'some' original components behind. But hey, faced with the mess you started with, who knows... :)
 
Last edited:
Practice makes perfect...and the more i learn about working on these old amps...the more i understand that a short cut is the long way around...I think having the components on hand makes a difference in the way one chooses to go about things though, not everyone has that and its expensive to have everything on hand...restoration and repair are two very different things
 
Very Nice work Glen 65.
That IS what a restoration Should Be.
Likely V few do similar though... yet claim 'restoration'.. rather than patch up.
 
What do you guys think about zener diodes?

Included in a comprehensive reconditioning or no?

I'm suspicious of old zeners in weird packages and will often replace them modern standard parts. OTOH, if I see glass packages or modern plastic, and they have the right voltage drop, I'll leave those alone.

Mixed feelings on thermal diodes. Some are in fragile dipped epoxy packages and are well characterized on the 'net, so I'll typically replace those. There's nothing magic about them. Be careful of thermistors that can be misidentified as diodes. Those can be harder to replace and should be treated gently, though if you have a working one to get some temperature and resistance reading on, there's usually something close that will do the job. They should not be replaced with diodes!
 
/QUOTE]

Your work is absolutely beautiful and done to a level that few can match. Better than new, as others have remarked. The replacement of components and use of standoffs is outstanding, and I would have no doubt that the performance of your rebuild far exceeds the original specs, and even what the designers could have envisioned, given the component performance and limitations of the day.

My question is how did you get the circuit board so pristinely clean prior to installing the new components? Just with a desoldering station and some braid, followed by a wash with some detergent to remove any residual flux? (I know that's how flux is cleared up in commercial operations.)
 
Your work is absolutely beautiful and done to a level that few can match. Better than new, as others have remarked. The replacement of components and use of standoffs is outstanding, and I would have no doubt that the performance of your rebuild far exceeds the original specs, and even what the designers could have envisioned, given the component performance and limitations of the day.
Thanks, I didn't really set a goal to exceed the original performance specs. Although I was more than happy with the results when I did the testing.
My main focus was making the board reliable. I didn't want the thing coming back, because a 40 year old component (like an old carbon film resistor for instance)
decides to retire 6 months down the road.

My question is how did you get the circuit board so pristinely clean prior to installing the new components? Just with a desoldering station and some braid, followed by a wash with some detergent to remove any residual flux? (I know that's how flux is cleared up in commercial operations.)

I cleared the board of its components using a Hakko de-soldering gun.
It made fairly quick work of that part of the job. Trying to use wick alone or a plunger pump solder sucker would have taken forever, and increase the risk of damage to the pads.
I then lightly followed up with some wick using a hoof style tip on my soldering station. When doing the de-soldering work, I first bushed a light coat of flux on the pads.
This makes it go a bit more smoothly, reducing the amount of dwell time needed on each of the pads. Using a good quality wick makes a difference.

Once all the solder is up, I then used 100% IP alcohol and a brush to dissolve the flux, immediately following up by ("tamping" not wiping) it with something absorbent.
Might have to do that more than once depending on how much needs to be removed.

I'll then take a soft cloth and dampen (not soak) with an ammonia free glass/multi-surface cleaner, then gently clean the board surface.

Lastly, I'll end by hitting the board surface lightly with a blow dryer on its lowest setting.
 
Last edited:
Back
Top Bottom