vega2k
Active Member
I thought I would document the LED upgrade on a vintage Yamaha CR-420 receiver in case anyone should be wondering how it can be done. It really was a very easy and straight forward procedure. The hardest part is getting the replacement lamps, but I have two contacts who have been able to provide me with direct replacement lamps as well as LED lamps. For vintage replacement lamps I went here: http://www.dgwojo.com/ . For the LED lamps below, I contacted an individual who makes them. If you are interested, I can forward you the contact information.
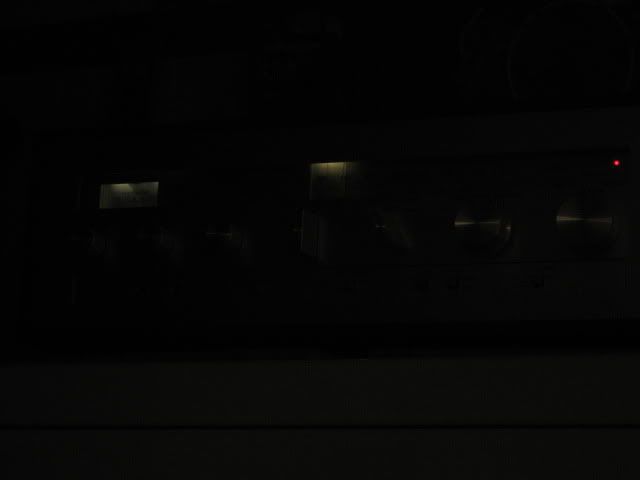
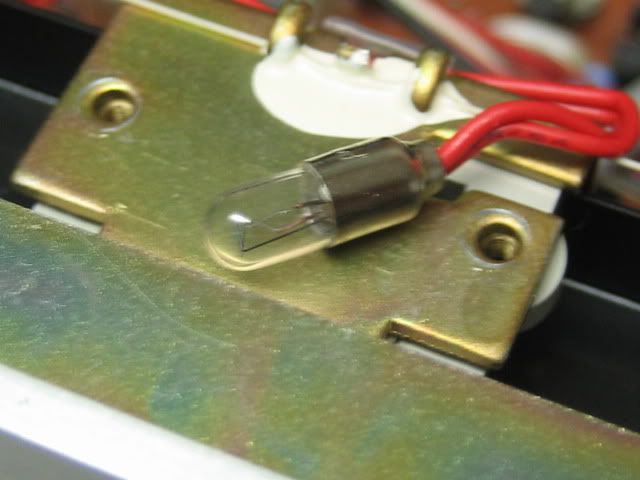
I have found the 70's Yamaha gear suffers from very dim displays, compared to other gear. Here's how the original lamps looked on this Yamaha 70's receiver (CR-420). Very dim, I think partly due to the age.
Here's two pics of the original lamps exposed from their seats.
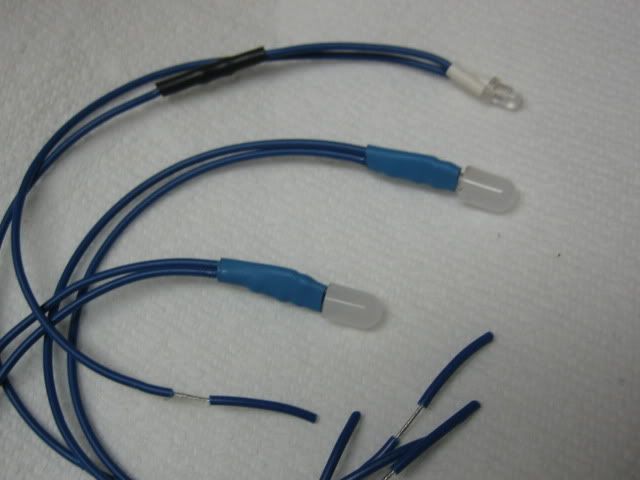
Here's how the LEDs look
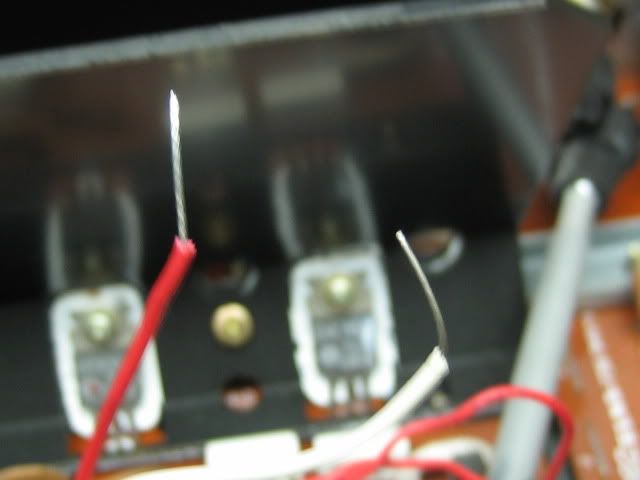
First step is to cut the original lamps, making sure you leave yourself enough slack.
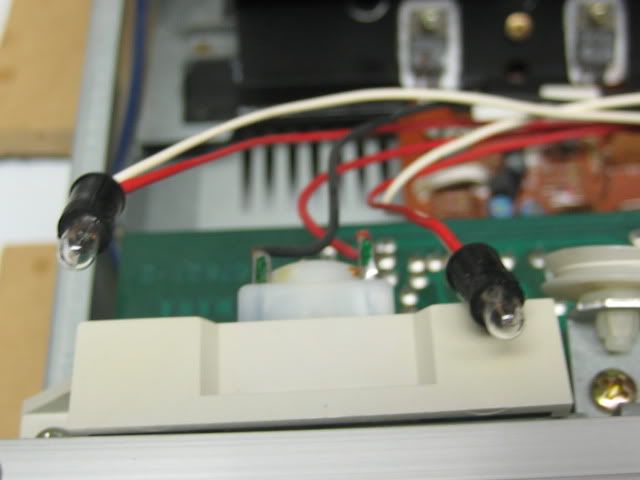
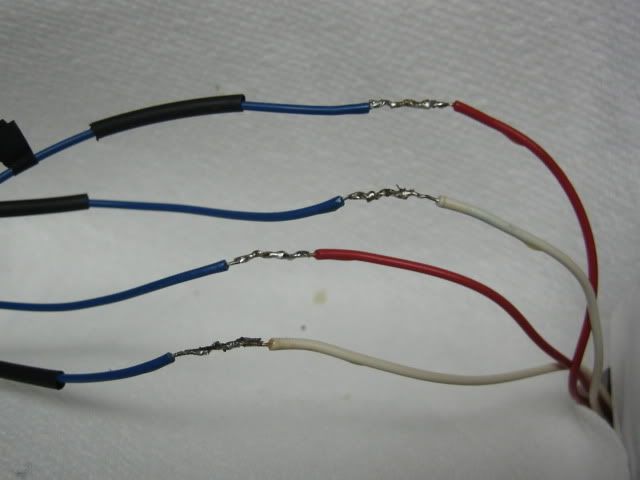
Here you can see the new LED wires (to the left) spliced to the original wires. Notice the shrink wrap ready to be moved over the connection.

Here's a pic of the connections soldered together. Again notice the shrink wrap ready to be moved into position.
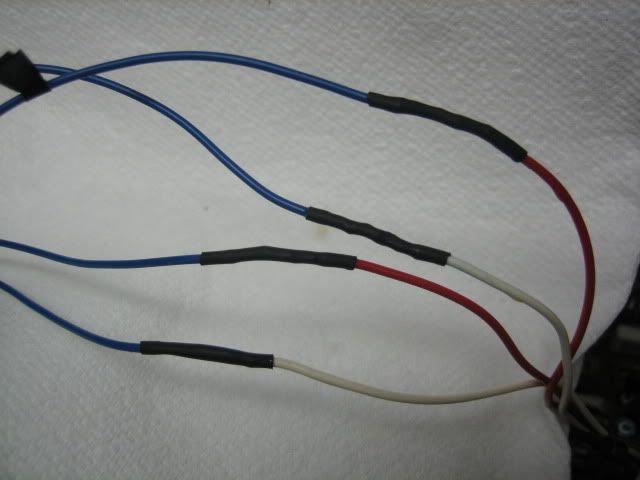
And here are the shrink wraps in place. I used a hair-dryer set on High to shrink the wraps into place.
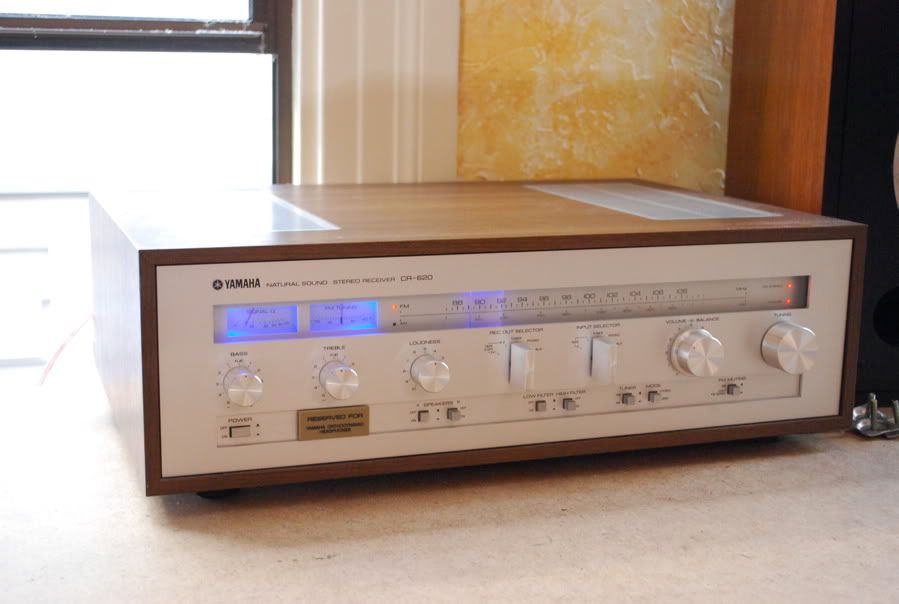
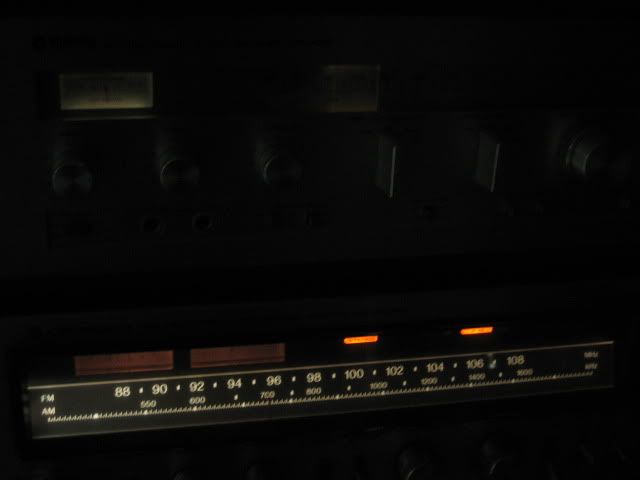
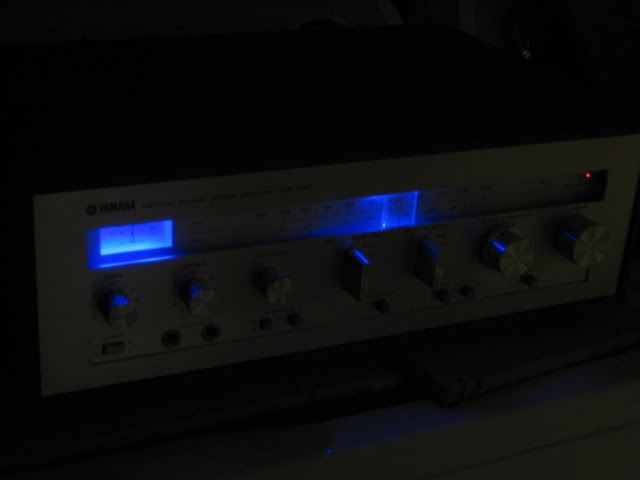
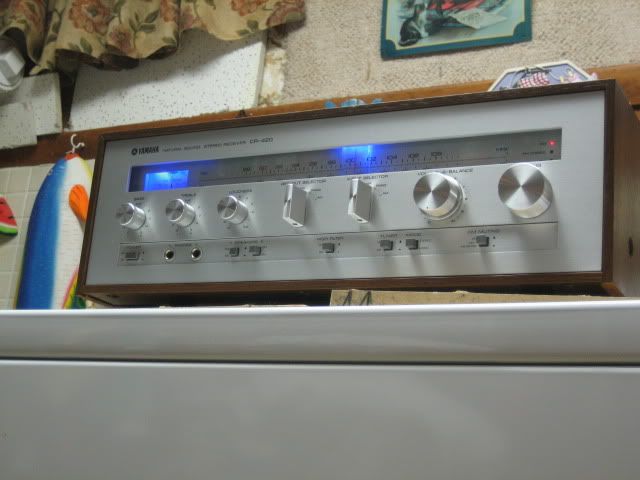
Finally, here are two shots of the finished product. In the dark and in the light. Much brighter and very unique.
I am thinking about doing the same with my Yamaha Amp and Tuner combo, but I think I will go with the White LEDs. I love the Blue, but I think I want to try the whites simply to keep the original look as much as possible, but much brighter. The project cost me about $10.
Please let me know if you have any questions or comments. :thmbsp:
I have found the 70's Yamaha gear suffers from very dim displays, compared to other gear. Here's how the original lamps looked on this Yamaha 70's receiver (CR-420). Very dim, I think partly due to the age.
Here's two pics of the original lamps exposed from their seats.
Here's how the LEDs look
First step is to cut the original lamps, making sure you leave yourself enough slack.
Here you can see the new LED wires (to the left) spliced to the original wires. Notice the shrink wrap ready to be moved over the connection.
Here's a pic of the connections soldered together. Again notice the shrink wrap ready to be moved into position.
And here are the shrink wraps in place. I used a hair-dryer set on High to shrink the wraps into place.
Finally, here are two shots of the finished product. In the dark and in the light. Much brighter and very unique.
I am thinking about doing the same with my Yamaha Amp and Tuner combo, but I think I will go with the White LEDs. I love the Blue, but I think I want to try the whites simply to keep the original look as much as possible, but much brighter. The project cost me about $10.
Please let me know if you have any questions or comments. :thmbsp:
")