

I have had a lot of luck over the years running into Advents and Dynacos. I had 2 pair of utility Large Advents stacked for a few years and I ended up selling them and moving in a pair of walnut New Large and a pair of walnut Originals in their place.
The other day I found another pair of utilities for $5 each so I couldn't leave them there at that price! The vinyl was peeling off in several small areas so my initial idea was to just part them out. Upon closer examination I noticed that the cabinets were still nice and solid so I decided to do something I had thought about doing before........Make them BLACK!
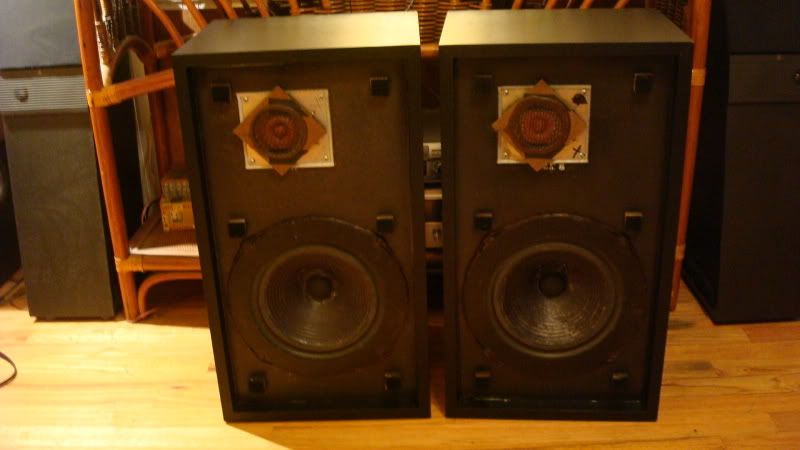
After checking that everything worked right and replacing one of the tweeters with a spare I had I got busy. I got my electric paint remover which is nothing but a big heating element with a handle and heated up the wood grain vinyl. It pulled off in large sections just like skinning a catfish! I sanded the glue covered MDF down smooth. I ordered a foam kit and black grill cloth from Simply Speakers. I got the refoam done and the new grill cloth on which looked great. I saved the old black inner layer of cloth so I would have the right density.
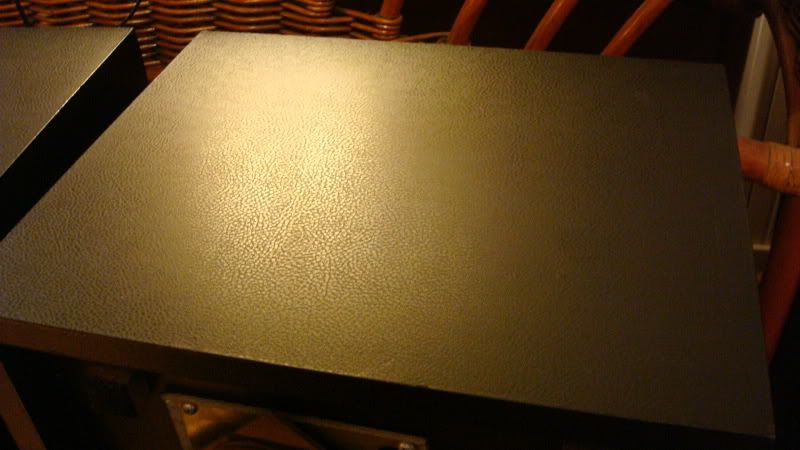
Now for the fun part....the cabinets! I have done several speakers with this same method. I used the black leather textured Ultra Contact vinyl that Home Depot sells in rolls. I removed the backing and carefully wrapped the speakers in one complete wrap ending on the bottom in the middle where I overlapped the two edges and double cut them so they would butt and not be noticed. The real expertise comes in the "turn under" on the front edges so that everything can be covered and there are no air bubbles.
The mitering of the corners and the folding and cutting involved is a little tricky but easier after you've experienced it a few times. The same tricks an upholsterer would use are used here except there are no double layers anywhere.
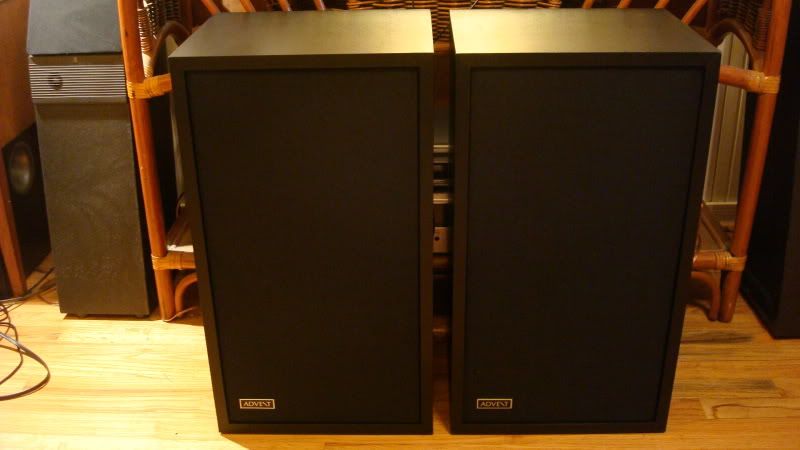
I must admit the results are amazing! They look great, like new and the black makes them look modern and they fit in better with the newer amps and receivers. I think I may now use them as the fronts on my HT system I'm not sure.
I wish I had taken pictures of the before to compare the results. I also wish I had taken pictures of some of the steps involved. I can give more info or pictures to anyone who may want to do their utility LA's this way. Thanks! Franksta
The other day I found another pair of utilities for $5 each so I couldn't leave them there at that price! The vinyl was peeling off in several small areas so my initial idea was to just part them out. Upon closer examination I noticed that the cabinets were still nice and solid so I decided to do something I had thought about doing before........Make them BLACK!
After checking that everything worked right and replacing one of the tweeters with a spare I had I got busy. I got my electric paint remover which is nothing but a big heating element with a handle and heated up the wood grain vinyl. It pulled off in large sections just like skinning a catfish! I sanded the glue covered MDF down smooth. I ordered a foam kit and black grill cloth from Simply Speakers. I got the refoam done and the new grill cloth on which looked great. I saved the old black inner layer of cloth so I would have the right density.
Now for the fun part....the cabinets! I have done several speakers with this same method. I used the black leather textured Ultra Contact vinyl that Home Depot sells in rolls. I removed the backing and carefully wrapped the speakers in one complete wrap ending on the bottom in the middle where I overlapped the two edges and double cut them so they would butt and not be noticed. The real expertise comes in the "turn under" on the front edges so that everything can be covered and there are no air bubbles.
The mitering of the corners and the folding and cutting involved is a little tricky but easier after you've experienced it a few times. The same tricks an upholsterer would use are used here except there are no double layers anywhere.
I must admit the results are amazing! They look great, like new and the black makes them look modern and they fit in better with the newer amps and receivers. I think I may now use them as the fronts on my HT system I'm not sure.
I wish I had taken pictures of the before to compare the results. I also wish I had taken pictures of some of the steps involved. I can give more info or pictures to anyone who may want to do their utility LA's this way. Thanks! Franksta