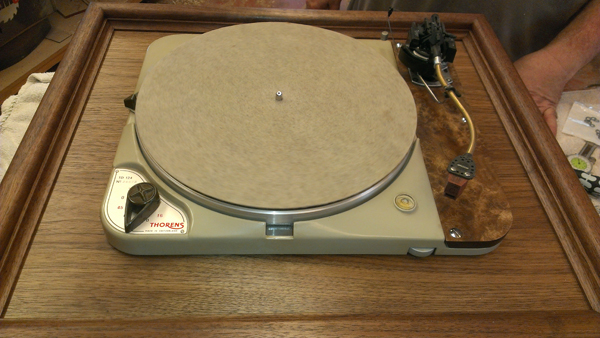
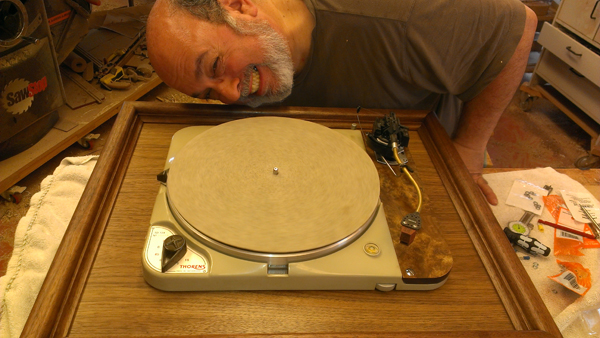
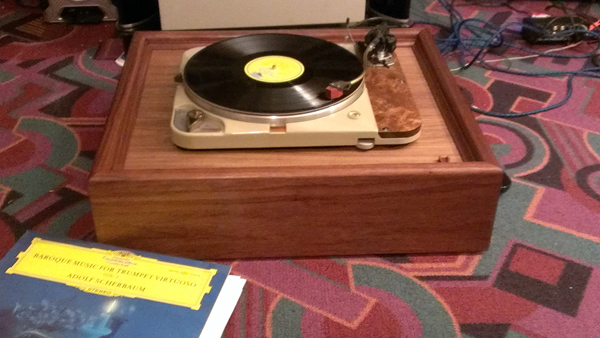
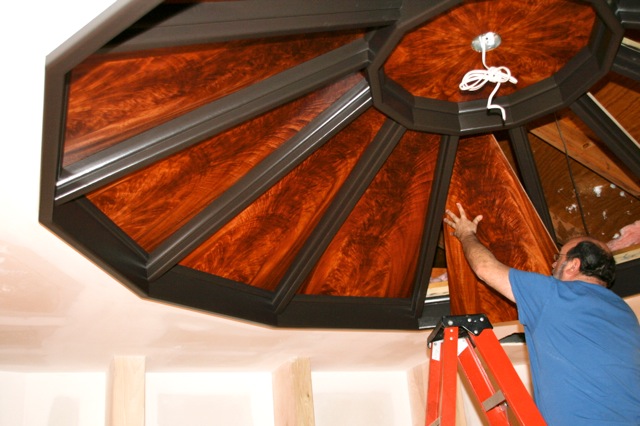
So several years ago I obtained a Thorens TD-124. It's gotten to be time to give it some attention. I decided to build a new plinth, but since I didn't know exactly what I was getting into, as questions about plinths in this thread.
What follows is a result of things I learned there.
When I say I built a plinth, what I mean is that I had some idea what I was after and worked with a friend, a master craftsman in building things from wood, and he did most of the work while I "supervised".
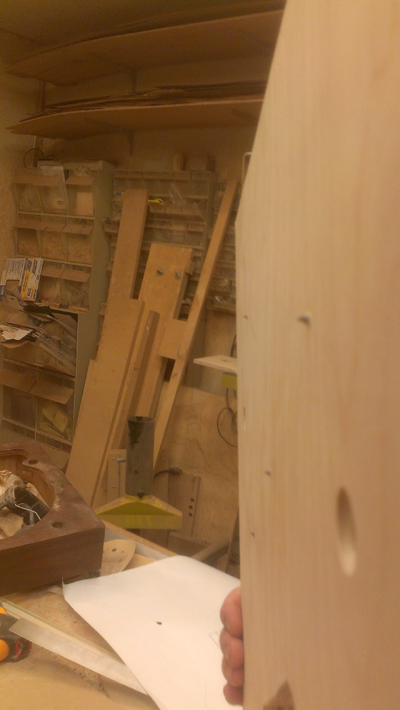
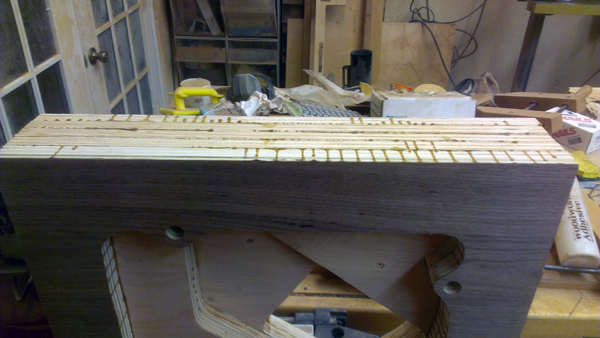
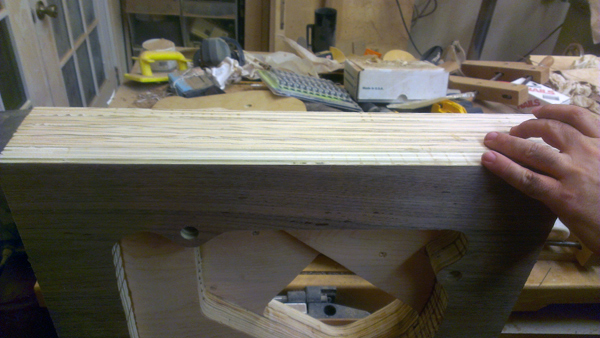
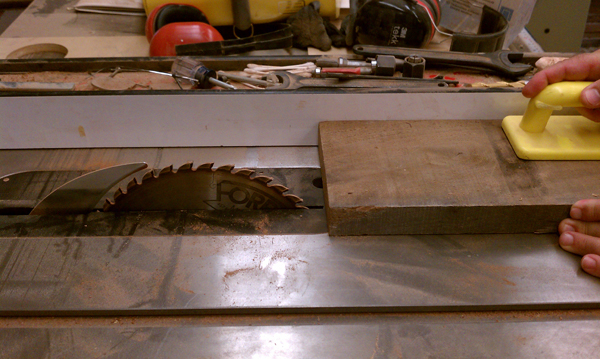
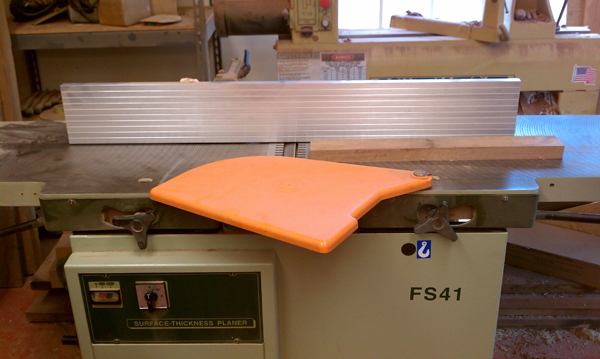
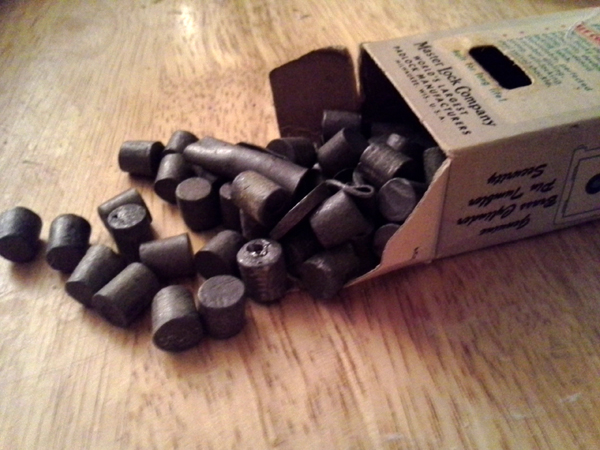
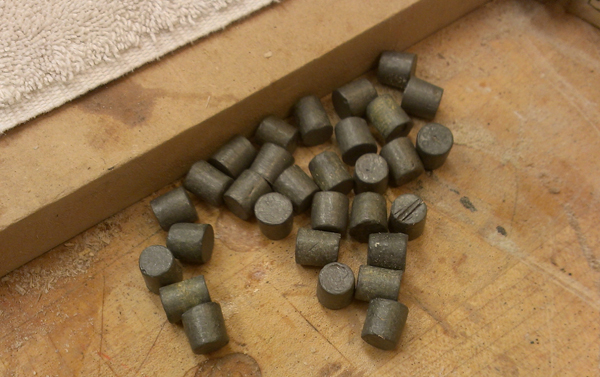
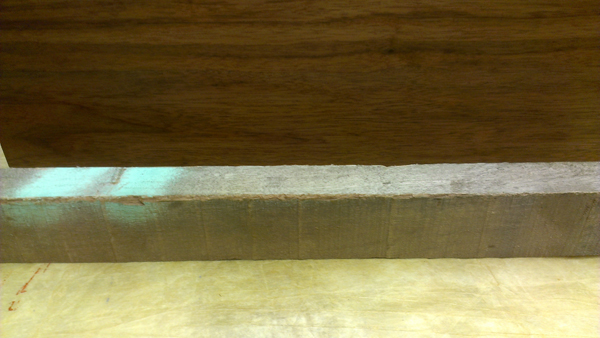
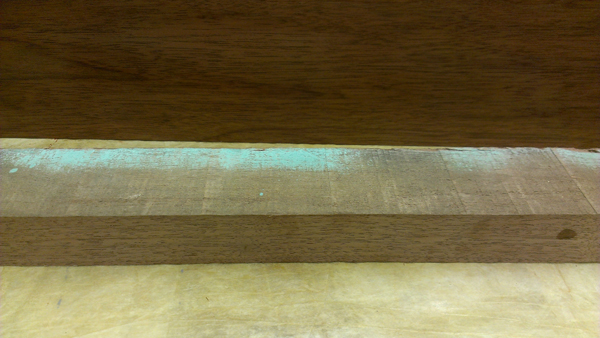
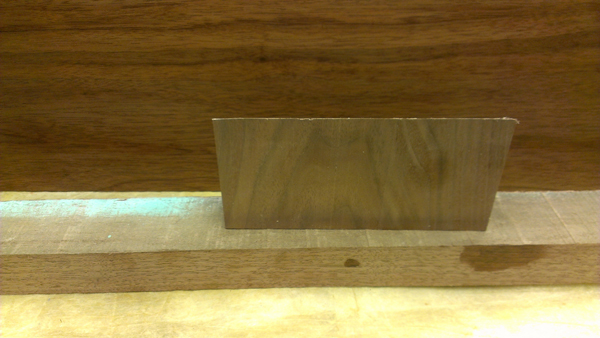
Started with wood and glue

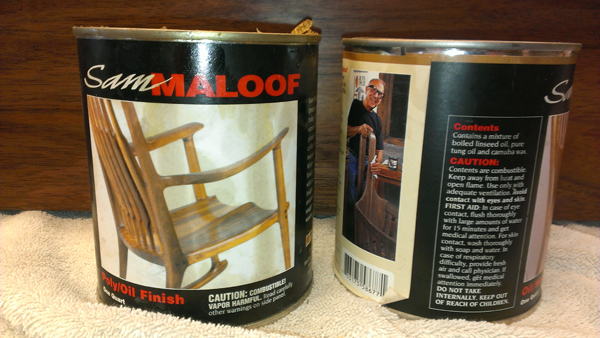
I bought this glue simply because I read somewhere that hide glue was a good choice for gluing layers in a plinth. I asked about that in the forum but no on responded -- so I figured "why not?". I found out from my mastercraftsman, Robert, or Master that hide glue was what many furniture makers used to use because it wasn't permanent. Heat makes it loosen and parts could be replaced. He didn't think there was a particular need for it, but since I already had it, we used it.
The layers
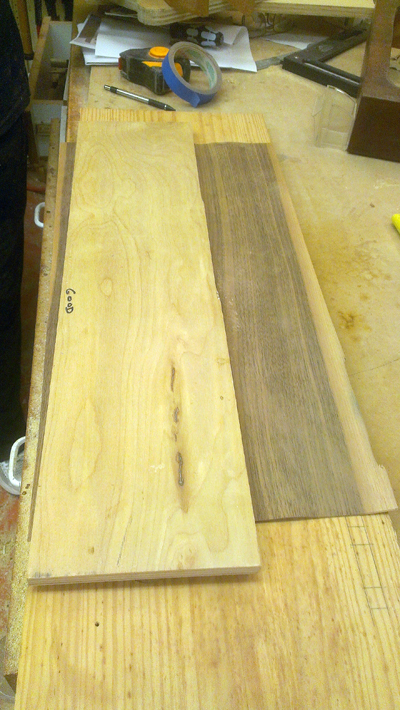
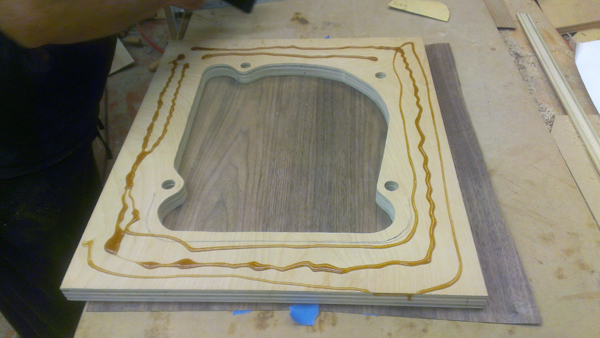
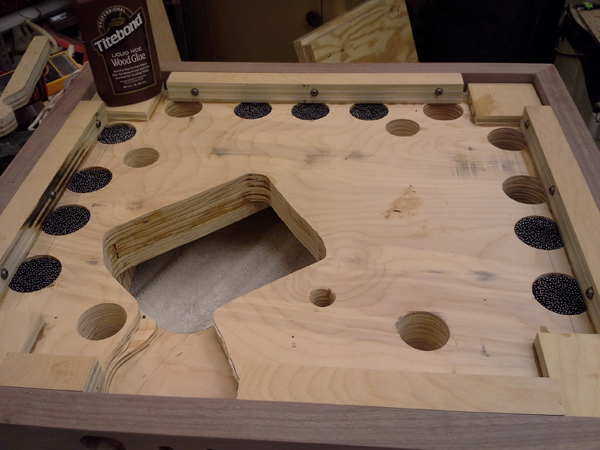
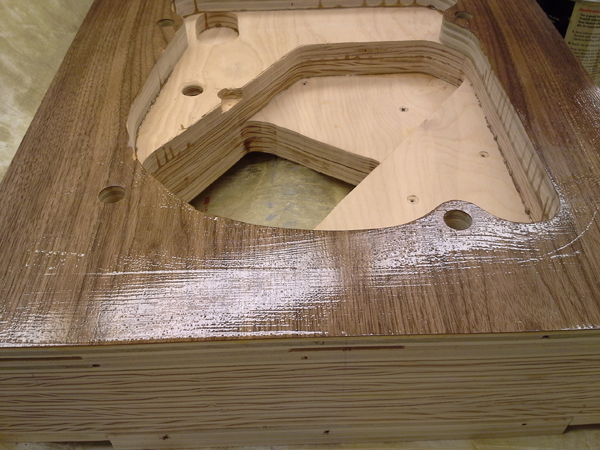
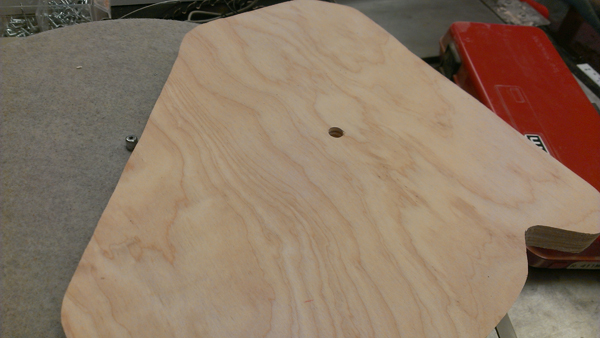
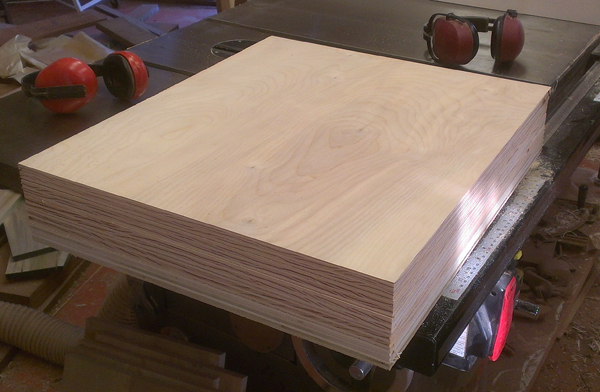
I decided I wanted a good plywood plinth so we looked in the Master's wood supply and found an inch thick birch plywood piece that was about 21 inches by 17 inches. Seemed like a good size for me. I had already decided I wanted something a little bigger than the table itself. Also had on hand a half sheet of 3/4 in birch, and that was enough to give us the five layers shown here
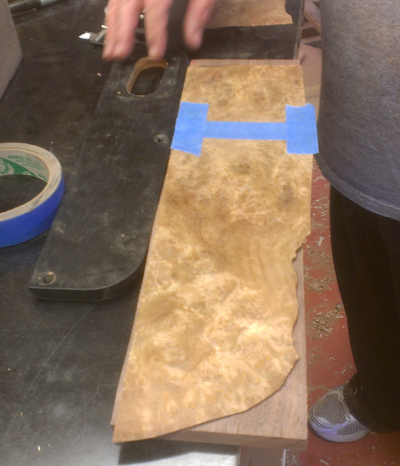
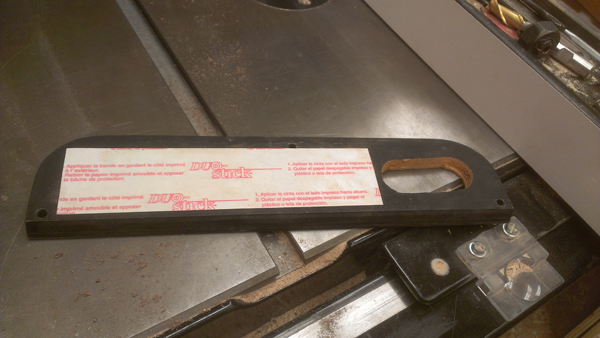
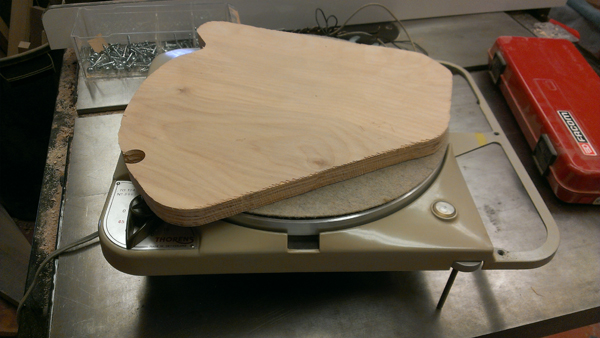
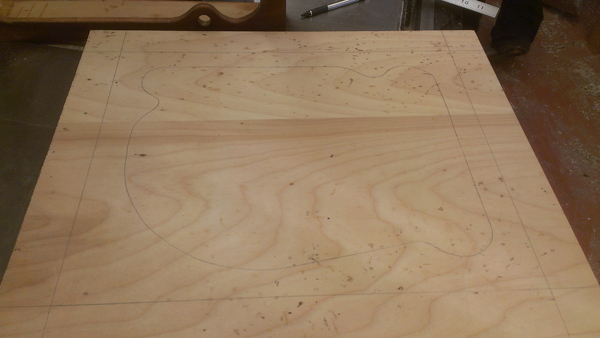
Now all we had to do was cut away all the wood we didn't need. We started by using the original Thorens plinth as a guide for cutting the first layer.
Trace the outline
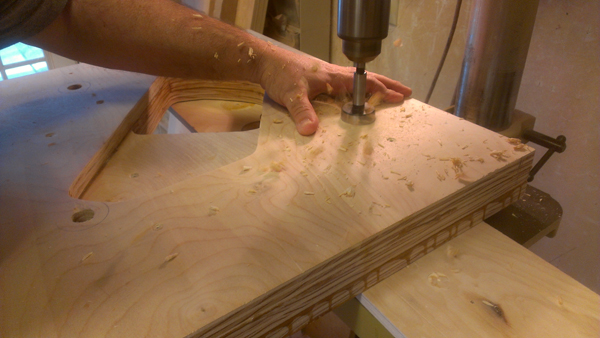
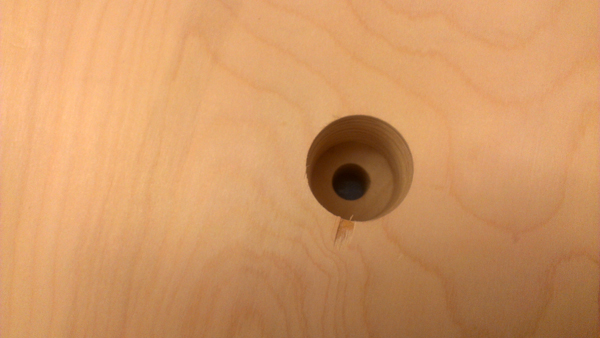
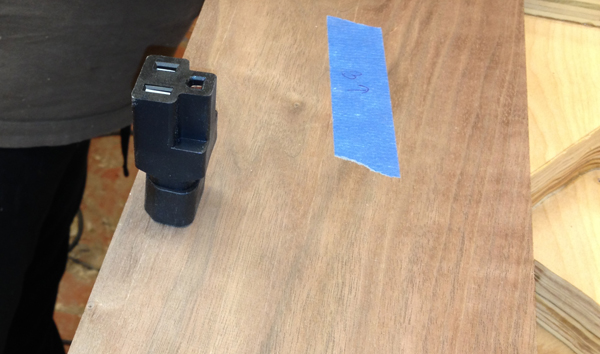
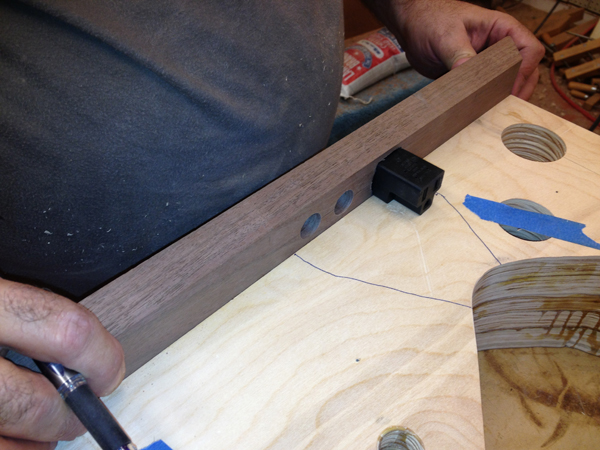
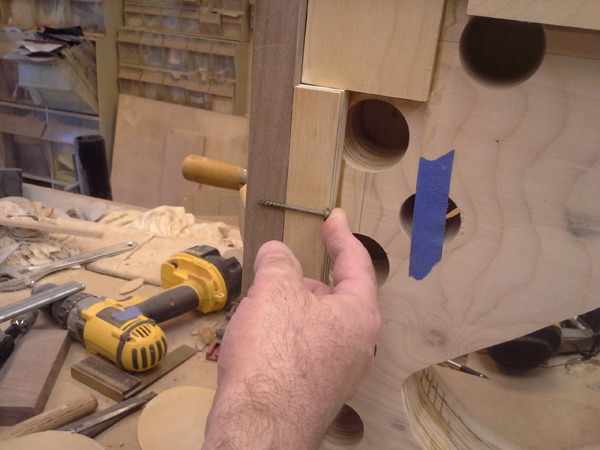
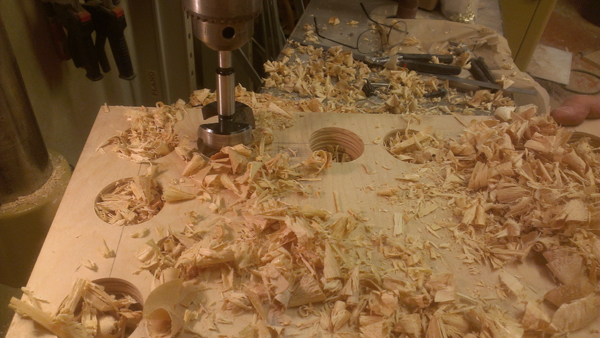
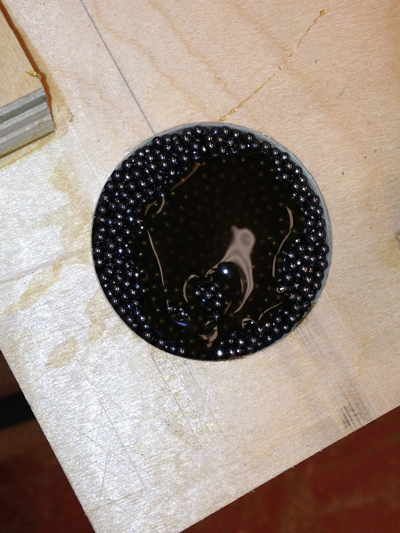
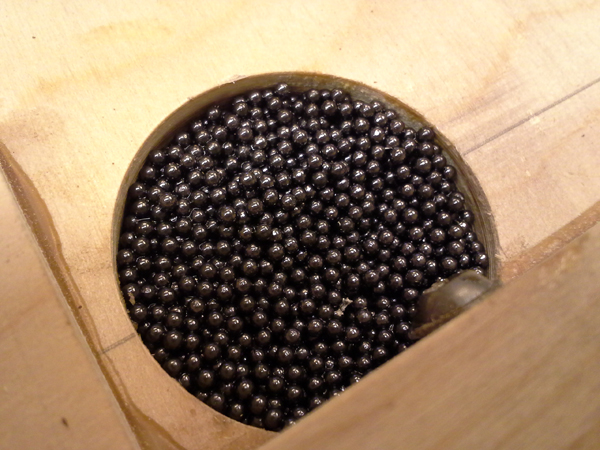
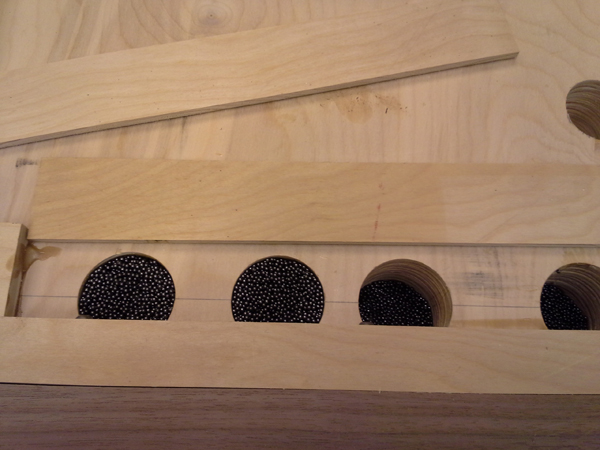
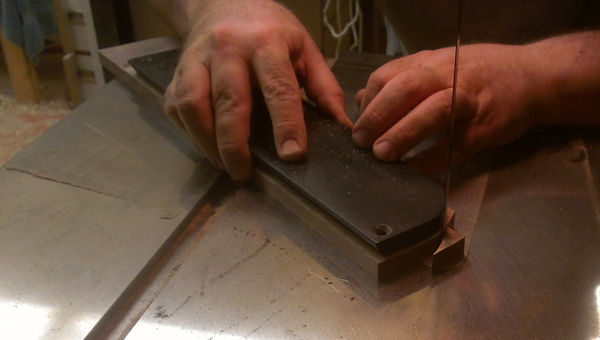
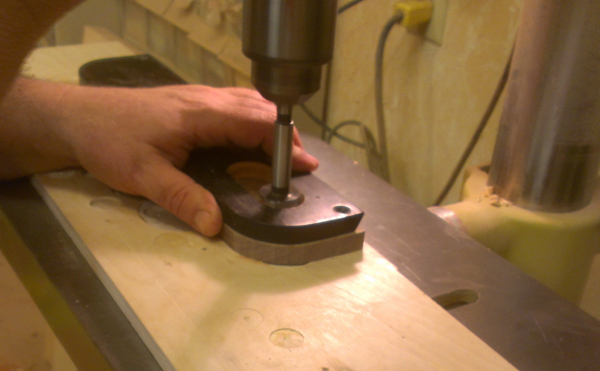
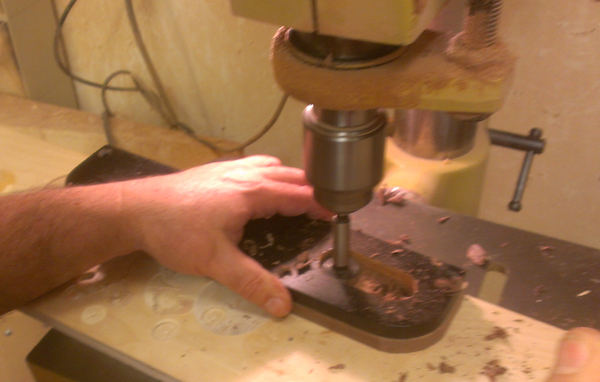
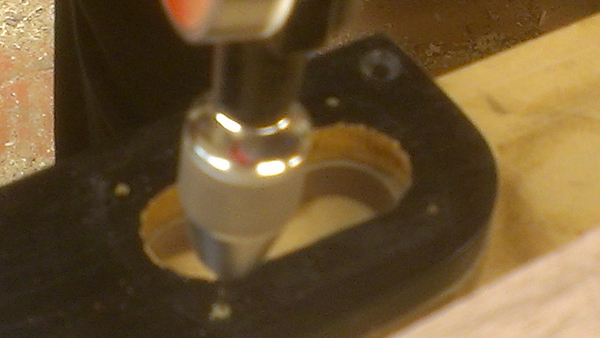
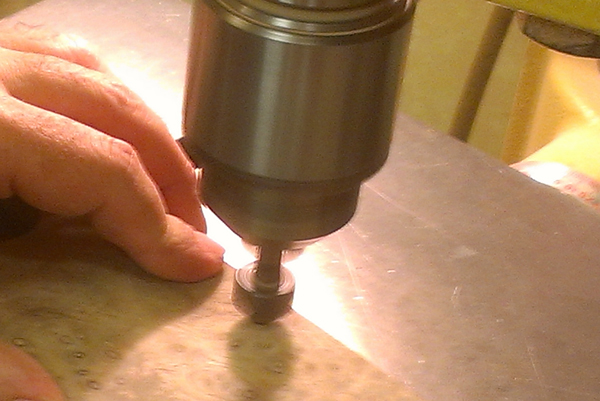
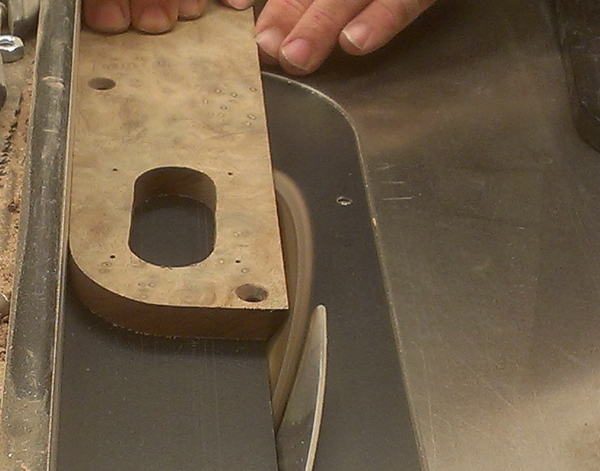
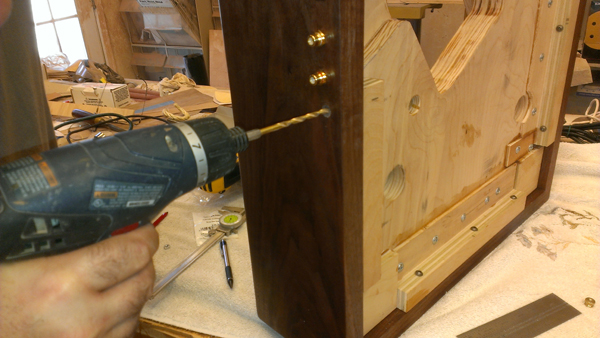
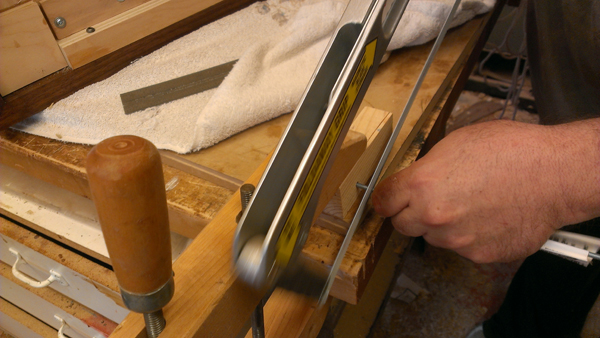
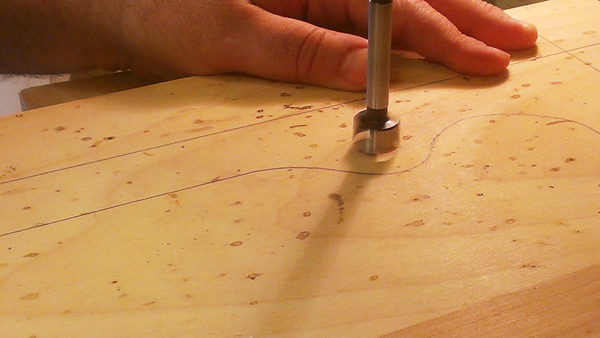
then cut. Here a Forstner bit is cutting one of the holes for the "legs"
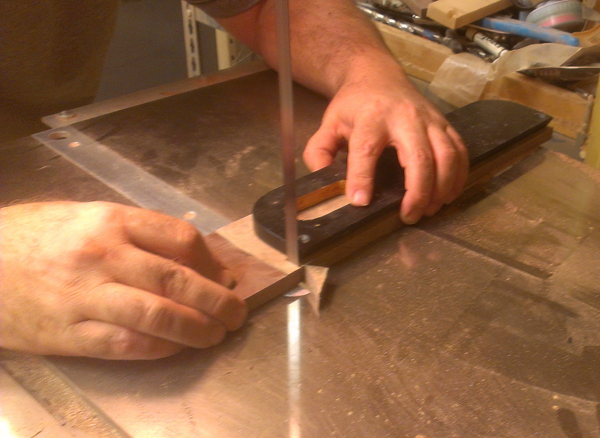
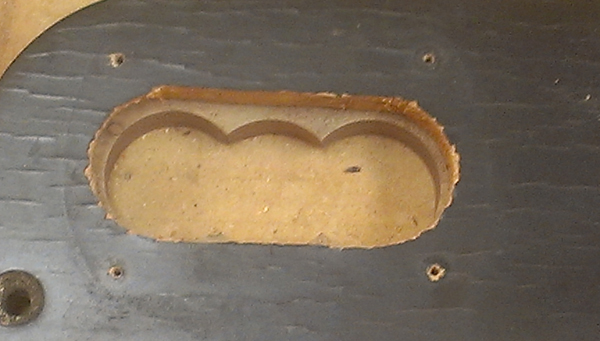
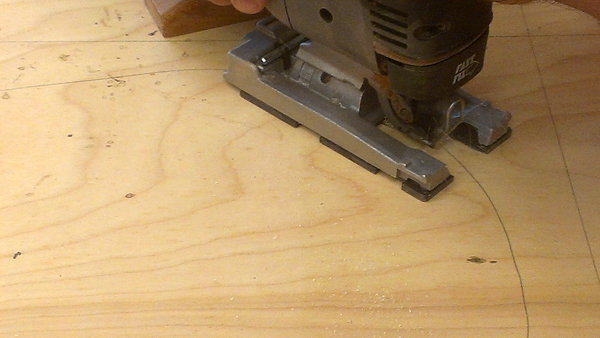
Then a jig saw cut the opening
and layer one is cut
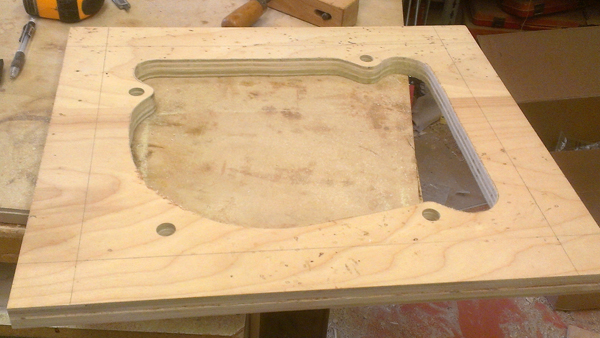
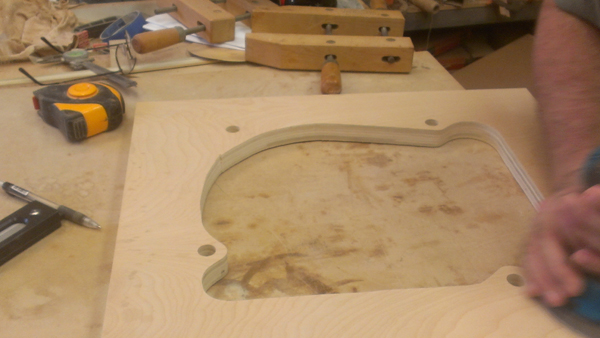
the openings were cut inside the pencil marks,
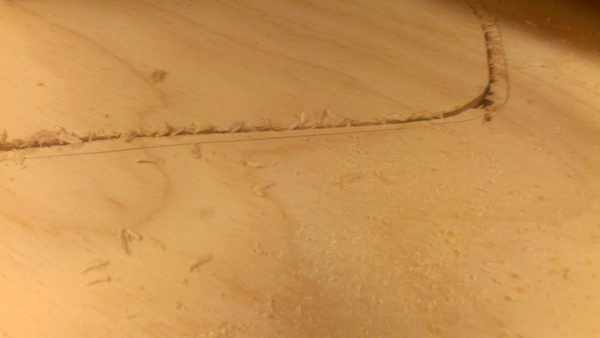
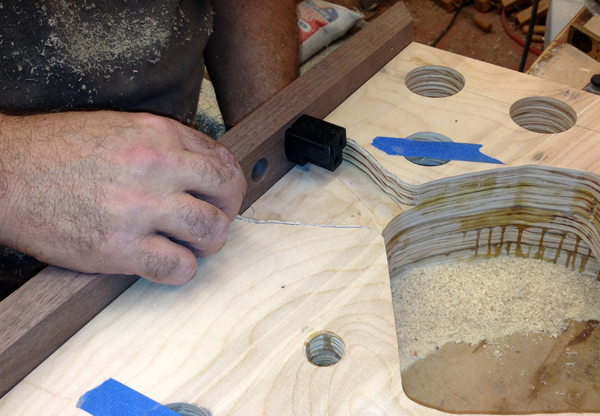
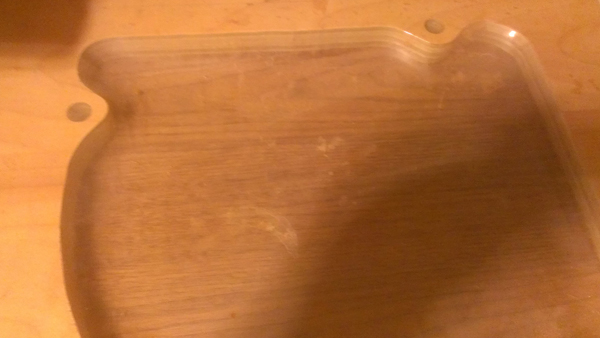
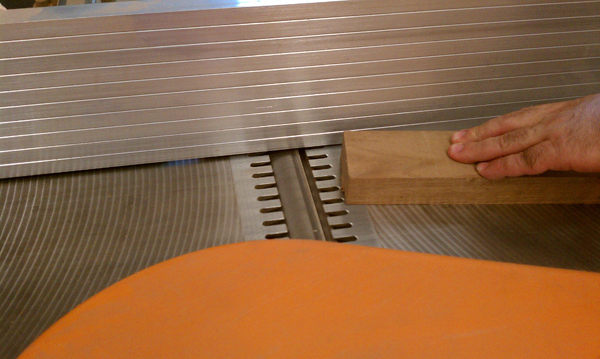
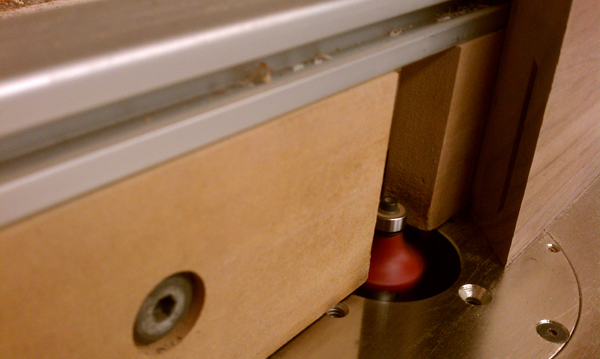
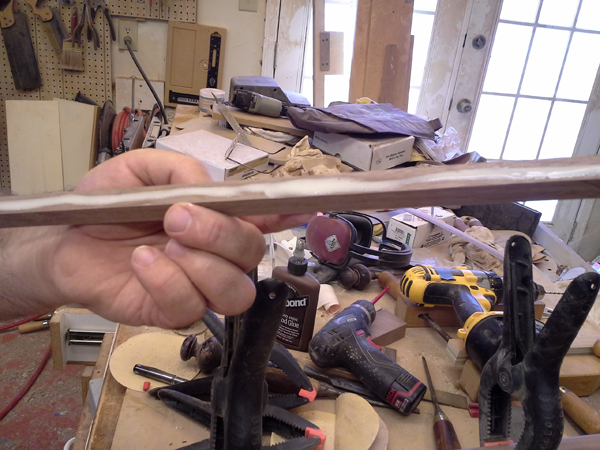
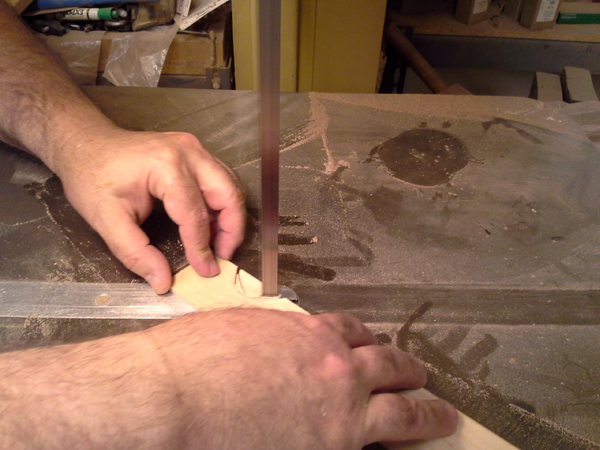
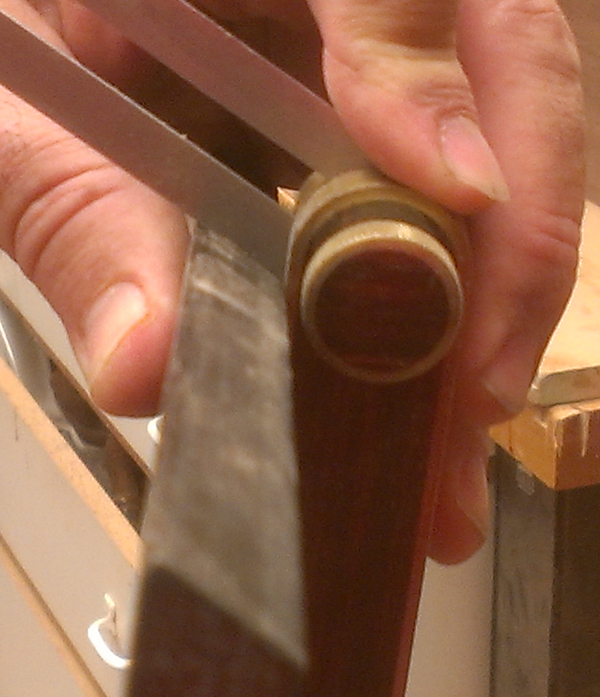
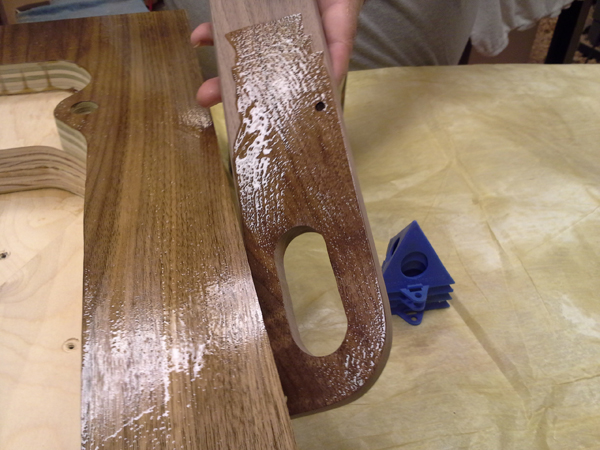
and the to finish off the inside edges this oscillating spindle sander was used. For those unfamiliar with it like I was, it rotates and goes up and down at the same time.
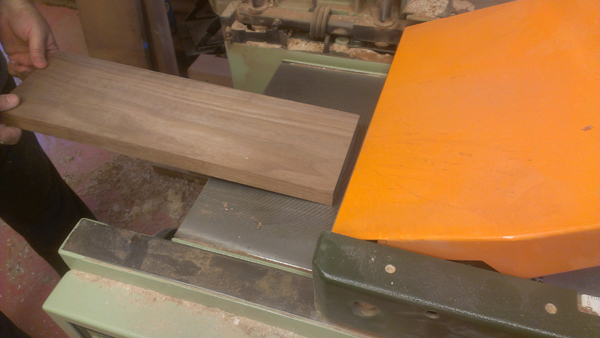
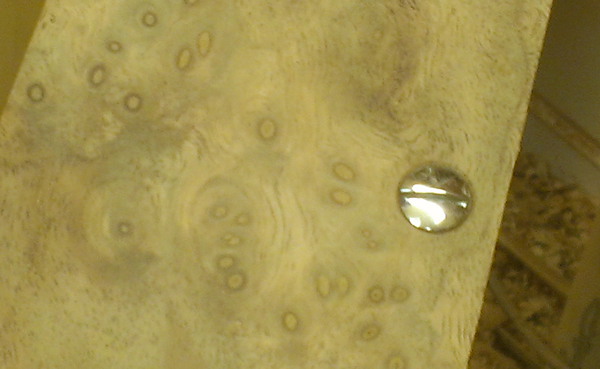
both surfaces were also sanded
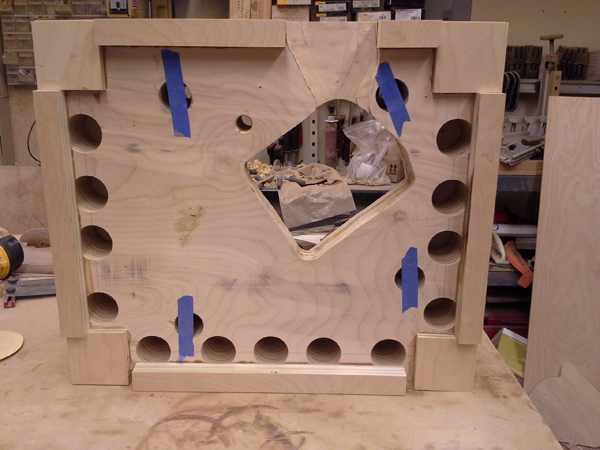
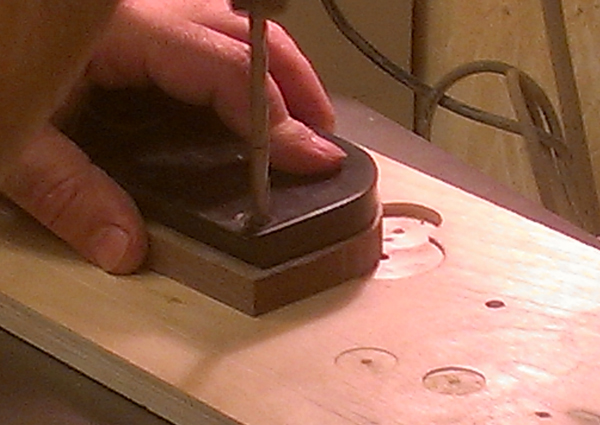
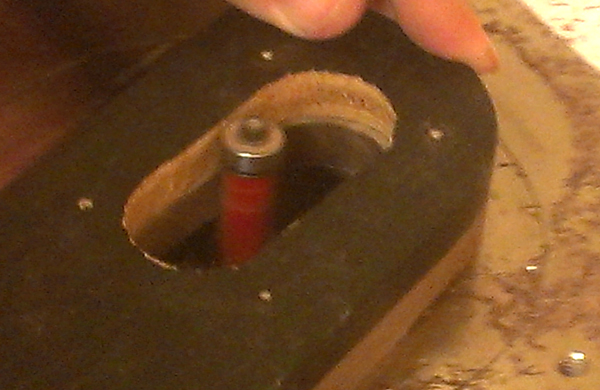
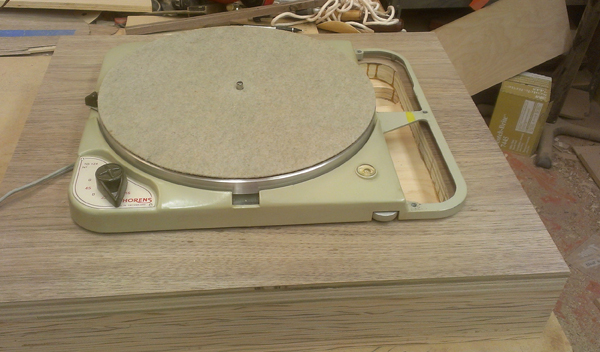
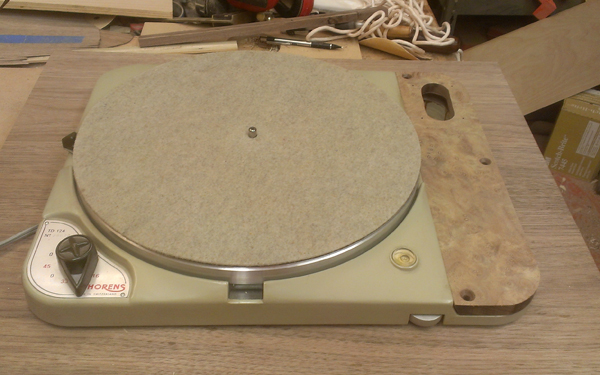
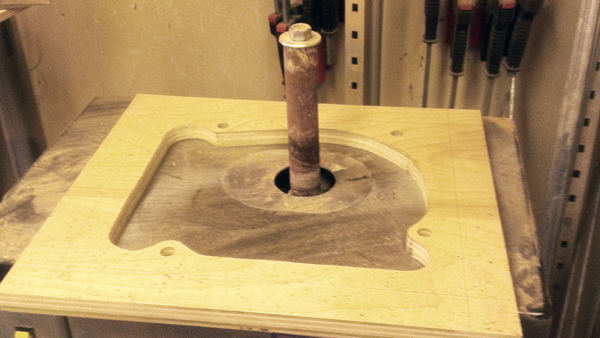
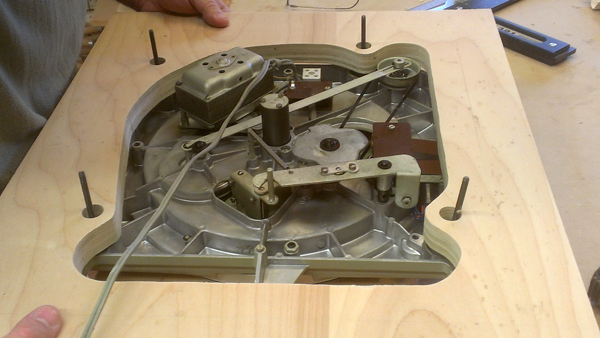
To check the fit, the table was inverted and this first layer was placed in position
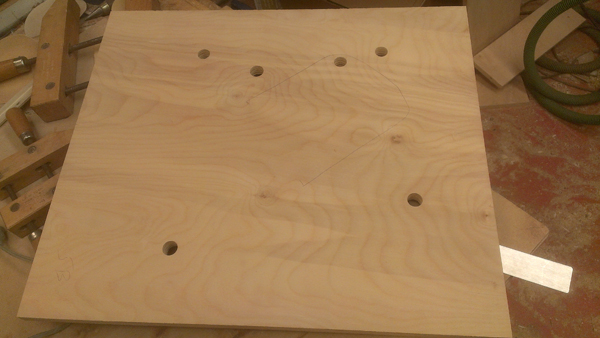
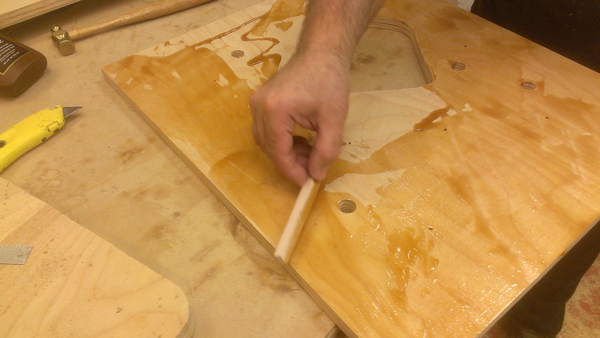
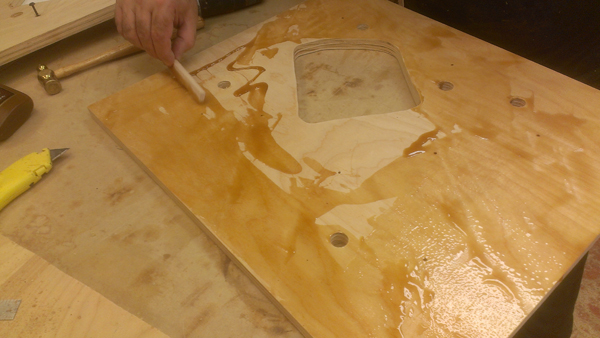
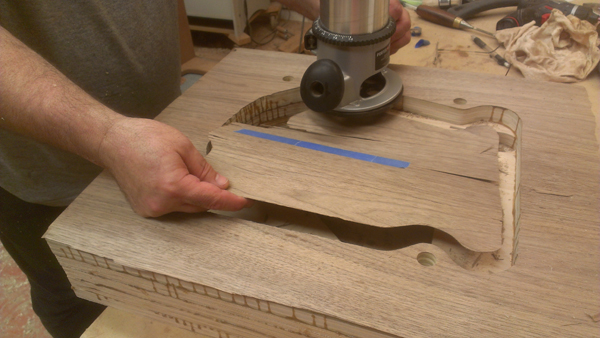
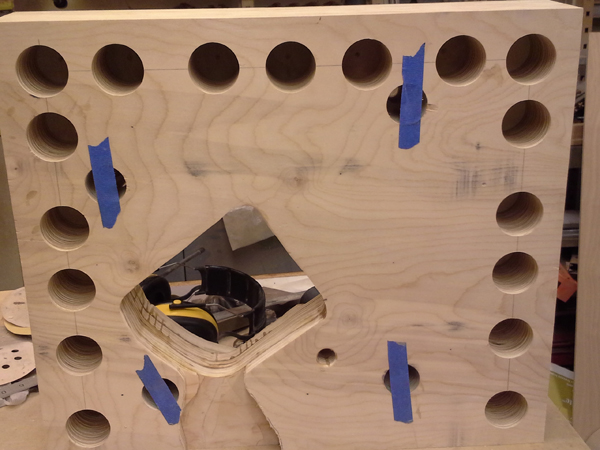
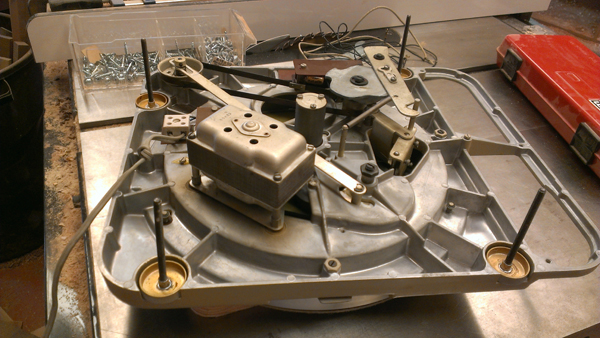
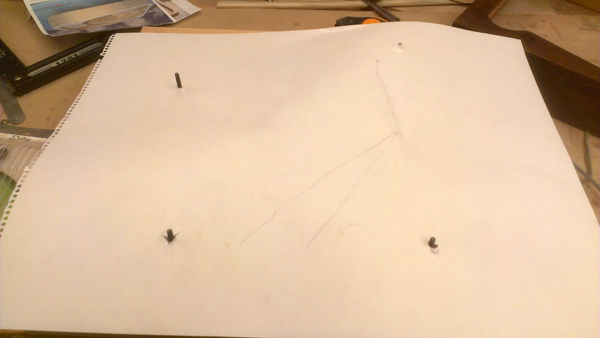
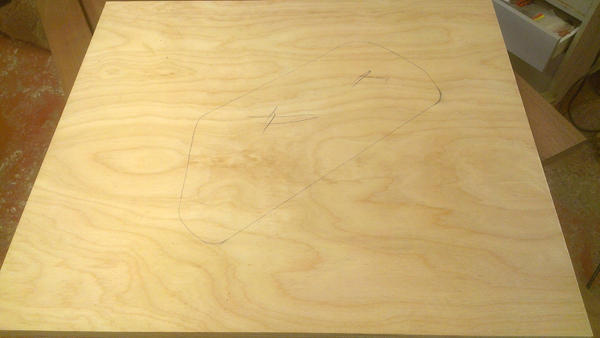
to do the next layer, the high points coming through layer one needed to be checked. For this we placed a piece
of paper on the turntable and made a rough sketch of the high points
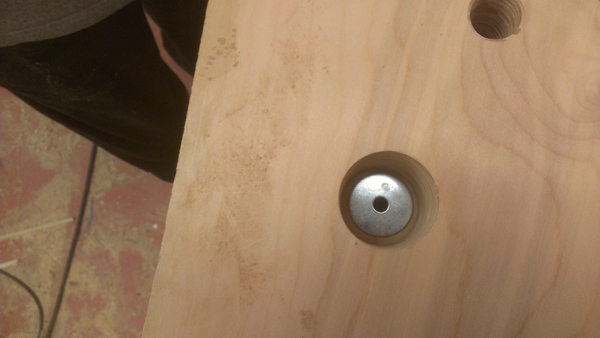
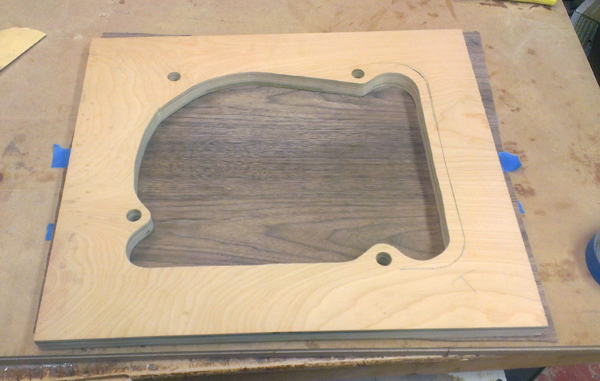
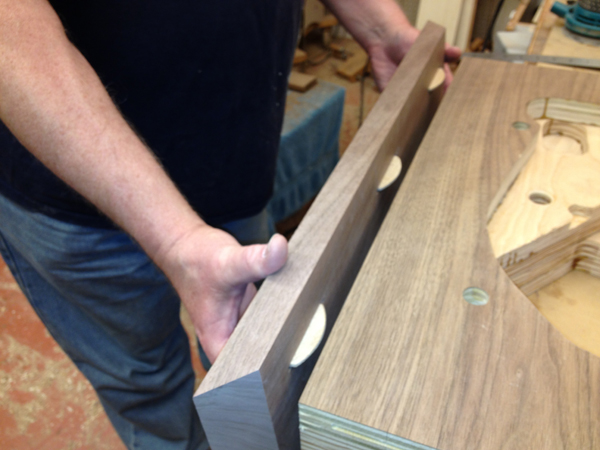
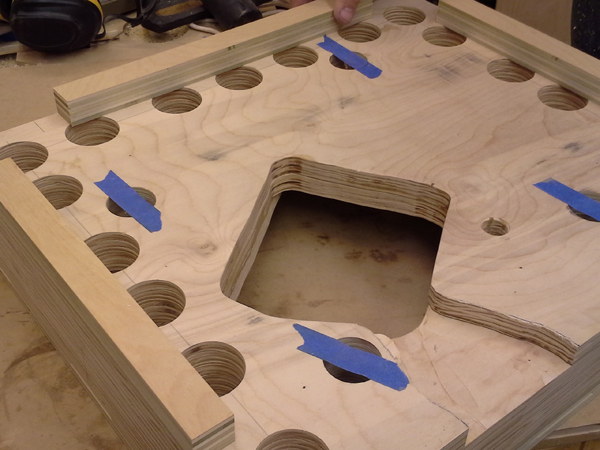
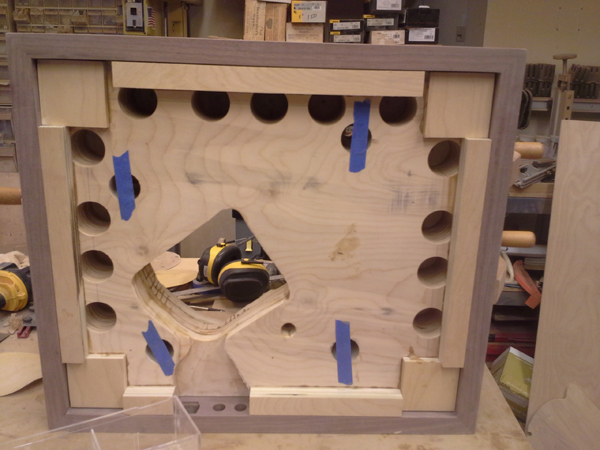
setting layer one on top of layer two, we could mark the holes the legs would come through as well as the
shape of the opening that would continue into layer two
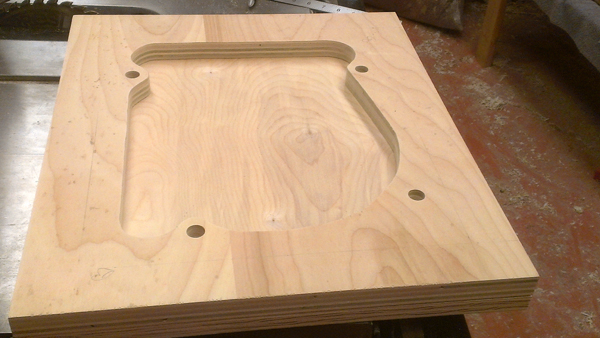
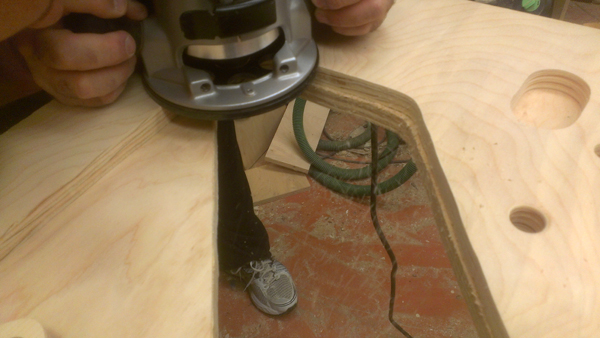
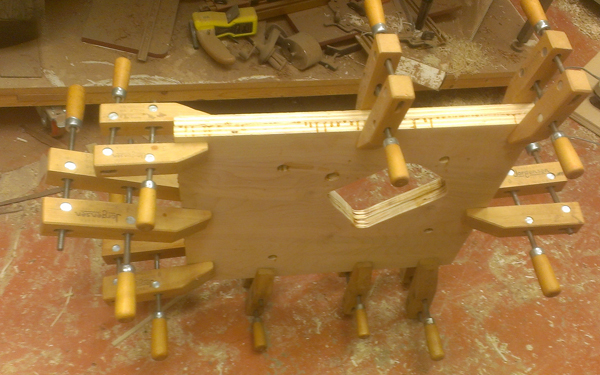
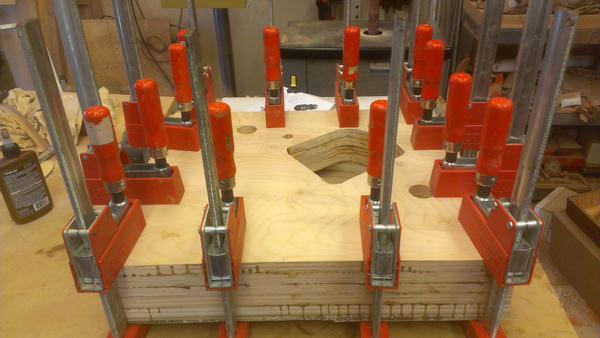
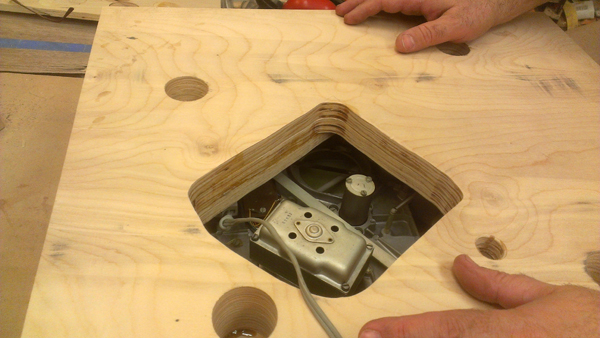
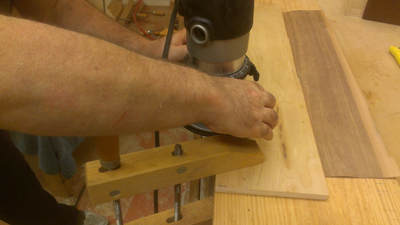
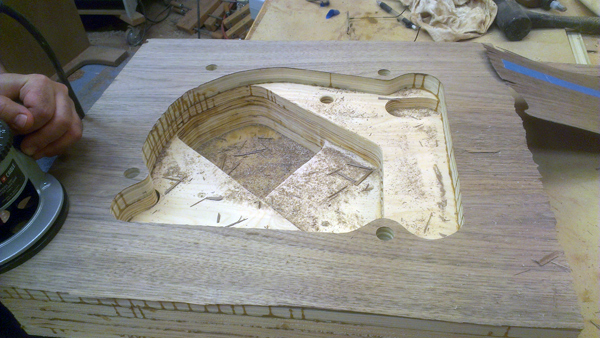
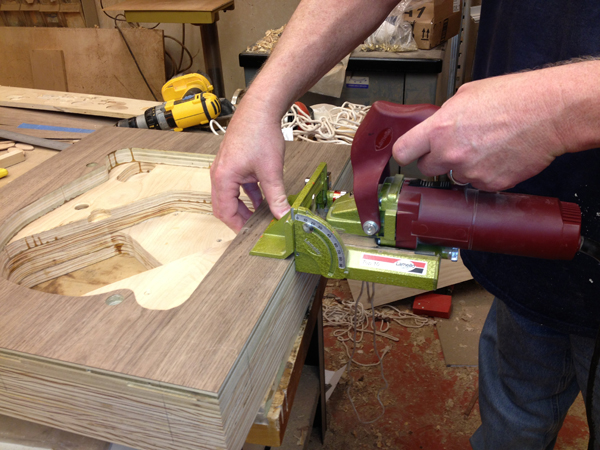
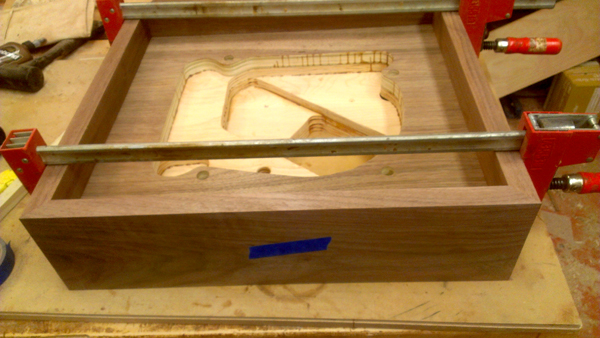
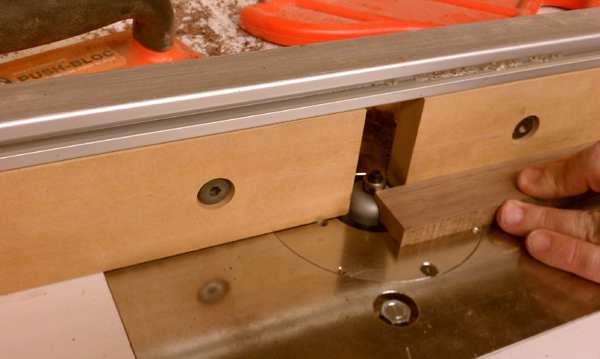
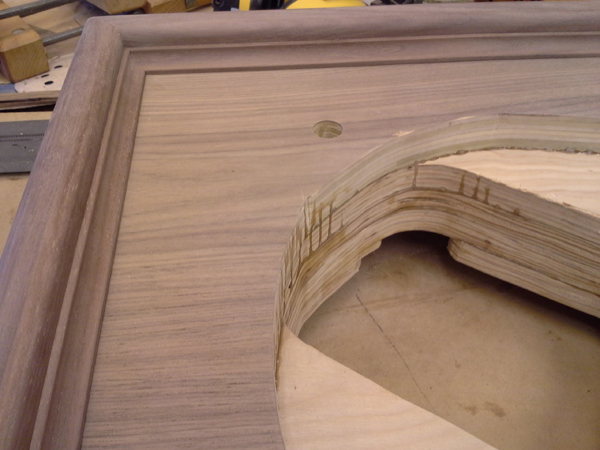
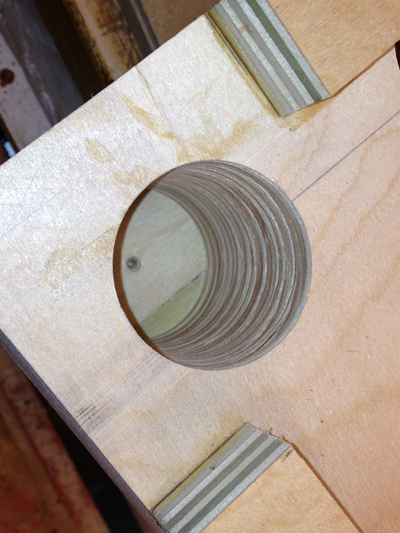
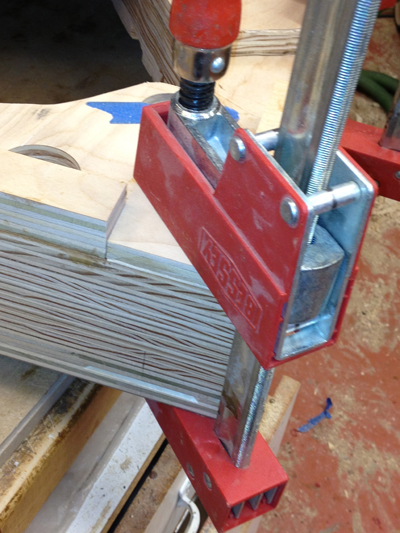
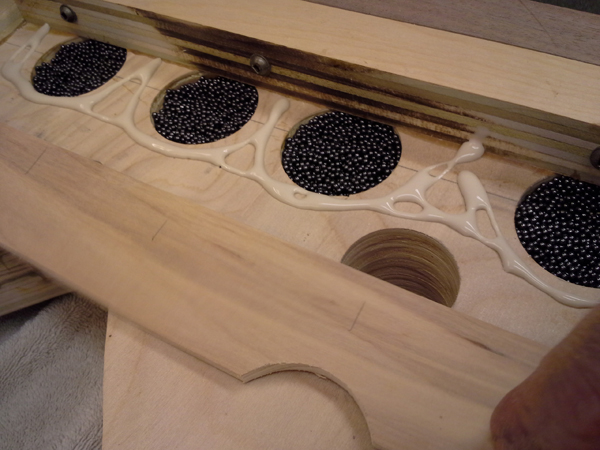
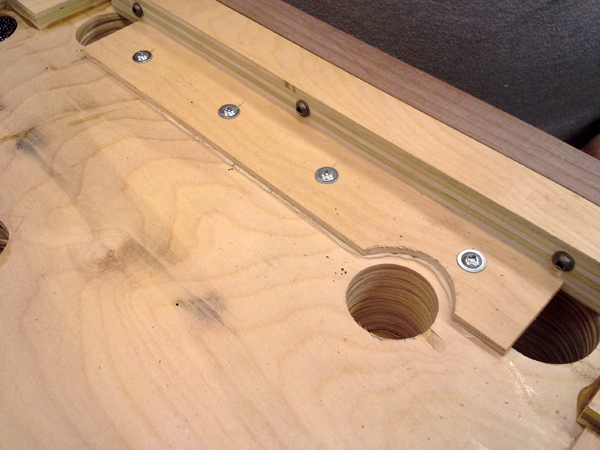
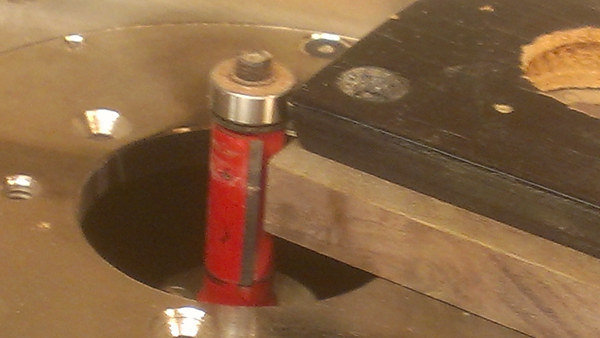
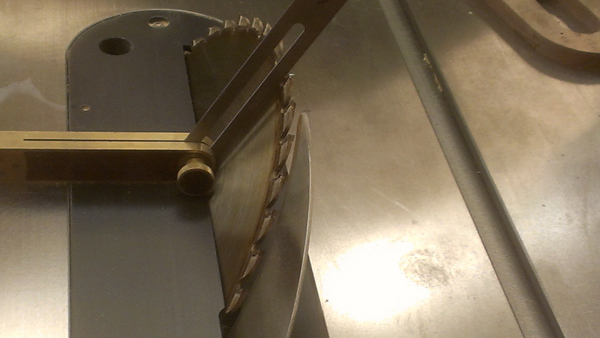
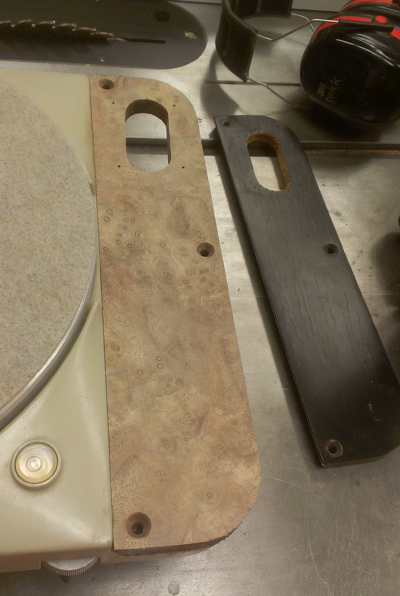
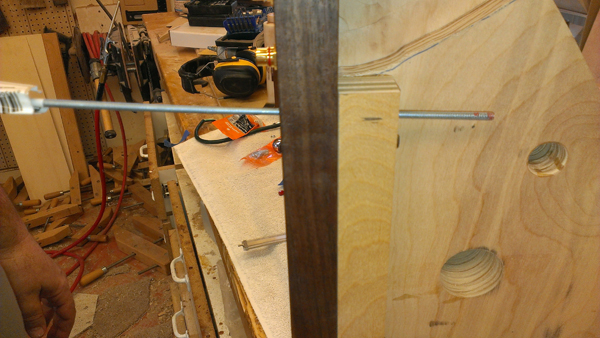
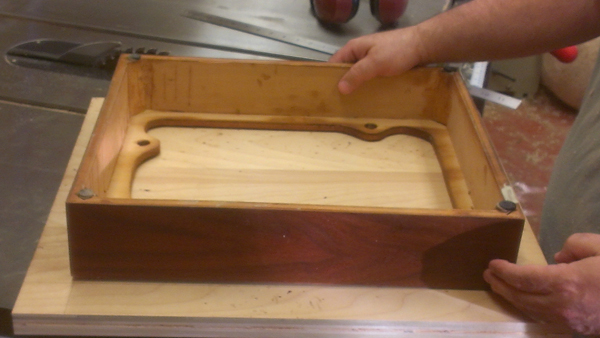
newly cut layer two clamped to layer one and a router finishing the edges. The top bearing bit in the router follows the cutout in the top and cuts the one in the bottom -- only here where both pieces will eventually be the same. The large hole lower left will be
enlarged for where the tone arm will fit.
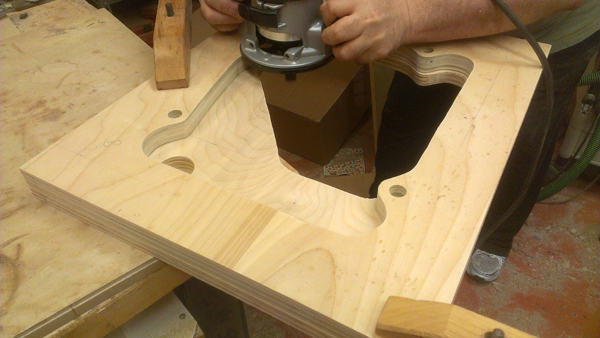
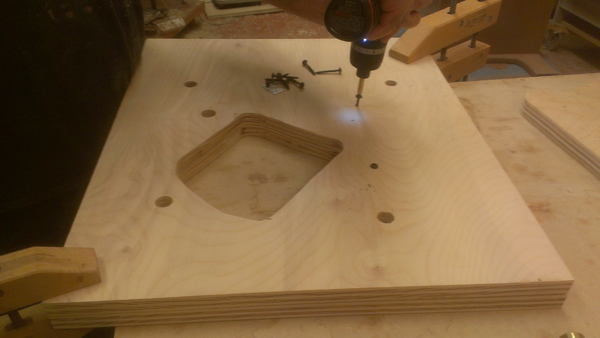
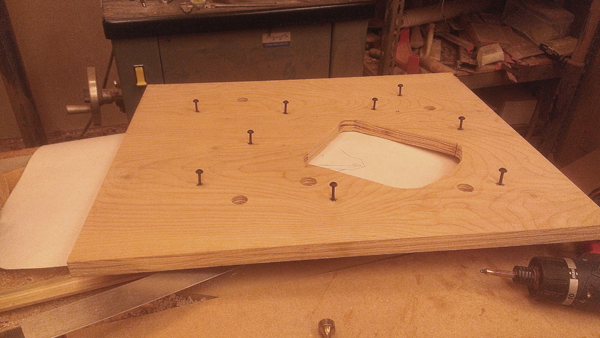
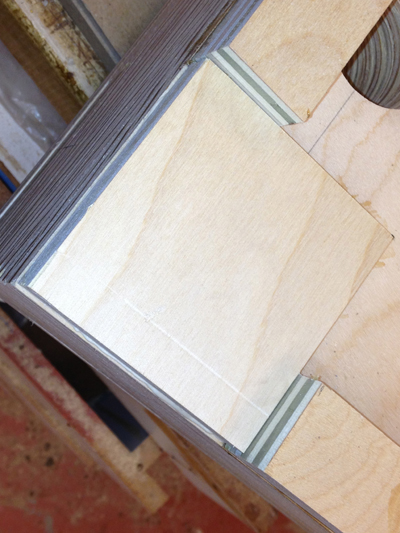
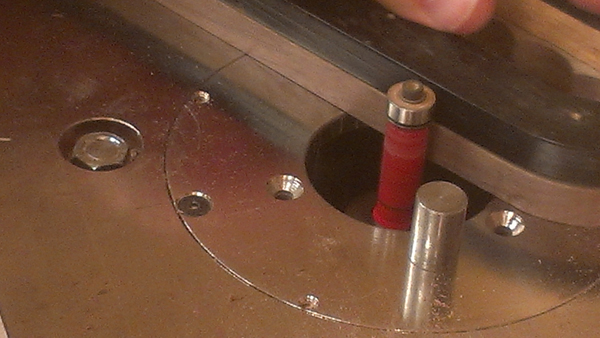
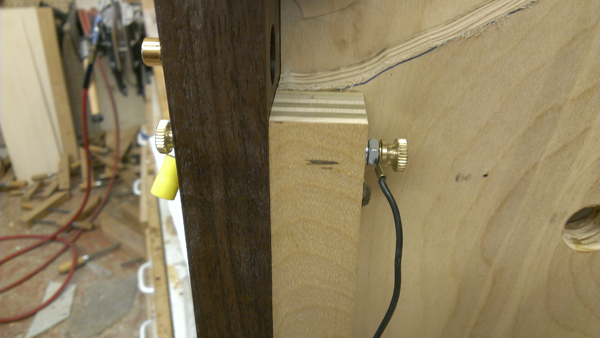
working on the next layer
What follows is a result of things I learned there.
When I say I built a plinth, what I mean is that I had some idea what I was after and worked with a friend, a master craftsman in building things from wood, and he did most of the work while I "supervised".
Started with wood and glue
I bought this glue simply because I read somewhere that hide glue was a good choice for gluing layers in a plinth. I asked about that in the forum but no on responded -- so I figured "why not?". I found out from my mastercraftsman, Robert, or Master that hide glue was what many furniture makers used to use because it wasn't permanent. Heat makes it loosen and parts could be replaced. He didn't think there was a particular need for it, but since I already had it, we used it.
The layers
I decided I wanted a good plywood plinth so we looked in the Master's wood supply and found an inch thick birch plywood piece that was about 21 inches by 17 inches. Seemed like a good size for me. I had already decided I wanted something a little bigger than the table itself. Also had on hand a half sheet of 3/4 in birch, and that was enough to give us the five layers shown here
Now all we had to do was cut away all the wood we didn't need. We started by using the original Thorens plinth as a guide for cutting the first layer.
Trace the outline
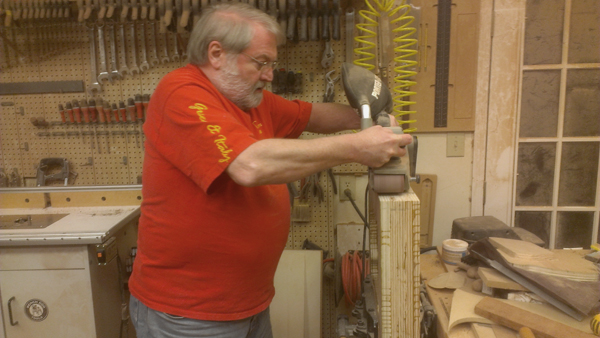
then cut. Here a Forstner bit is cutting one of the holes for the "legs"
Then a jig saw cut the opening
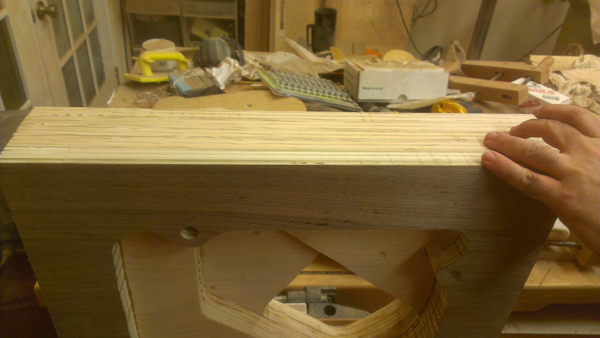
and layer one is cut
the openings were cut inside the pencil marks,
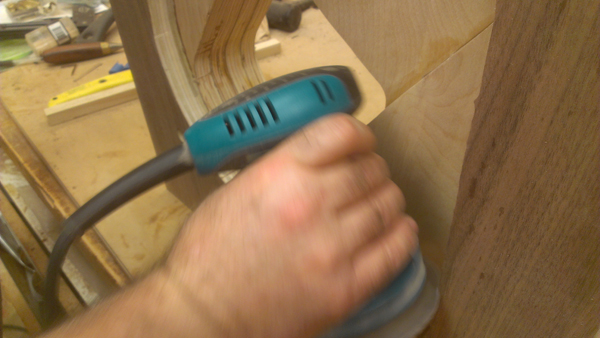
and the to finish off the inside edges this oscillating spindle sander was used. For those unfamiliar with it like I was, it rotates and goes up and down at the same time.
both surfaces were also sanded
To check the fit, the table was inverted and this first layer was placed in position
to do the next layer, the high points coming through layer one needed to be checked. For this we placed a piece
of paper on the turntable and made a rough sketch of the high points
setting layer one on top of layer two, we could mark the holes the legs would come through as well as the
shape of the opening that would continue into layer two
newly cut layer two clamped to layer one and a router finishing the edges. The top bearing bit in the router follows the cutout in the top and cuts the one in the bottom -- only here where both pieces will eventually be the same. The large hole lower left will be
enlarged for where the tone arm will fit.
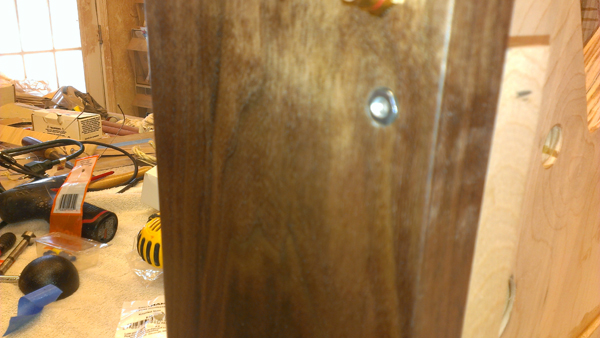
working on the next layer
Last edited: