

Gigapod
Vintage audio amateur
Hi,
I spent my Sunday cleaning up this amp and preparing for its future repairs, so I thought I would post some pics:
Family pic with LV-111 and T-111L:

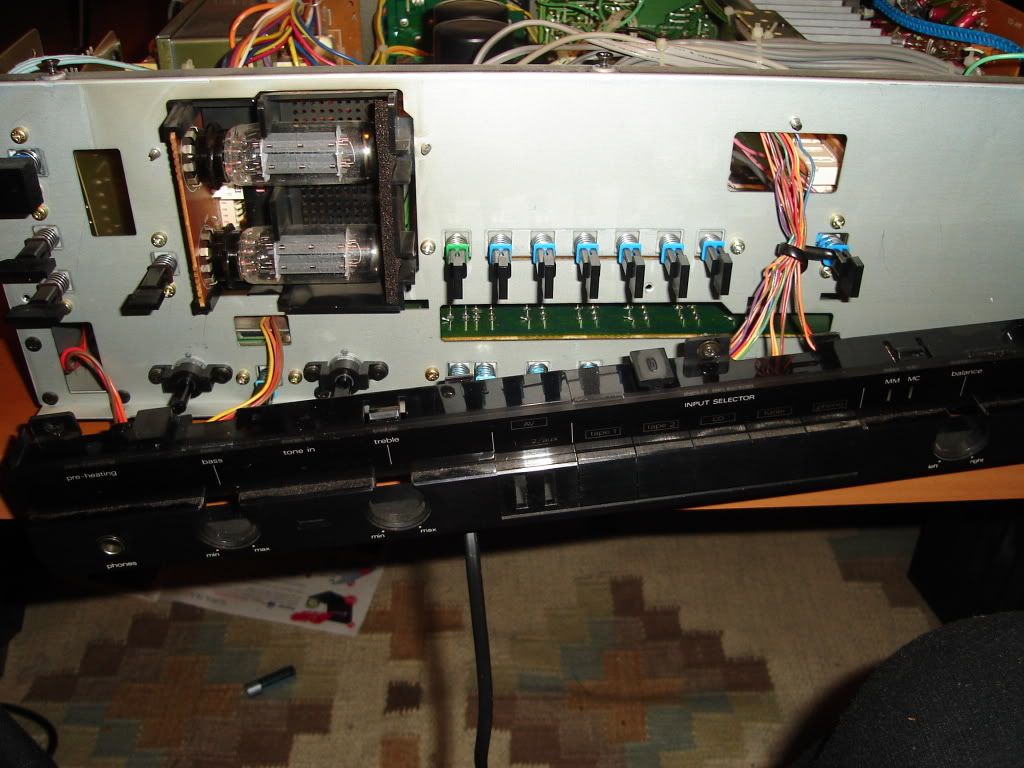
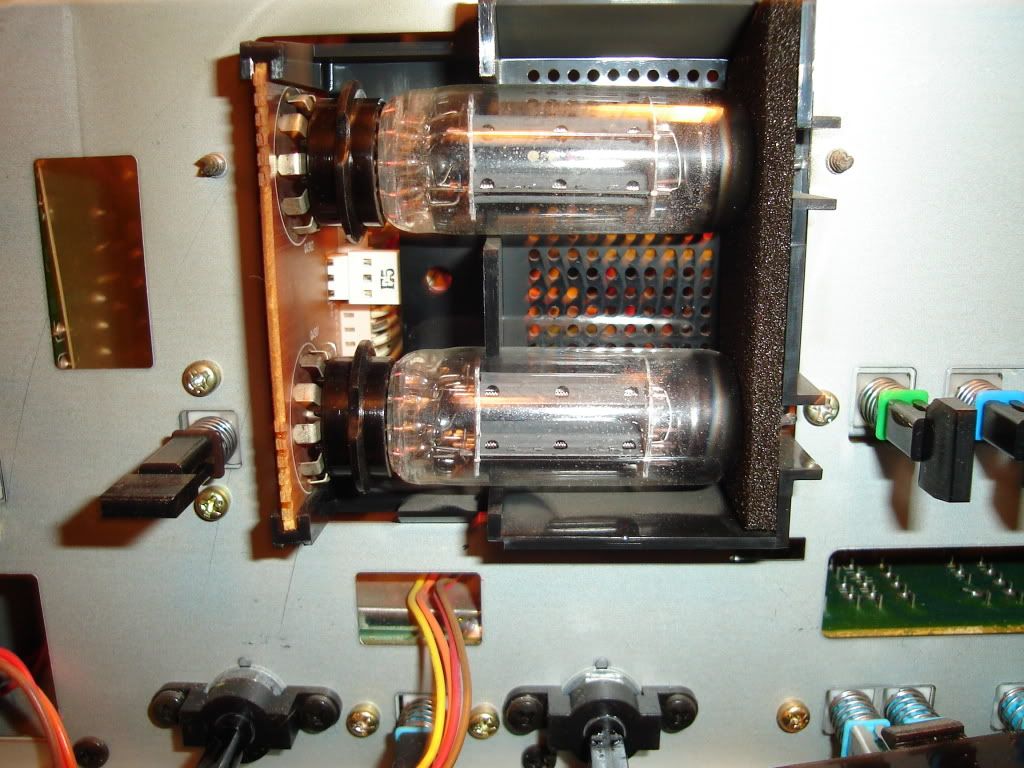
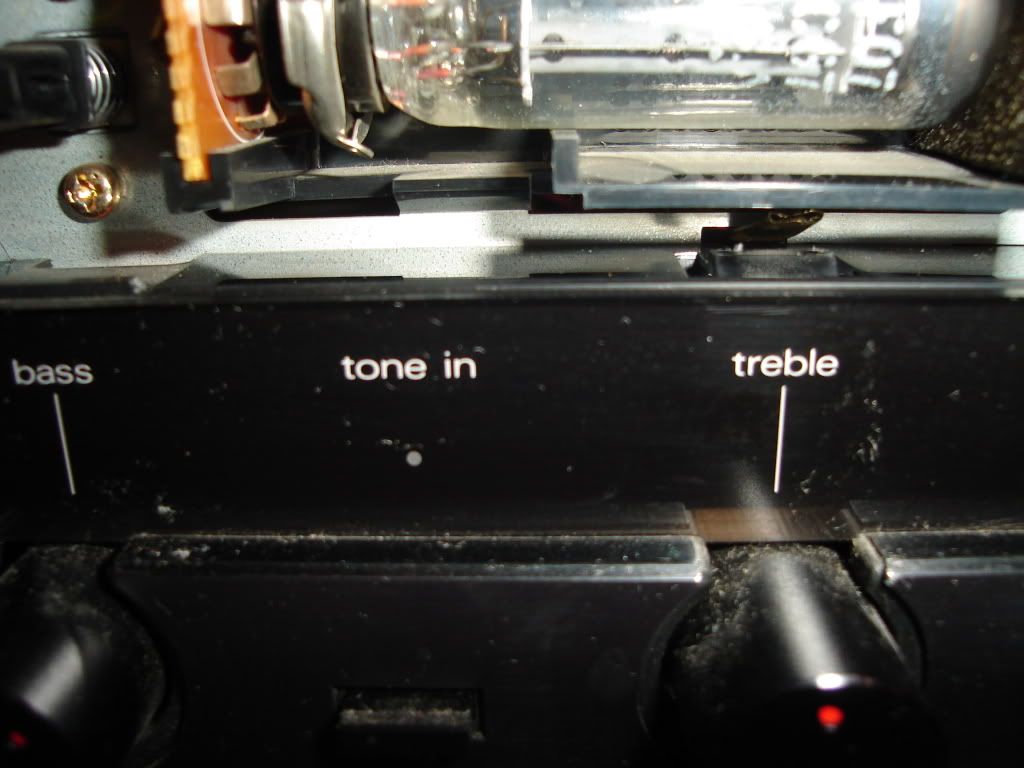
Front nudie, the pair of tubes is 2 x 6CG7; these are easy to come by on the bidding site:

Back nudie:
Back:

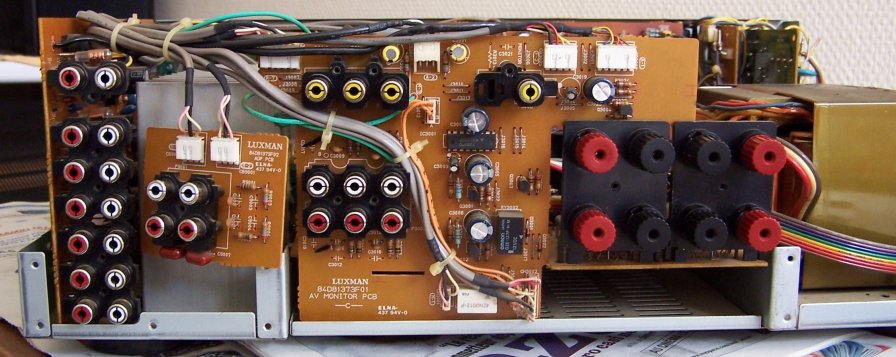
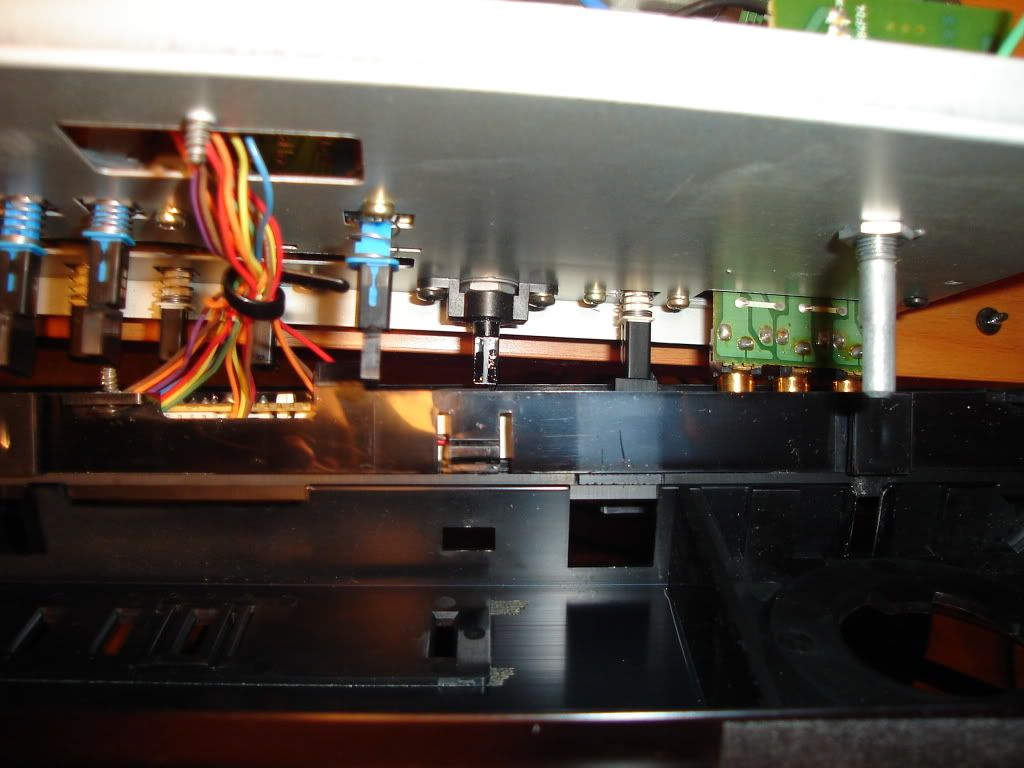
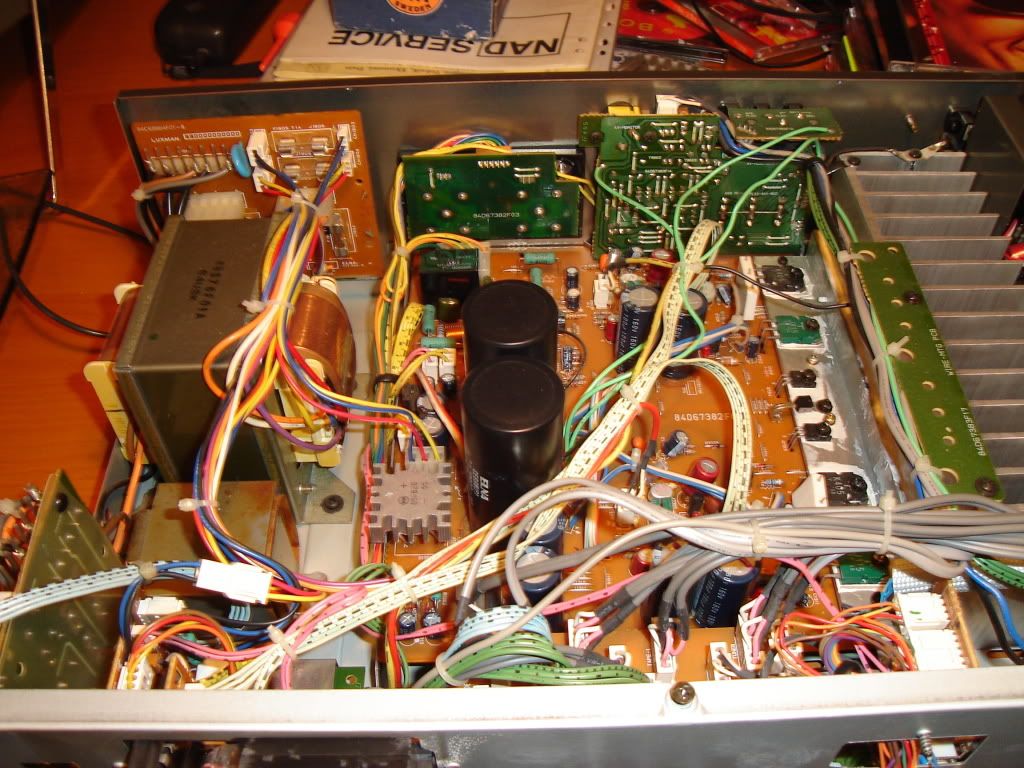
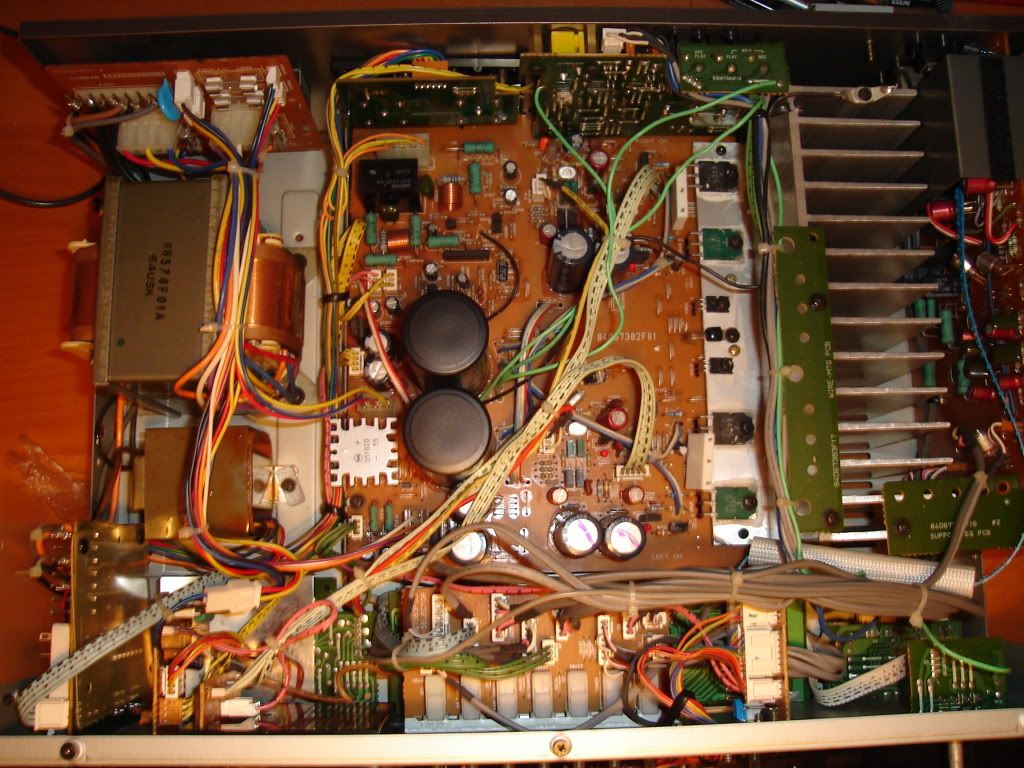
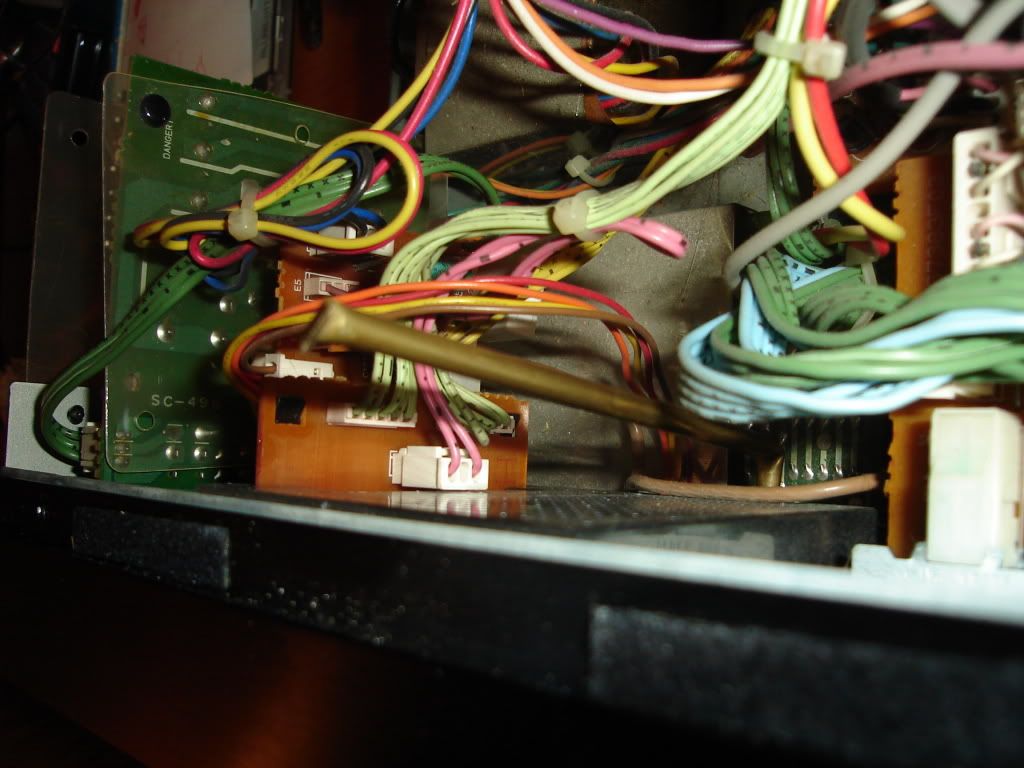
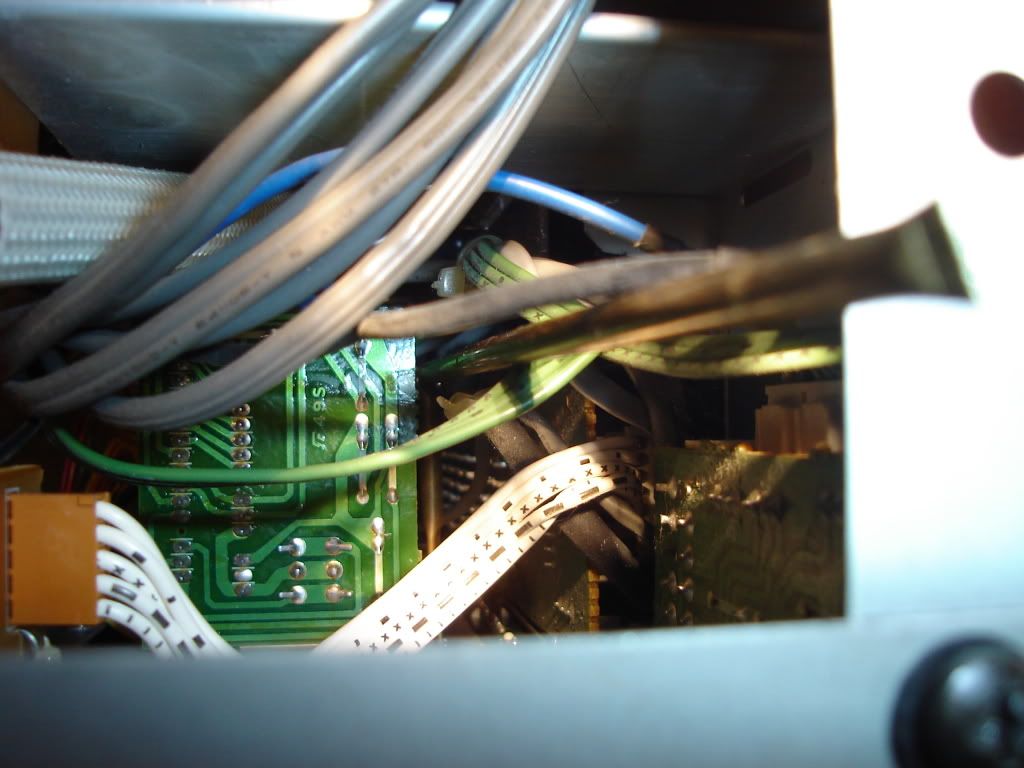
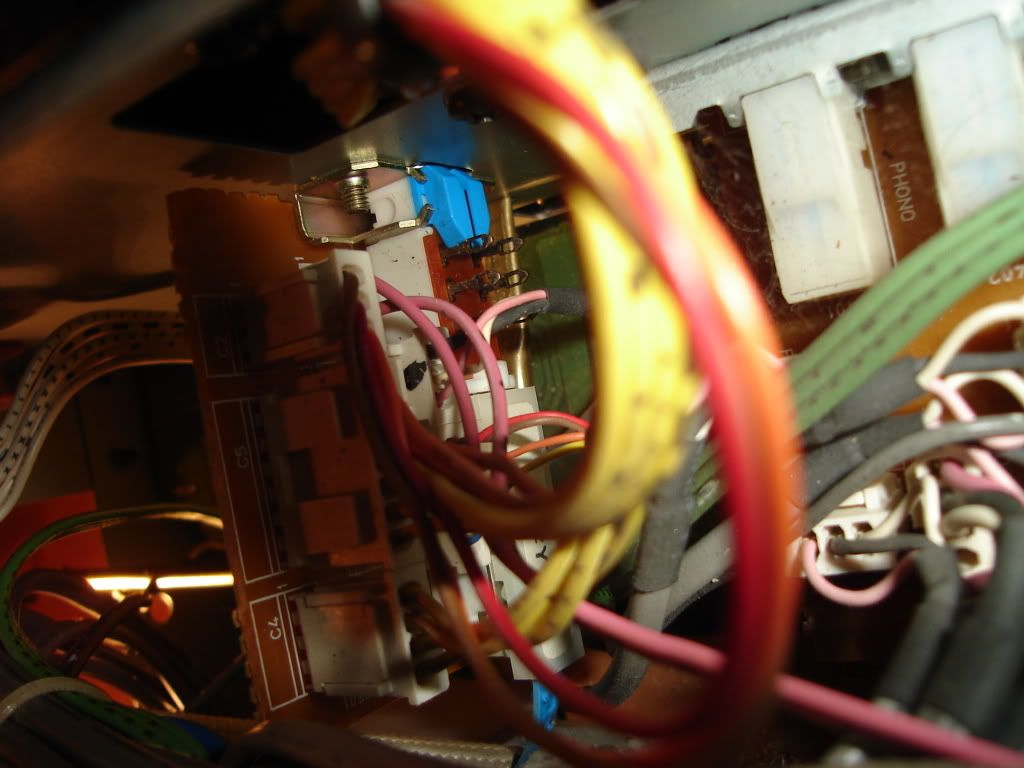
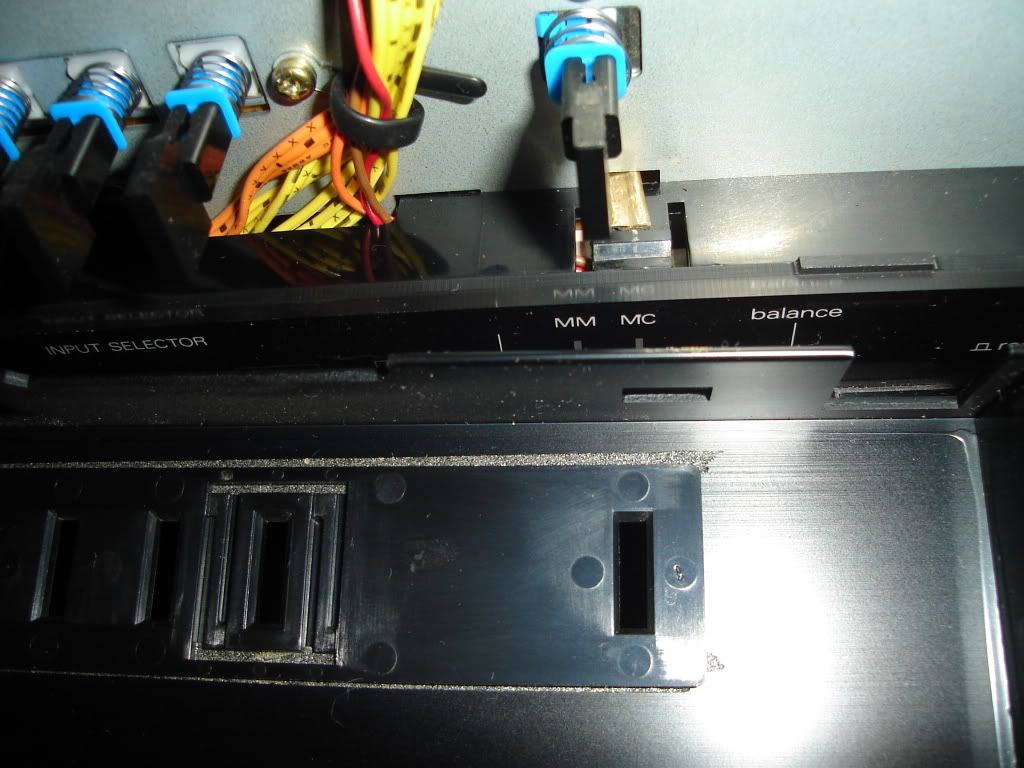
Inside:

A couple of MOSFET power transistors are missing on the main PC board and I suspect both channels are dead. I am taking the slow route to repair this amp because it has already been mishandled by the previous owner, but aesthetically it was in rather good shape under a thick layer of dust and dirt. At least it's relatively clean now.
I spent my Sunday cleaning up this amp and preparing for its future repairs, so I thought I would post some pics:
Family pic with LV-111 and T-111L:
Front nudie, the pair of tubes is 2 x 6CG7; these are easy to come by on the bidding site:
Back nudie:
Back:
Inside:
A couple of MOSFET power transistors are missing on the main PC board and I suspect both channels are dead. I am taking the slow route to repair this amp because it has already been mishandled by the previous owner, but aesthetically it was in rather good shape under a thick layer of dust and dirt. At least it's relatively clean now.


")