


MAXZ28
Addicted Member
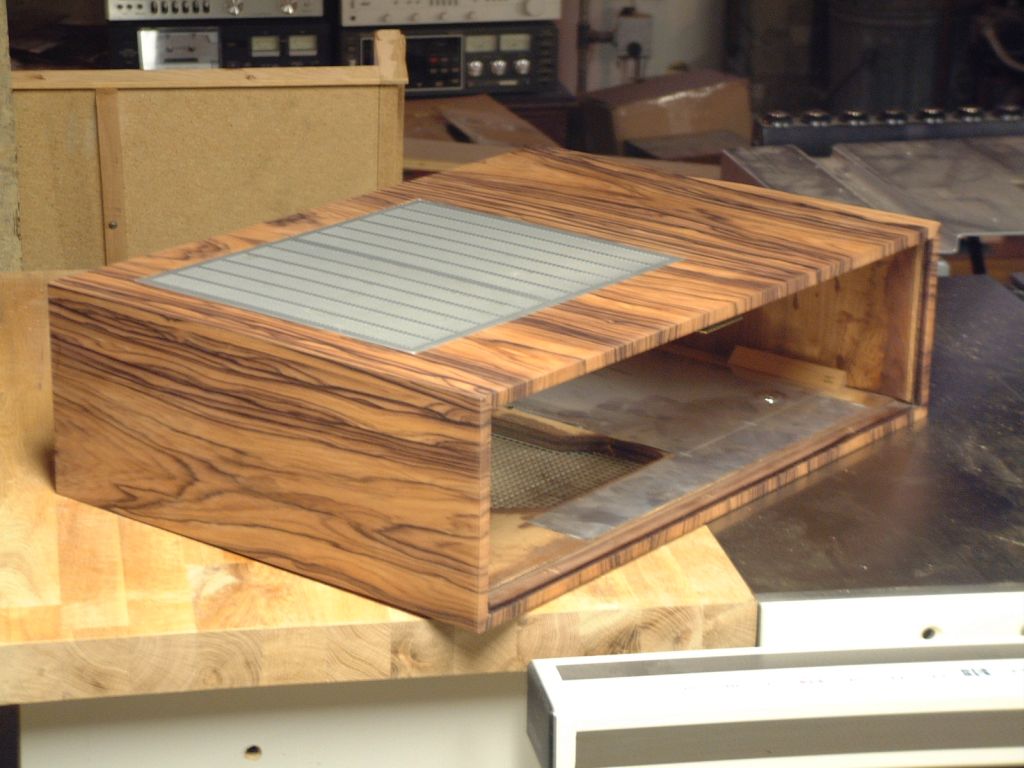
I finally found some time to start my veneer job on my G-8000 case. I used some Cedan cherry self-adhesive veneer special ordered through Menards.
Here's the raw case after I stripped the cruddy laminate off.

I had to build up one rear corner and patch a gouge on the top right leading edge. I used some Elmer's natural wood filler.
I used my Logan 660 mat cutter to cut the veneer edges at 45 degrees to form a miter joint verses a butt joint with the top over the side pieces. It makes the corners very tight and sharp.


With the three pieces cut to precision and laid out, now it's time to apply the heat.

Here is yours truly adhering the top piece with the handy dandy clothes iron with a cotton tee between the veneer and the iron.

I then took an Exacto knife and rough cut the side openings and grill opening on top and finished up the straight edges with my Bandit veneer trimmer.

Next I grabbed the Dremel with a small sand drum bit and rounded out the side opening contours.

The cabinet hardware ports were pilot drilled with a bit first from the inside out and then I used the Dremel to finish them out from the exterior side.
I took my time which basically turned this veneer work into an afternoon and early evening activity. I have some more detail sanding and filling to make it perfecto, but here's how she looks at the moment.
Hey!!! Is that Dennydog deconstructing a midrange driver from an HPM-150!?!


I'm still on the fence about the finish.....natural with some Watco Danish Oil or some red chestnut Minwax 232 stain to give it some red tone? Or maybe there's something else better to use?
Suggestions and recommendations would be appreciated, folks!
The project is turning out to be quite nice and I'm really satisfied so far with the results. I can only imagine what it will look like complete with an fab finish! :yes:
Here's the raw case after I stripped the cruddy laminate off.
I had to build up one rear corner and patch a gouge on the top right leading edge. I used some Elmer's natural wood filler.
I used my Logan 660 mat cutter to cut the veneer edges at 45 degrees to form a miter joint verses a butt joint with the top over the side pieces. It makes the corners very tight and sharp.
With the three pieces cut to precision and laid out, now it's time to apply the heat.
Here is yours truly adhering the top piece with the handy dandy clothes iron with a cotton tee between the veneer and the iron.
I then took an Exacto knife and rough cut the side openings and grill opening on top and finished up the straight edges with my Bandit veneer trimmer.
Next I grabbed the Dremel with a small sand drum bit and rounded out the side opening contours.
The cabinet hardware ports were pilot drilled with a bit first from the inside out and then I used the Dremel to finish them out from the exterior side.
I took my time which basically turned this veneer work into an afternoon and early evening activity. I have some more detail sanding and filling to make it perfecto, but here's how she looks at the moment.
Hey!!! Is that Dennydog deconstructing a midrange driver from an HPM-150!?!
I'm still on the fence about the finish.....natural with some Watco Danish Oil or some red chestnut Minwax 232 stain to give it some red tone? Or maybe there's something else better to use?
Suggestions and recommendations would be appreciated, folks!
The project is turning out to be quite nice and I'm really satisfied so far with the results. I can only imagine what it will look like complete with an fab finish! :yes:


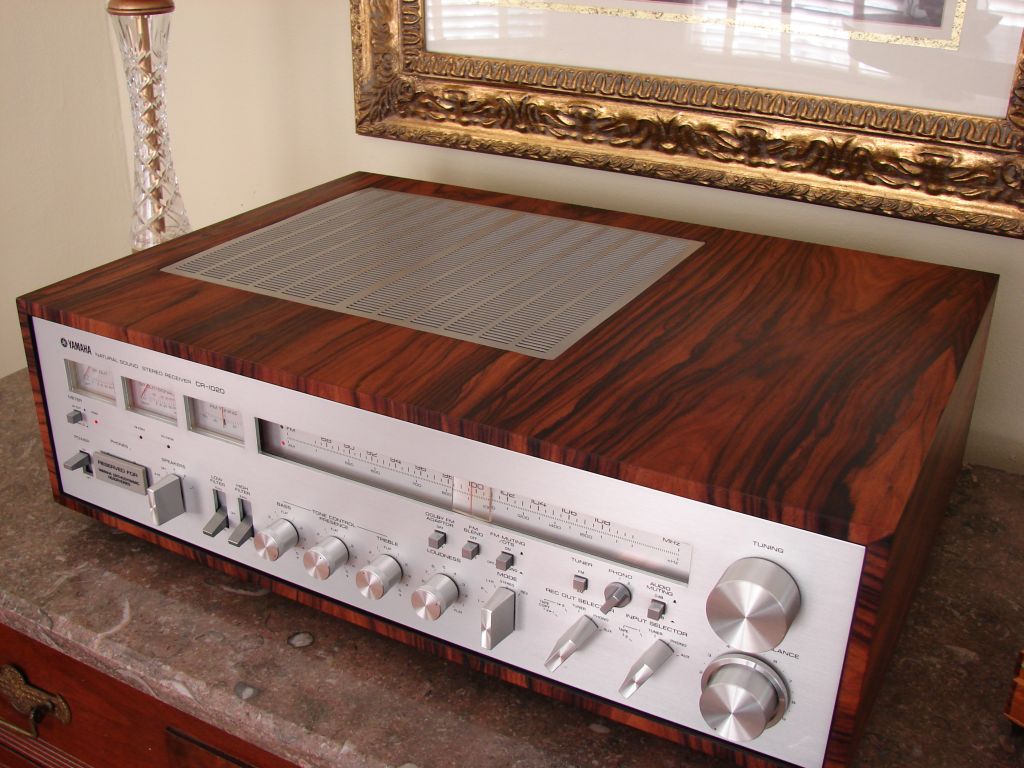

 That's just beautiful! I never get tired of looking at that picture.