• The move to the new server is done. There are some software and database maintenance updates in process. This has us passing the hat around to help out. We appreciate any donations. Seriously, even a dollar helps. The payment page may be found here - https://www.audiokarma.org/support.html

AU317 Restoration...

Kale

Super Member
Finally I finished restoration job on that very nice "small" Sansui amplifier...

AU317_inside_a-1.jpg


Old thermal grease

Termalna_pasta.jpg


One board restored...
PICT1698.jpg


Switch cleaning job....
switch.jpg


Selector cleaning job...
Selector.jpg


Main volume pot cleaning job...
Volume_pot.jpg


one original bad solder point...
Lemno_mjesto.jpg


The amplifier was entirely recapped using Nichicon MUSE capacitors (except some of them with ELNA capacitors).
All electrolytic capacitors have been replaced.

20090610_202239_New_Inside_.jpg


20090610_202316_New_Inside.jpg


The main power supply filter caps were reccapped with Nichicon KG Gold 10.000 uF /50V

20090610_204803_New_Cap_a.jpg


and what is replaced....
20090610_205012_Parts_.jpg


Now it is like a new, I like how it sounds, for me, very good and very nice small amplifier!
 
Last edited:
Register to hide this ad
47 caps, 2 variable resistors, a relay and a transistor, a diode and some resistors replaced. Good job Kale, as always :thmbsp:
BTW, this slim lines series do sound very good :yes:
 
Last edited:
47 caps, 2 variable resistors, a relay and a transistor and some resistors replaced. Good job Kale, as always :thmbsp:
BTW, this slim lines series do sound very good :yes:
Sten, that is amplifier from gentleman who asked for a help on "Sansui, and Beyond" forum, do you remember? It had one channel bad on phono preamp.
 
Sten, that is amplifier from gentleman who asked for a help on "Sansui, and Beyond" forum, do you remember? It had one channel bad on phono preamp.
I just remember one guy asking for a FET 2SK something. Is is him ?
 
Beautiful Kale - both technically and cosmetically.

And.... great pictures too - I like the one of the solder 'blow-hole'
 
Really nice work. I recapped mine a couple of months ago and after the sound improvement, decided that the 719 is next, starting with the pre-amp stage. I didn't change out the 10,000 uf caps or the relay, and I really like how you got those T03s to shine.
 
...and I really like how you got those T03s to shine.

For that job I use Nitro cleaner or Nitro Paint Diluent, but you must be careful to not erase transistor marks (name of transistor). After that, I use little WD40 to get nice shine.
 
Beautiful and well done!!

So... you've put my tail between my legs. Am I now supposed to do the same to my AU-317? I don't think I have the skill or time. The amp still works and sounds fine (I think) -- but there's no way to really KNOW if it sounds as fine as it CAN sound... unless...

Geez.

Again, very nice job. Nice documentation.

Here's my old workhorse... nothing done to either of these since I bought them in 1978... except moving from room-to-room (college), between several apartments (pre-marriage), apartments to houses, etc. Not to mention how many times in my younger days I had the volume knob set to [-7] at 2:00 AM "cranking tunes" with my buddies... and woke-up the next morning with blown tweeters in my Bose 301's. The 301's were on "A" and I had a DIY Speakerlab 12-inch "subwoofer" on "B" (split the positives). Sounded real good for a compact set-up.

560954014_7TUa7-O.jpg
 
@Kale - BJUUUTIIIFUUUL (as always from your side).

Btw - any feedback from owner regarding old/refreshed sound?
 
Hi Kale!

Just a quick note: which kind (brand/model) of relay did you use to replace that one above? I'm asking because maybe there's another AU-317 with a problem at the relay I can fix it (buy the relay)

Also, the cleaning solution you use for the switches. There's a guy here in the NL he put switches and pot in a solution I don't know what:
Sansui AU-317 + TU-217 cleaning

...and finally how could you clean the front panel to get that shine and nice again?

I got your mail! Thanks! :thmbsp:
 
Hi Kale!

Just a quick note: which kind (brand/model) of relay did you use to replace that one above? I'm asking because maybe there's another AU-317 with a problem at the relay I can fix it (buy the relay)

Also, the cleaning solution you use for the switches. There's a guy here in the NL he put switches and pot in a solution I don't know what:
Sansui AU-317 + TU-217 cleaning

...and finally how could you clean the front panel to get that shine and nice again?

I got your mail! Thanks! :thmbsp:

Today production of OMRON give you the same relay, now I cant say you the exact model, because I am not at my home, but you can read type of relay on top of cover.

I dont like to put all switch to the cleaning liquid, because every switch has some grease on its mechanic parts, and by doing this, you can put that grease to the parts where it can produce the worse situation... so the best way is to open that switch, and clean just only contacts.
For that job I am using Kontakt 61 (deoxidation) and Kontakt 60 (for protecting cleaned contacts)
 
Au317ii

BTW, small update :D

Recently I have a AU317II amplifier on my bench, and it might be interesting to see that restoration...

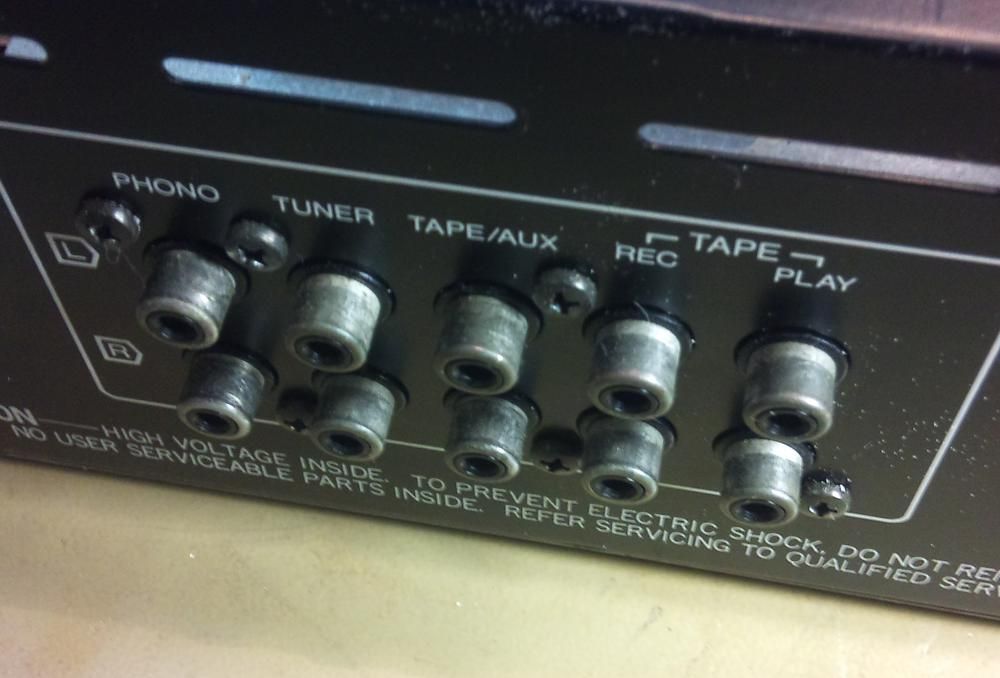
First of all I saw that RCA connectors was in very bad condition...

DSC00186.jpg


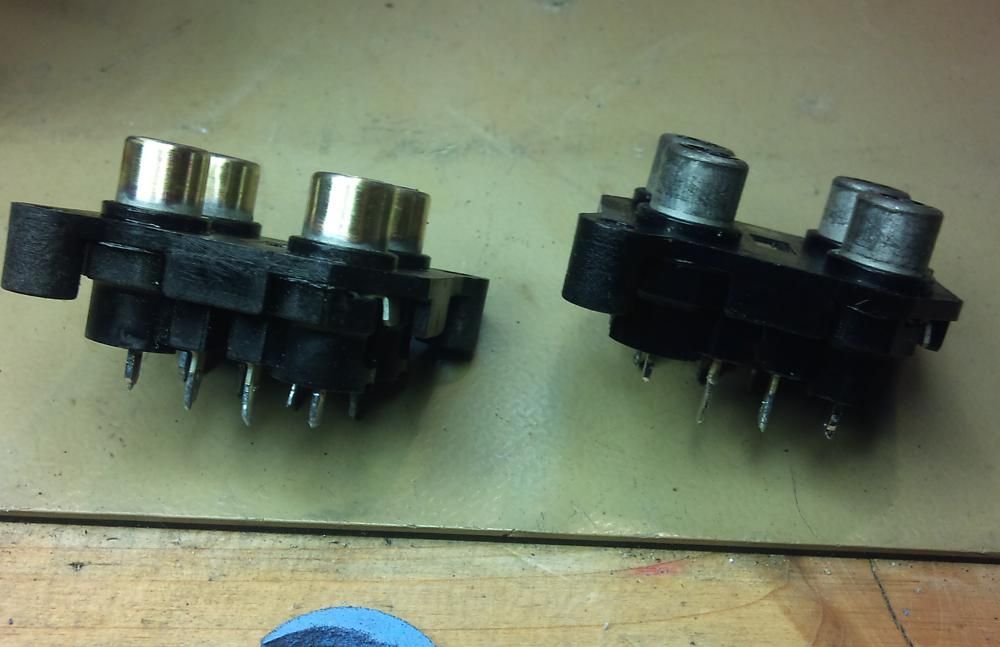
so I decided to polish them, but first I must remove them from the board, and take a look the result:

DSC00197.jpg


The left is after polishing...
 
Au317ii

The same was with speakers selector...

DSC00185.jpg


PICT1018.jpg


Take a look at this detail

PICT1012.jpg


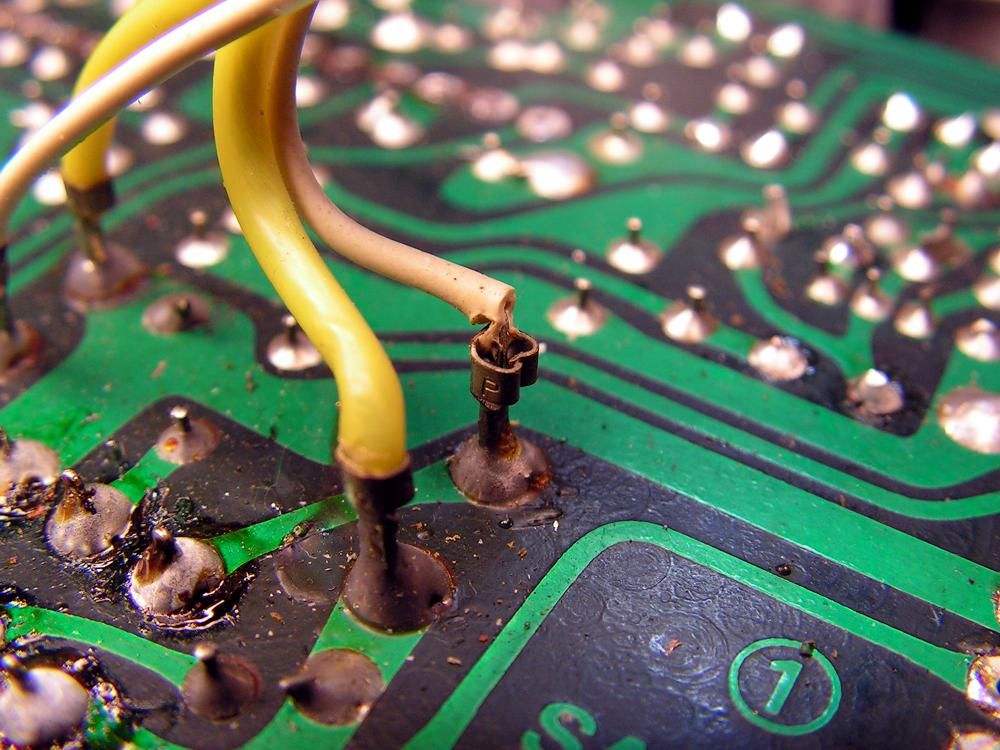
This can be happen if you overheating wire by soldering iron.
 
Au317ii

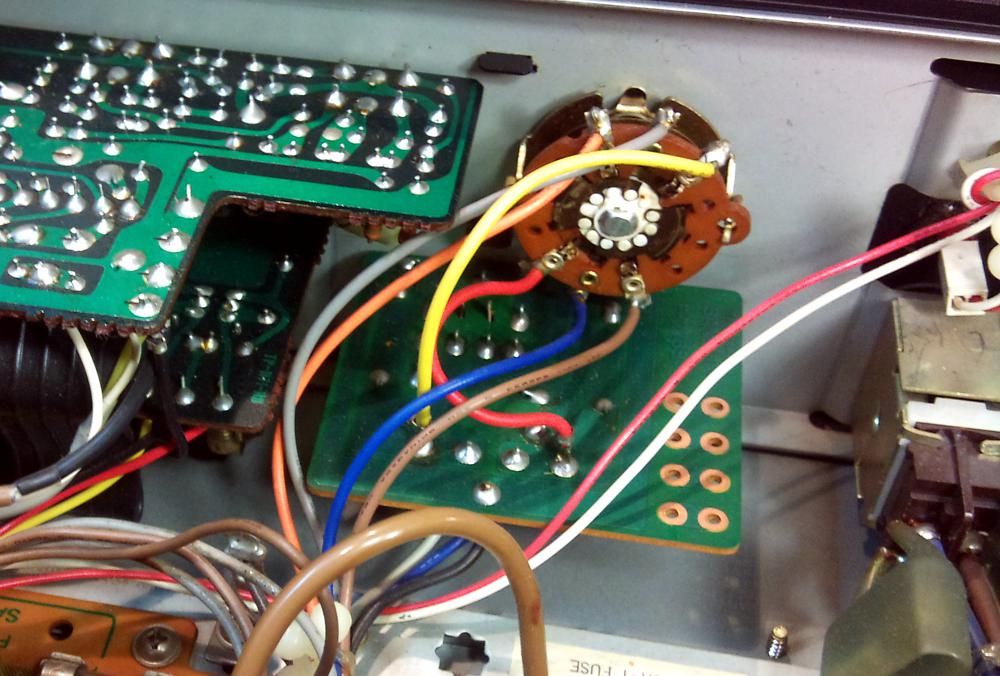
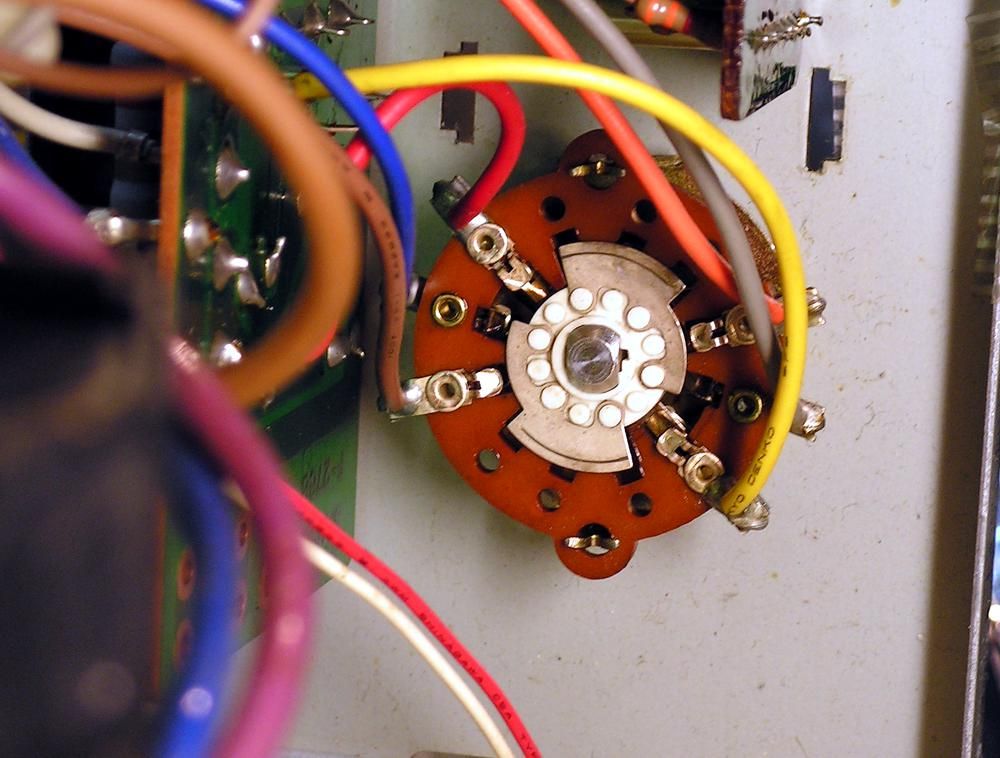
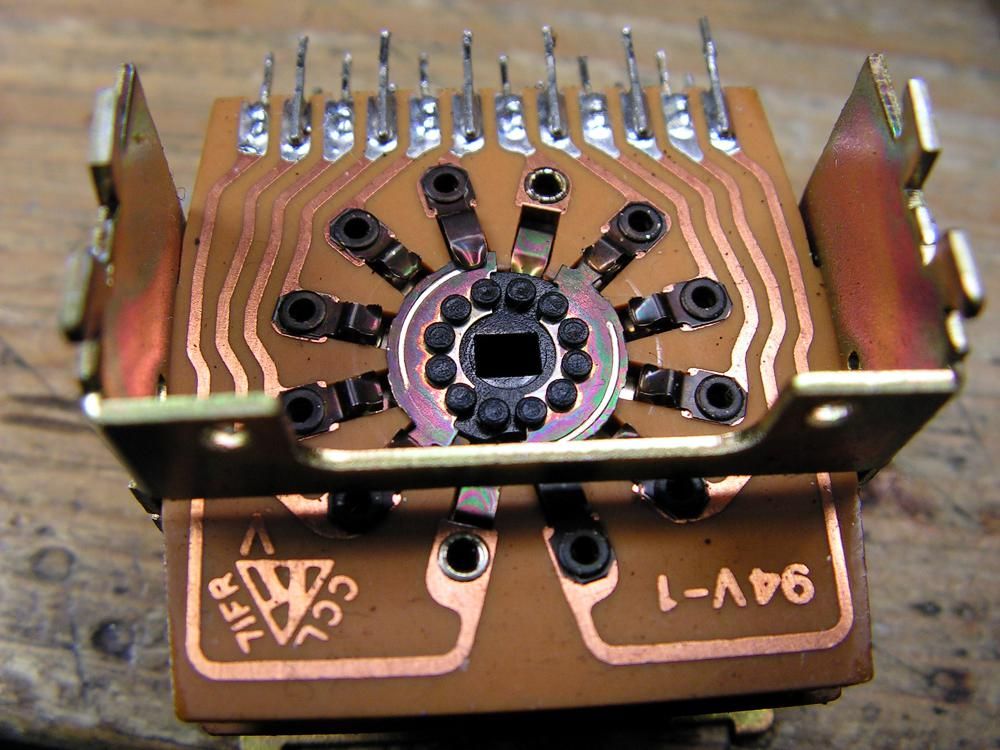
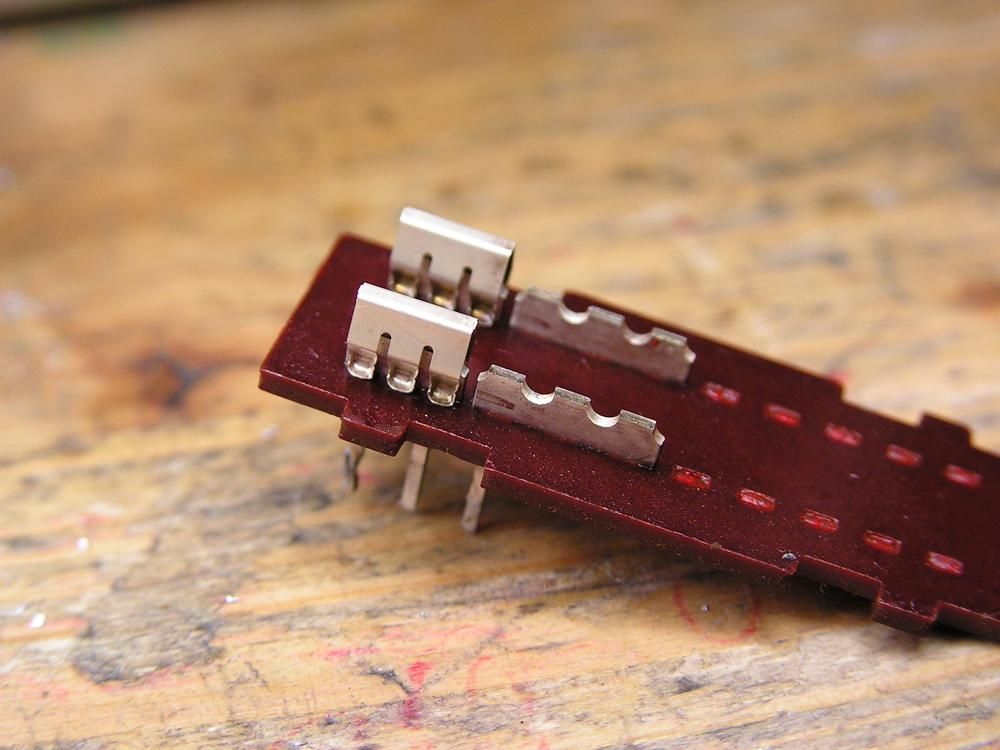
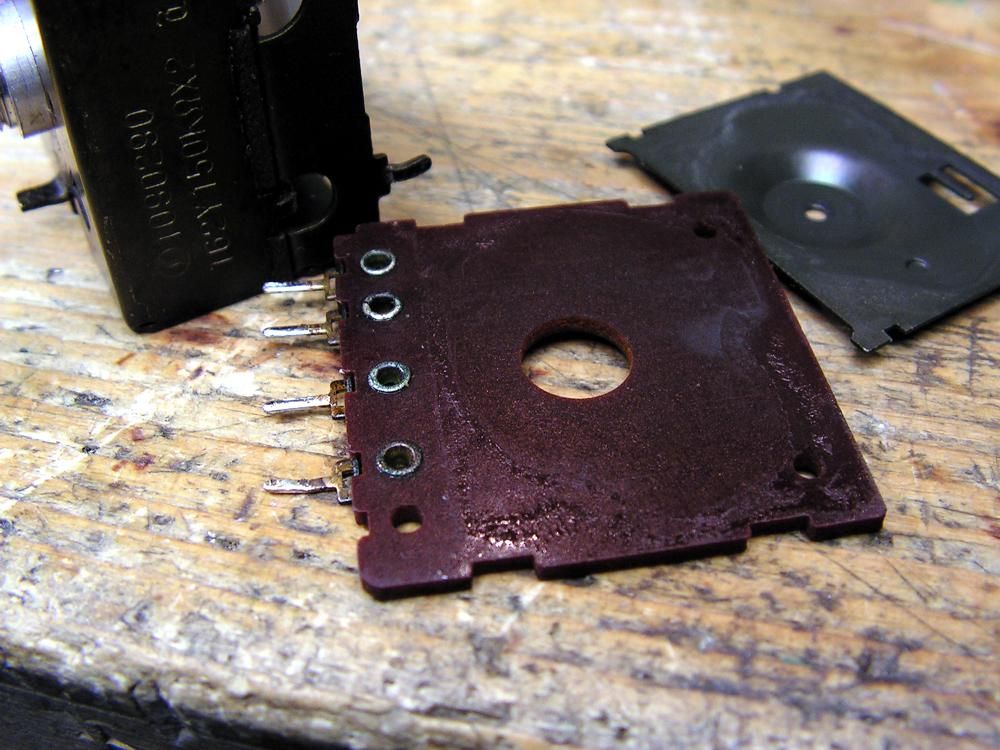
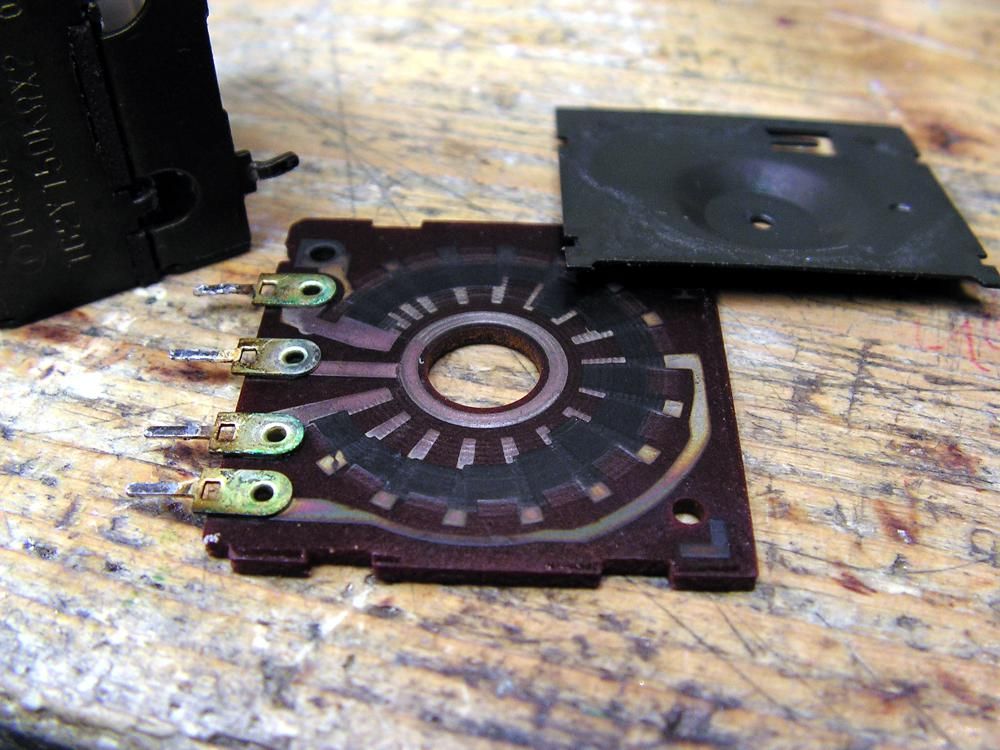
Cleaning selector can be a bit difficult because you should desolder so many pins on very old board without damage printed copper lines...

PICT1007.jpg


here it is the selector switch

PICT1009.jpg


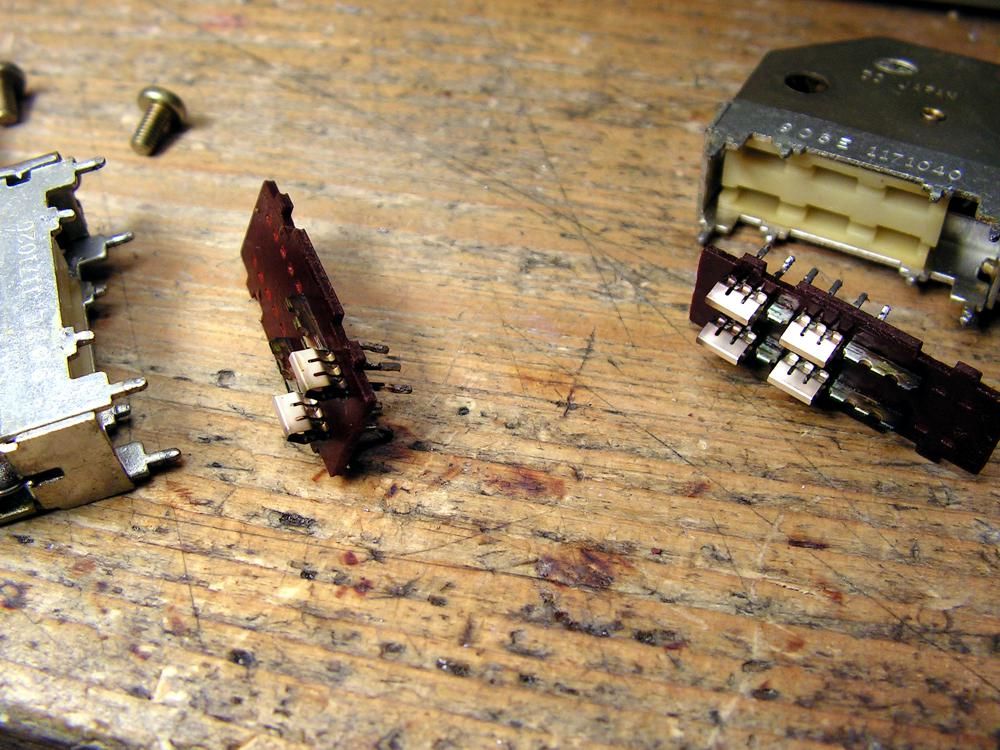
and switches...

PICT1006.jpg


pict1011.jpg
 
Au317ii

If you wish work on Tone control board and Phono Preamp board, you should desolder those black flat multiwire cables...

pict0997.jpg


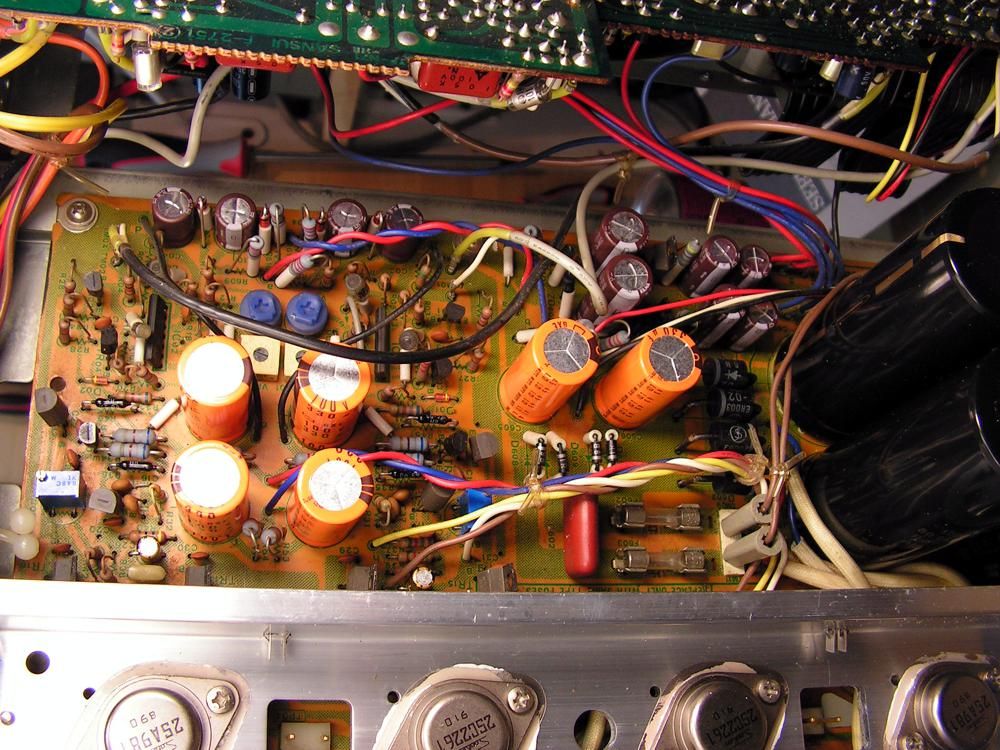
And here you can see the Power amp stage

DSC00191.jpg


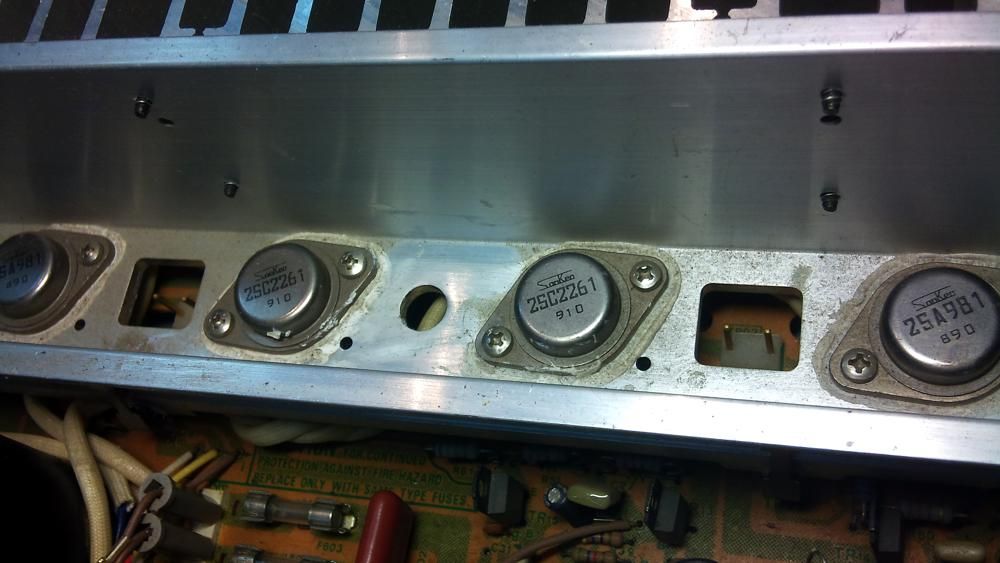
and as you can see, power transistors are genuine Sankens....

DSC00192.jpg


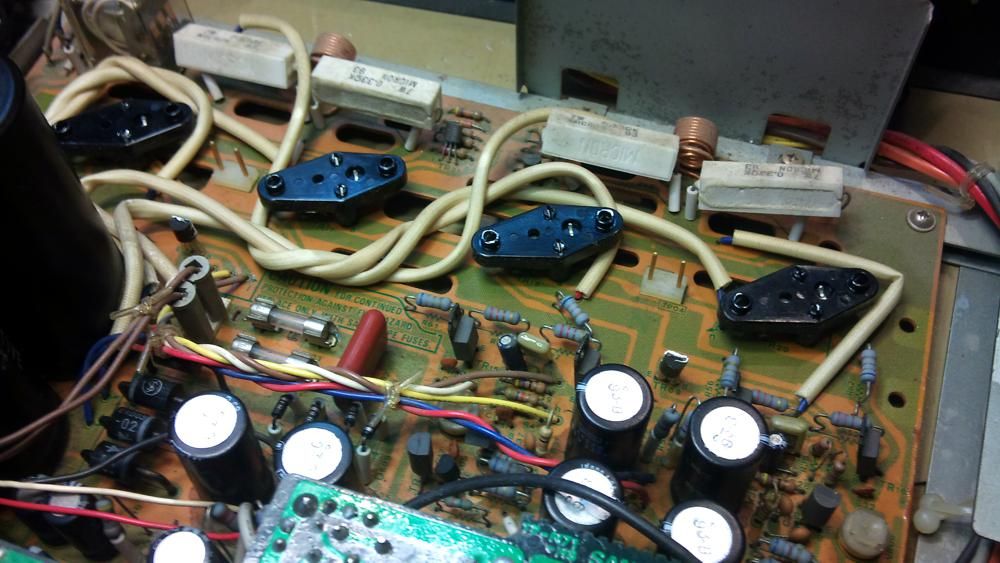
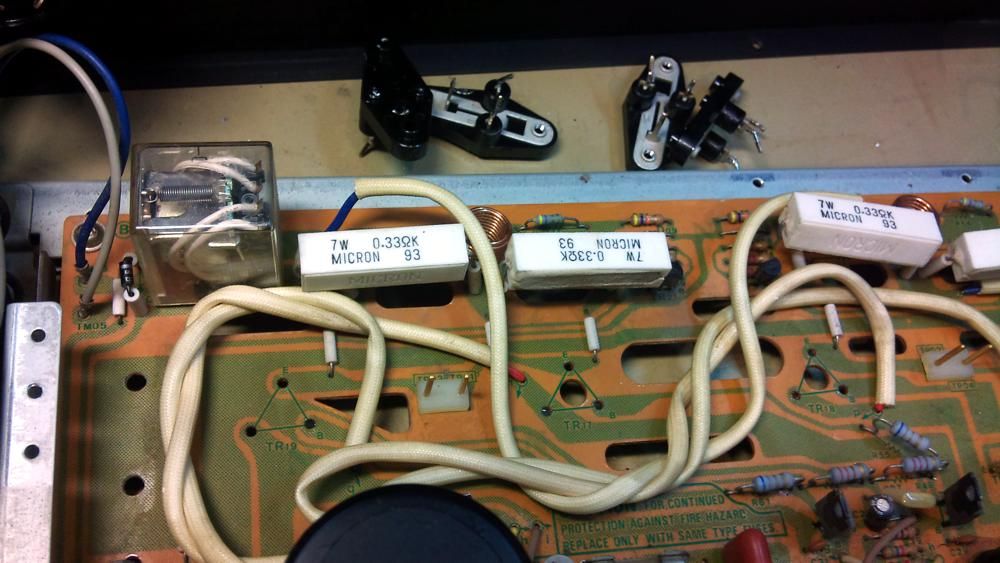
But, when I removed heat-sink, I saw that TO3 sockets was very dirty with old thermal grease. Only way to clean it is to desolder them and put them into ultrasonic cleaner.

DSC00201.jpg
 
Au317ii

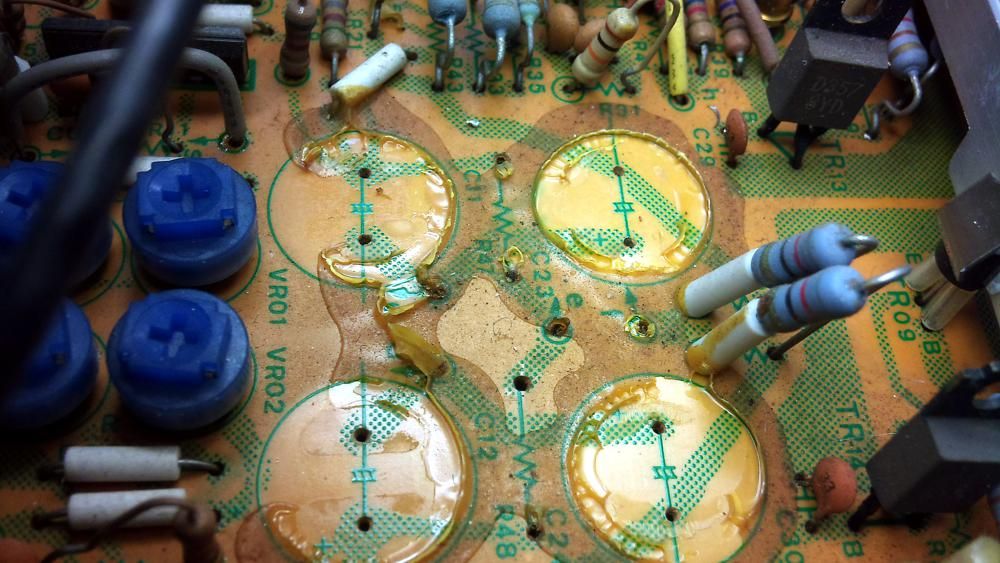
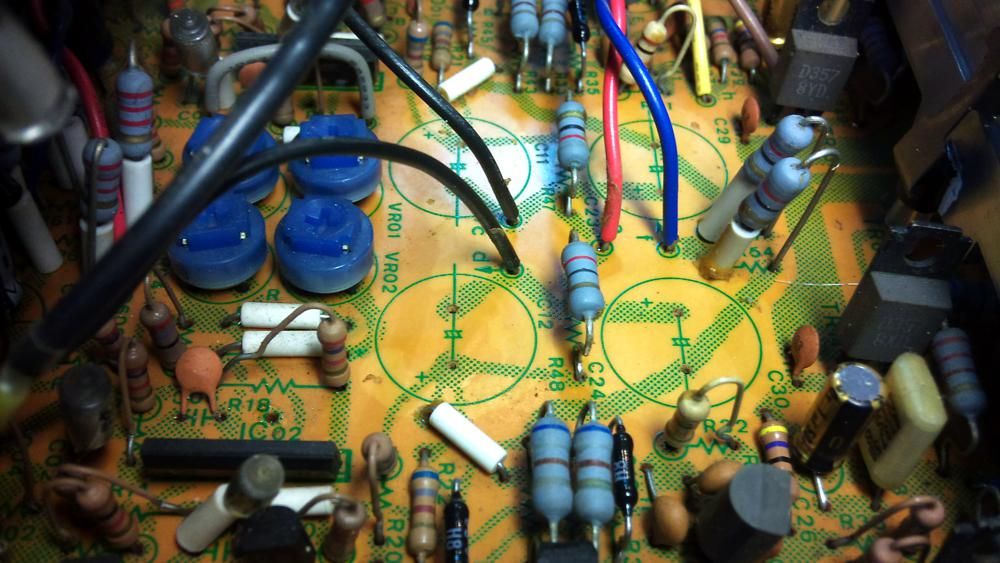
Again deadly glue...

DSC00204.jpg


and cleaned....

DSC00205.jpg


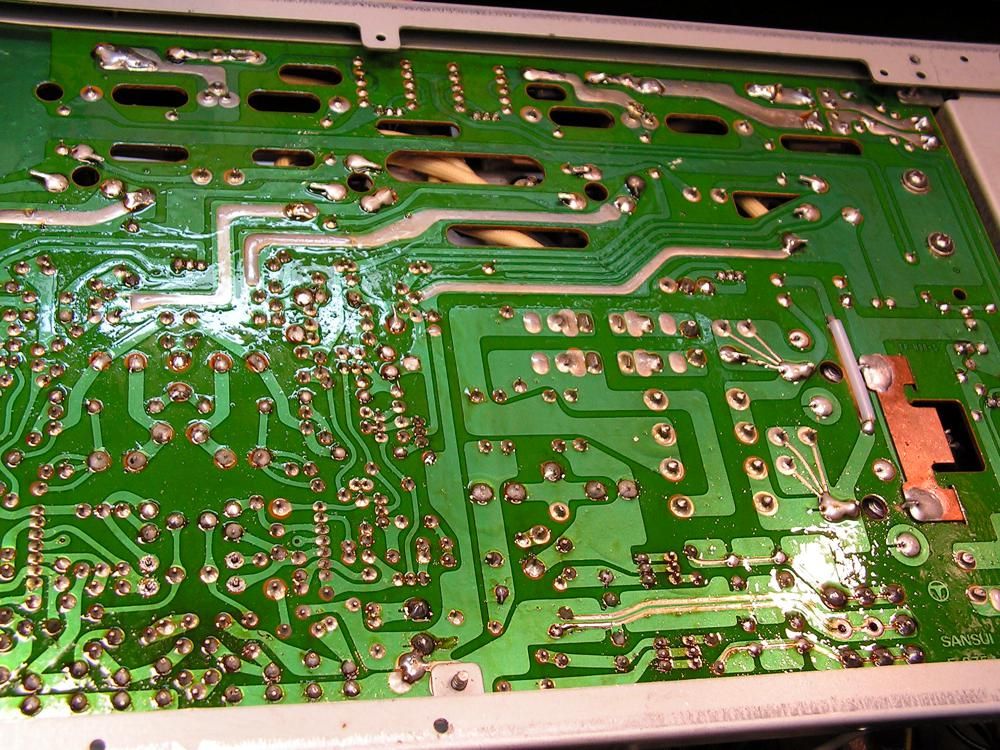
and this board is completed

PICT0986.jpg


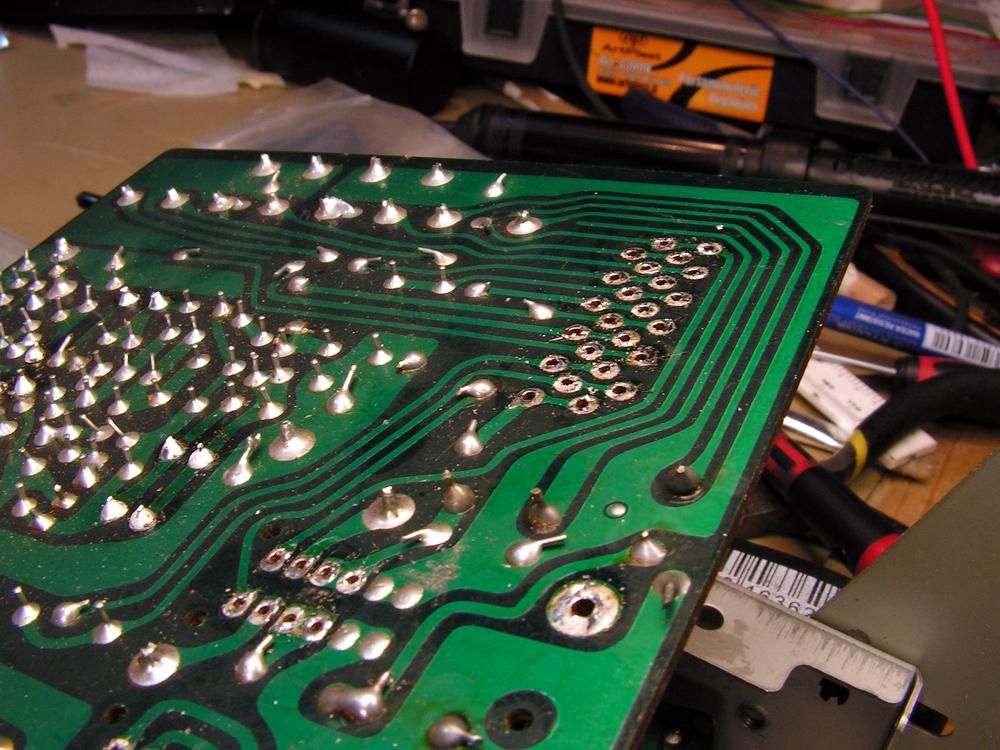
another side of the same board after my work on it...

PICT1014.jpg
 
Back
Top Bottom