Realistic SA 100C, TM 100 restoration

evman140

Hearing things...
Hello everbody,

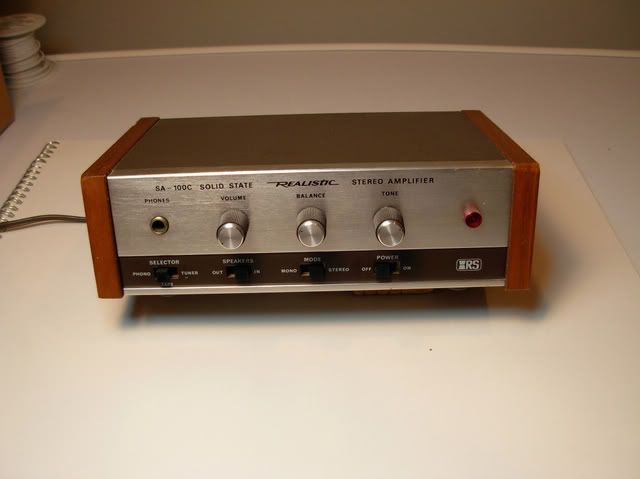
I have been wanting to do this project for a while now. These Realistic pieces belonged to my late Grandfather and I think its about time I fixed them up. He himself was a tv/audio repairman back in the 60s and 70s. I'm going to call upon this gene to help - lets hope I have it! And for the finishing touch, I'll be using his very own hand tools and soldering station.

I know these aren't very significant in terms of substance, but they will make a wonderful project - especially for someone like me. I have made threads like this on other forums and enjoy making them and completing the projects. I hope all of you enjoy it as well.

This project will start with the amp/receiver and move to the tuner afterwards.


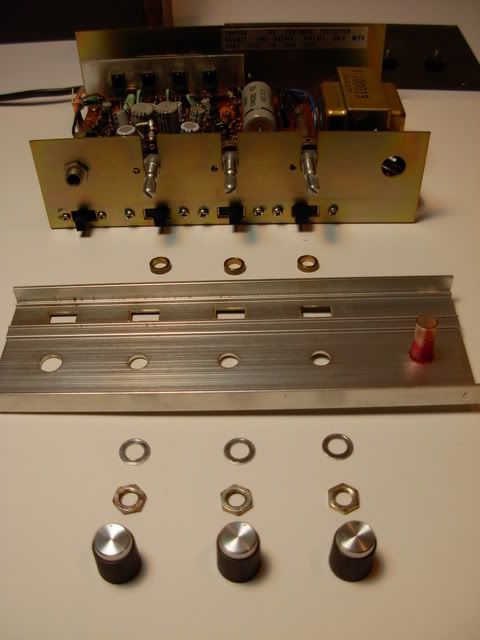
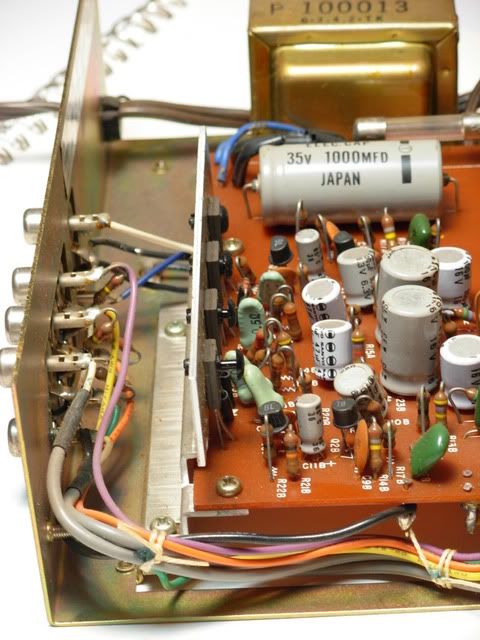
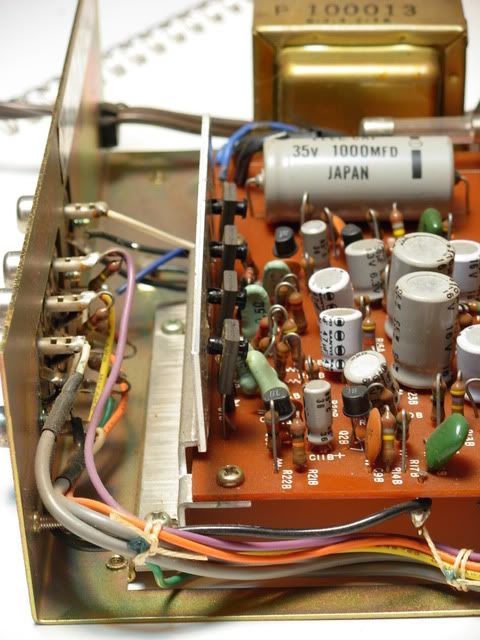
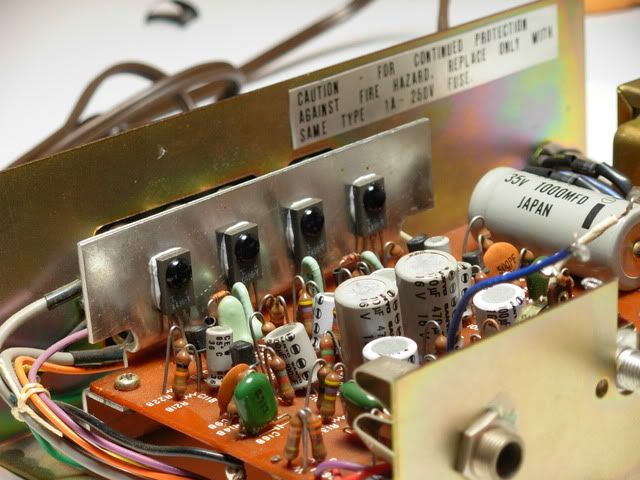
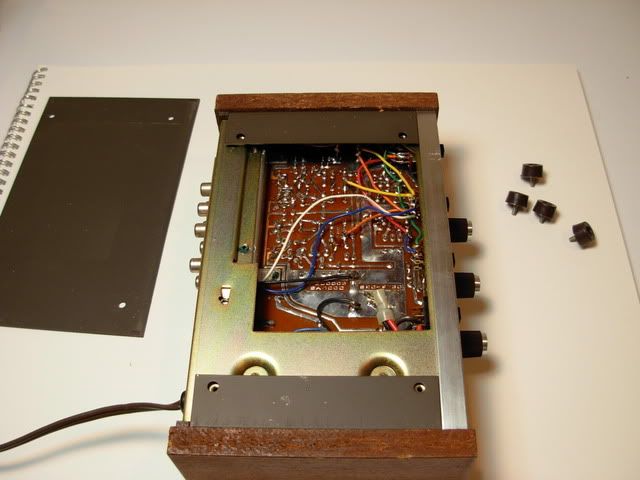
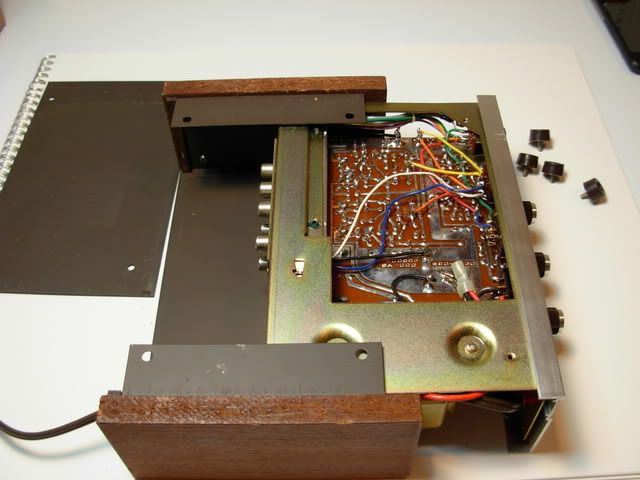
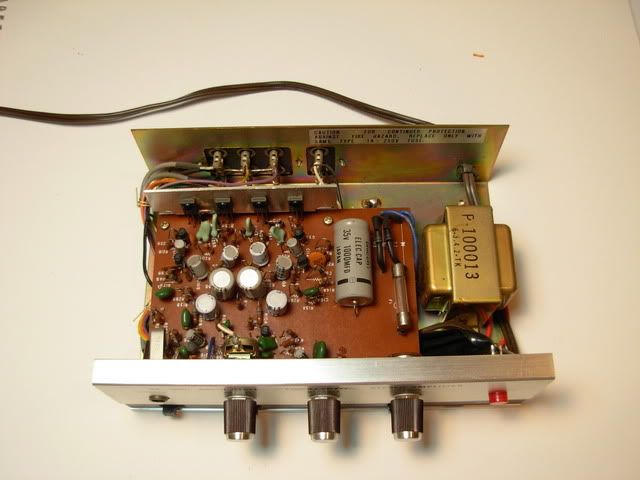
Starting out, I am happy to report that the amp/reciever is in great condition!

DSCN2031-1.jpg
 
Last edited:
I used to have one of those, bought new. Best thing I can tell you is measure the DC offset at the speaker terminals, clean the controls, and perhaps replace the power supply caps.
Some pics of the insides would be interesting as well.
 
I'm sure you are all wondering why I would need or want to restore this unit. Well I'll tell you, it doesn't sound good - plain and simple really!

All of the potentiometers are dirty sounding and I'm sure all of the electrolytics need to be changed.

Also - I think I'll be adding some garnish while I'm in there. Perhaps some new gold RCA jewelry...

The case is (as shown) in quite good shape. But there are some scuffs and discoloration. All of which will be remedied with some fresh paint. Regarding the wooden sides, there is damage but nothing Old English can't handle!
 
Last edited:
I used to have one of those, bought new. Best thing I can tell you is measure the DC offset at the speaker terminals, clean the controls, and perhaps replace the power supply caps.
Some pics of the insides would be interesting as well.

Good to hear there are others! There doesn't seem to be a lot of info available on this unit out on the interweb. I figured this would also increase the value of this thread.

Oh and don't worry - plenty of inside pics have already been snapped! Coming soon.
 
I'll be watching this with interest. Some perverse part of me wants to find one of those cheap and stick the guts of a t-amp in it. The tuner is sitting under my desk.
 
It's nothing special as an amp, but if it's been in your family, it's worth getting up to snuff. With some small full range speakers, it makes nice background sound.
 
From the few that I have seen online so far, you can get one for less than $20 and easy.

I've been listening to it for the last year or so in my drafting room/library with some cheap Yamaha 3-way units. Its pleasant to listen to, even in its original unserviced state.

I plan on DIY-ing some decent 2-way speakers (another project I've been wanting to do for ages now) to pair with it ultimately. Current plans for the set are to be my new dorm room system.

This piece is certainly significant to me, and I want to make it 'like new.'
 
DSCN2035.jpg


Removing the four feet underneath releases the bottom panel and gives access to the innards. Initial impressions are good. There is some sloppy soldering but its just fine. A wiring mess but definitely manageable. Interesting construction - PCB appears to be serviceable without removal from chassis. Very clean!
 
BTW - Speaking of speakers (ha), I think I have a pair of small Realistic units lined up for purchase tomorrow!
 
Nice photos, very well done. Good to see people that have real cameras instead of phone cams
 
Neat! I remember we had one of those in the amplifier room at the theater in my old school. Can't imagine why, but it seemed like a cool little unit!
 
I use photos in these projects as reference so they need to be good!

And Ryfox, I think its a great looking and simple amp. Even with wooden bits and brown paint it looks great! Minimalism at work here for sure.


Now...

The matter of parts -

I want this thing to be as new as possible, and replace as much as possible. To me this is what would make the most good, but I don't know enough to decide whether replacing every single component with a new one to be a waste or not. I don't want to have to break this thing back apart to fix something else in a couple years time. Simultaneously, I don't want to sterilize the sound...

So what sould I do? Electrolytics only? Or is there gain to be had in replacing the outputs, diodes, transistors, resistors, ceramic caps, foil cap and whatever else?

Regardless, I planned on using Nichicon Muse caps - at least.
 
Last edited:
Earlier I went to the local ESCO shop and bought a some necessities as well as some other goodies to keep me occupied until my electrolytics arrive. Below is some contact cleaner, solder wick, ceramic caps, two rectifiers and some zinc paste.

I'll do a listening/sound test after each repair I make to see exactly what is doing the most good. Right now I know that cleaning the pots will be difficult, but cure the biggest problem - so scratchy!! Behind my haul are the Yamaha speakers I'll be using to monitor the progress.

Its been raining on and off all day long, this is a good rainy day activity.

DSCN2077.jpg
 
Last edited:
OKay, before doing anything I will replace the conducive paste between the output stages and the heat sink. The old stuff looks questionable and it doesn't seem like an adequate amount.

Disconnecting the output stages from the heat sink is a two step process, as there are two-part plastic clips instead of screws.

Below you can see there is a central pin that must be taken out of the front and removed.

DSCN2054.jpg
 
Back
Top Bottom