7miles
Well-Known Member
Hey all, it's been just over year now that I have gotten back into vinyl.
What I didn't realize is how much I would enjoy my return. I can tell you I can not be more pleased. Anyways what prompted my return was last year. I was doing the garage sale seen I came to a turn table the was on the free table. I quickly snapped it not knowing a thing about it. Little did I know what a slippery slop I just jumped on. Anyways, what I ended up with was a Pioneer PL 518 with no dust cover, nor did it have a stylus...However it was free. So I turned to this forum for info and help for a cart. and info. What can I say big thanks.
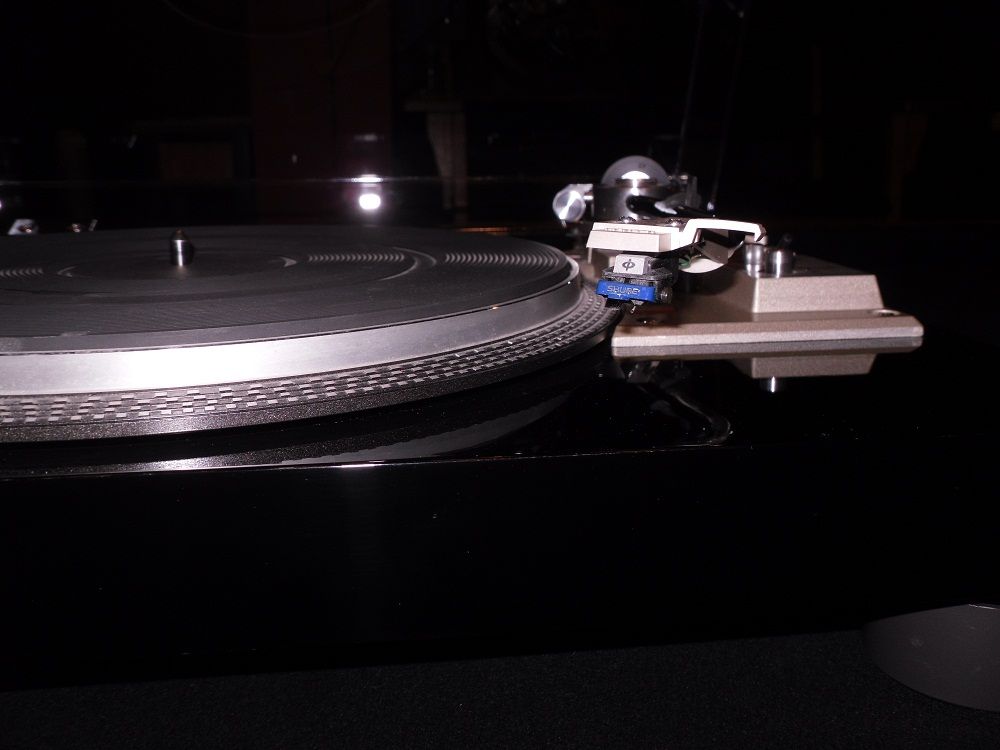
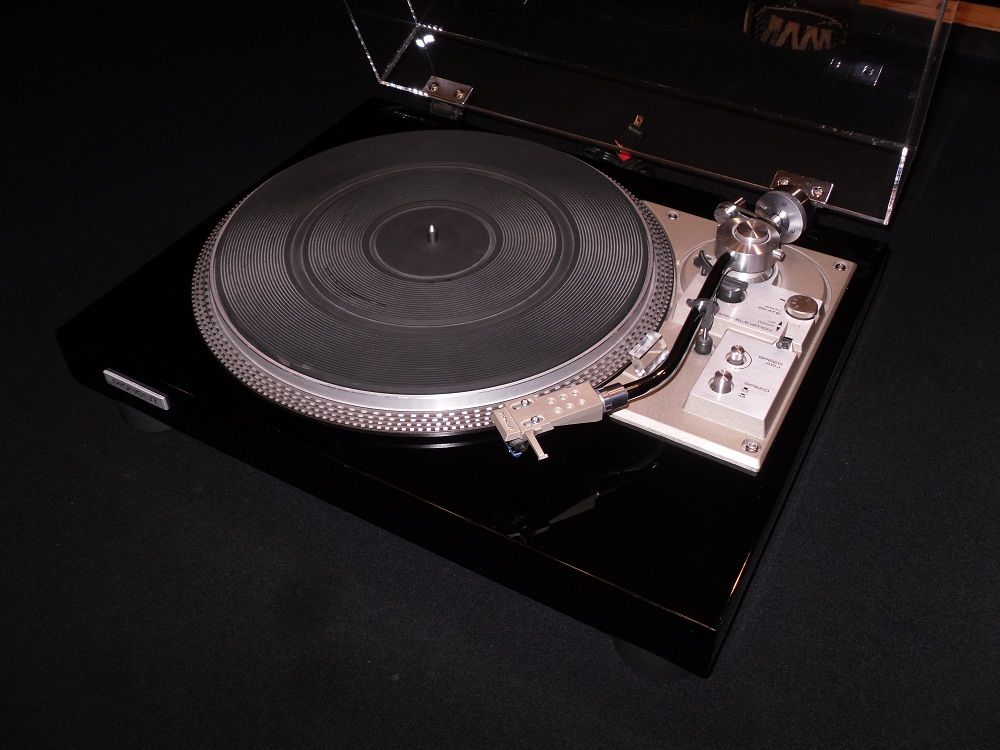
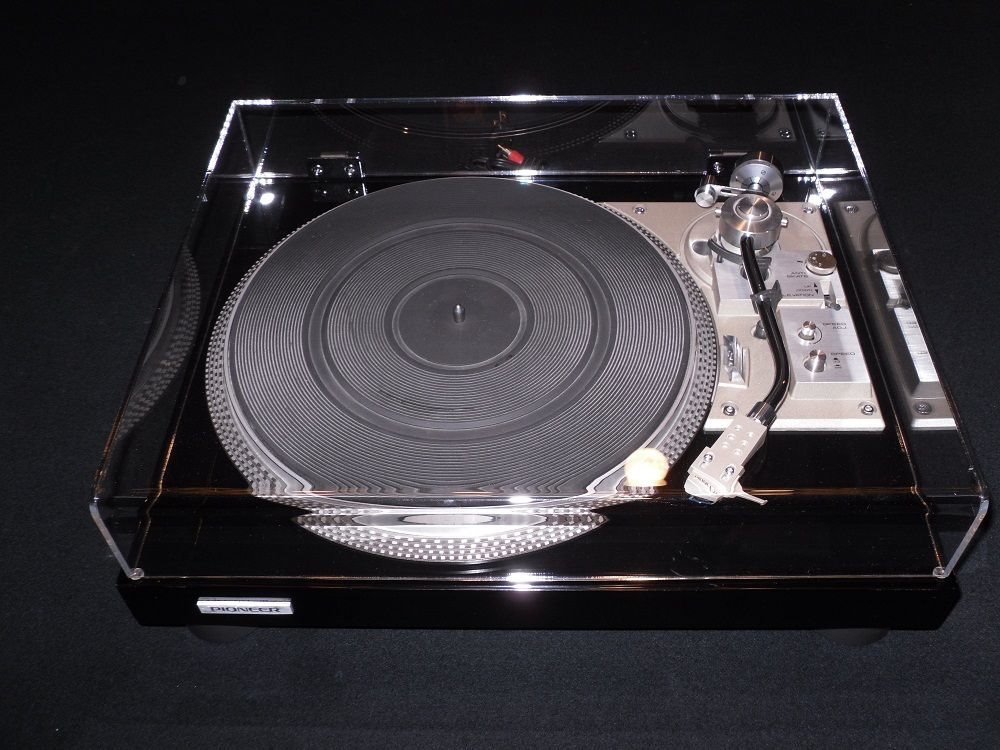
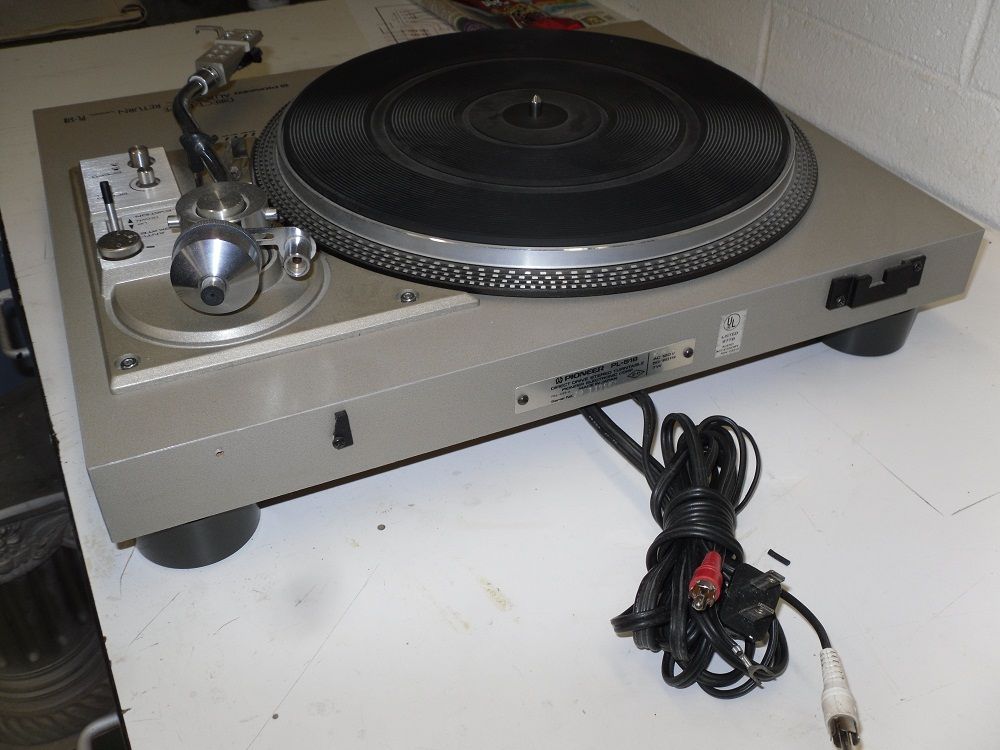
The PL-518 what I ended up with. What can I say that hasn't been said already about the PL-518. I paired it with a Shure M97xE cartridge. I have grown really fond of this combination. I have purchased 7 vintage turntables in the last year, and the one I picked up free at a garage sale seems to be the one I like the most.
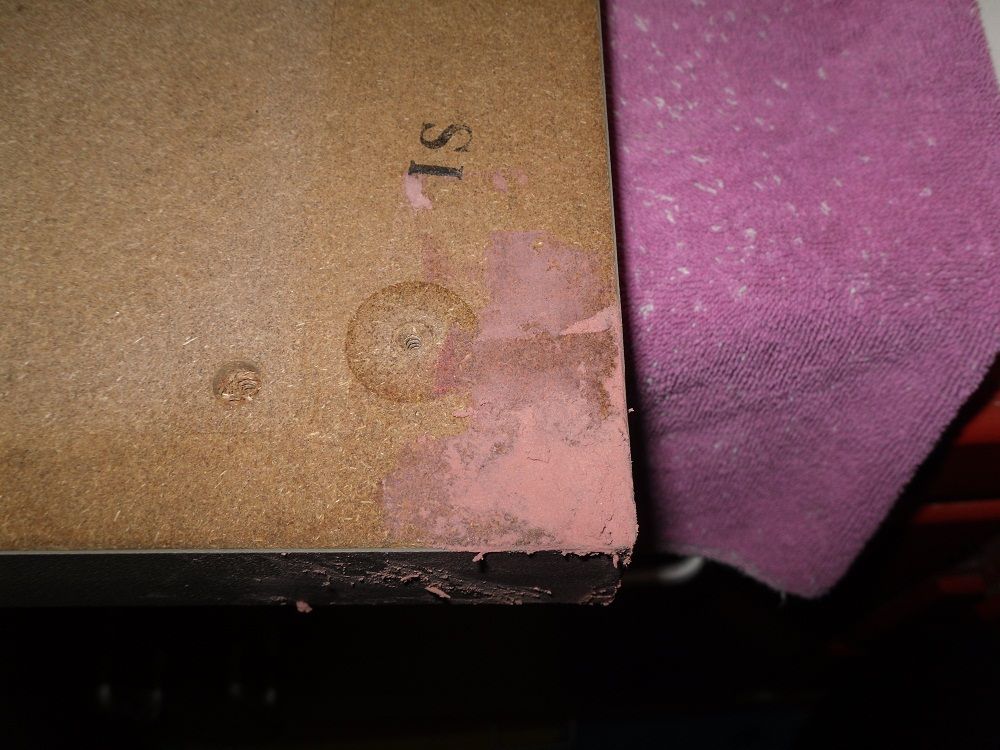
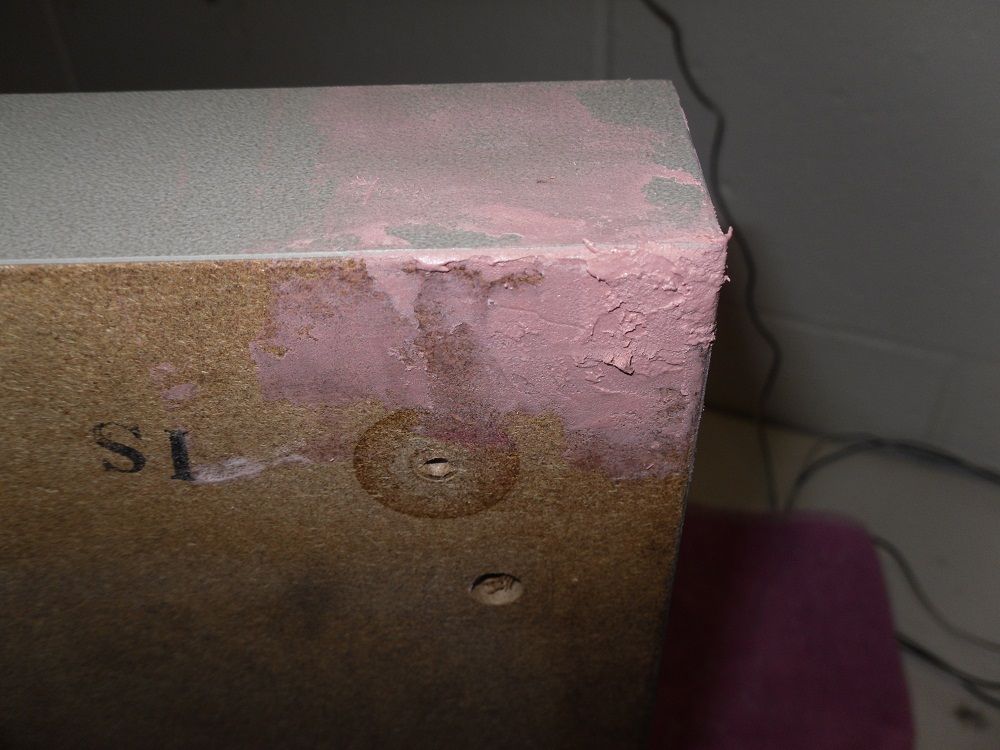
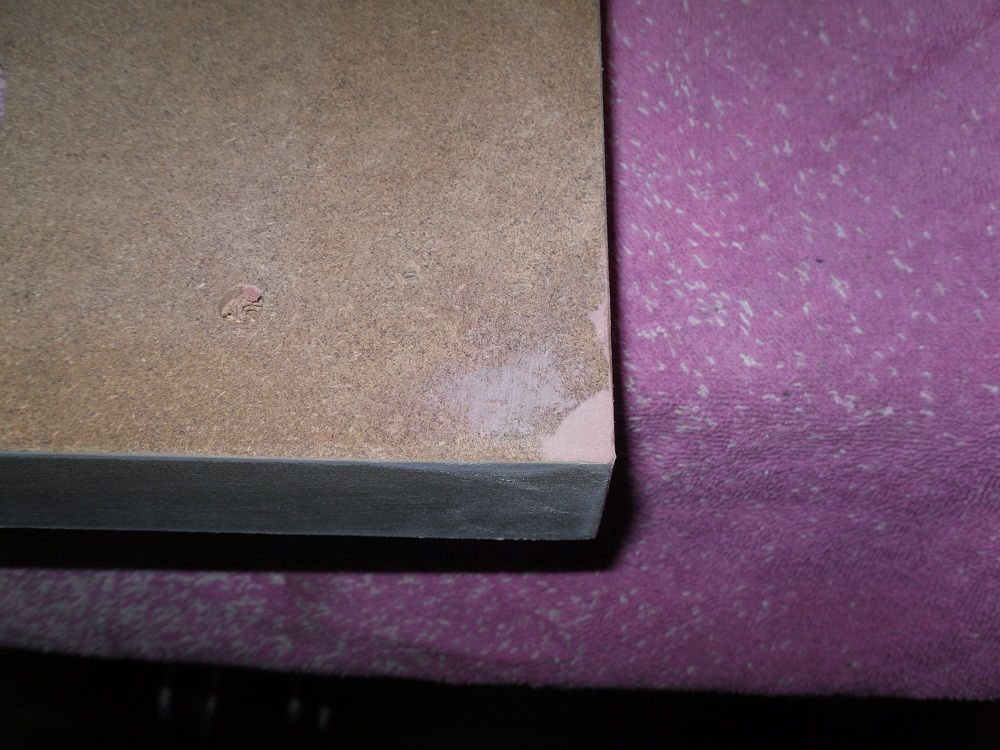
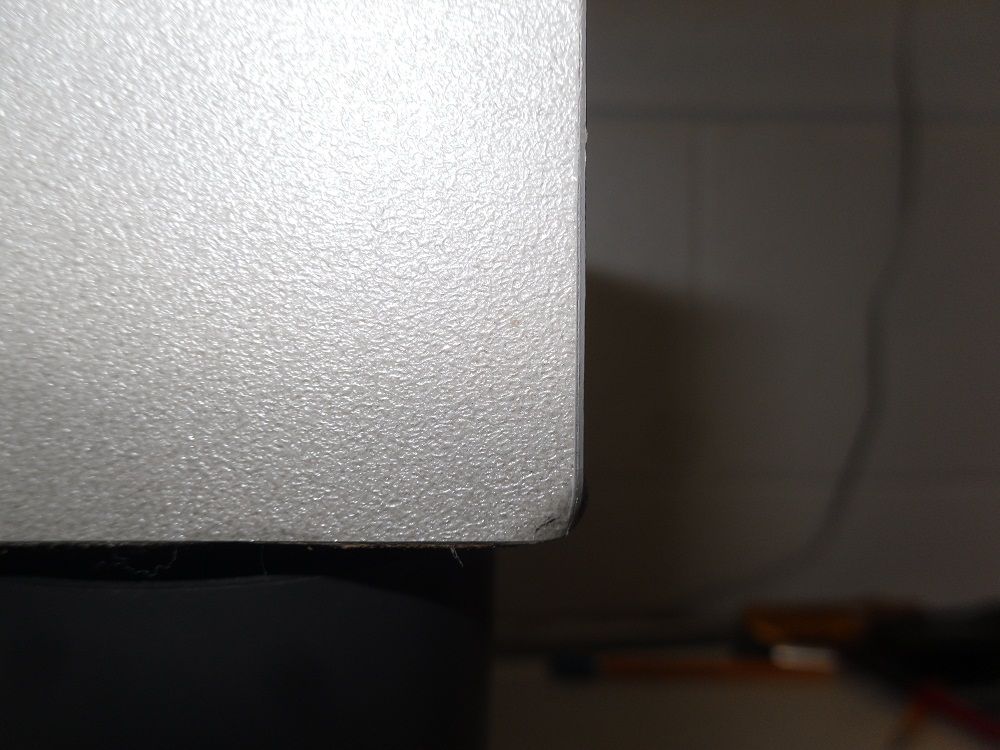
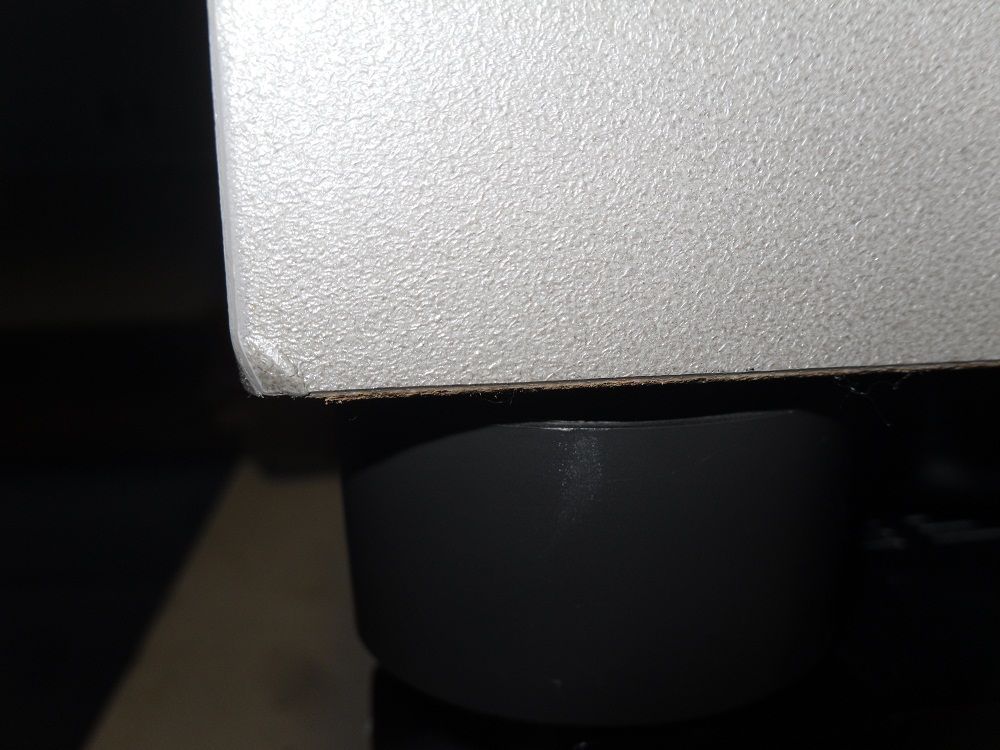
Anyways on to why I started this thread. Was to hopefully give back to the forum and help or inspire someone, along the way. So please if you have any question or comments or hell if you see something that could help me, please say so. I decided to give my PL-518 a face lift and, a good once over. It all started because I had a corner that had a bit a damage, not much but enough to drive me crazy ever time I looked at it. I posted so photos on it in this thread http://www.audiokarma.org/forums/showthread.php?t=46606. I really tried what was suggested. But ones I did the cabinet just crumbled turned to dust and fell right out. Well that, just would not do. So this is what I ended up doing. I hope you enjoy it.
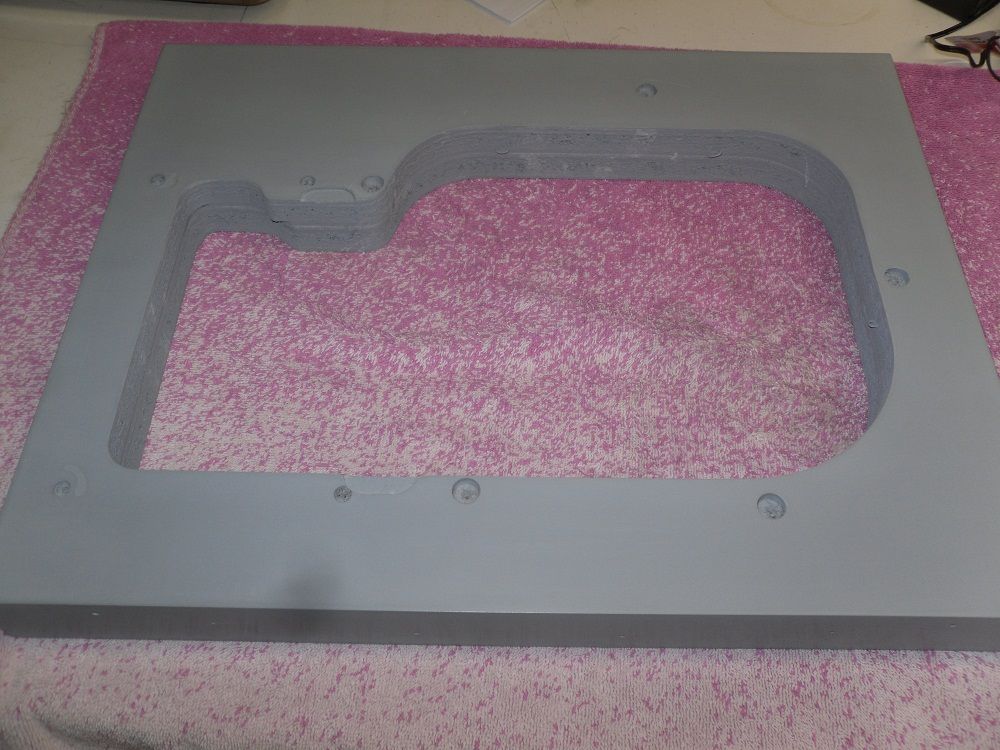
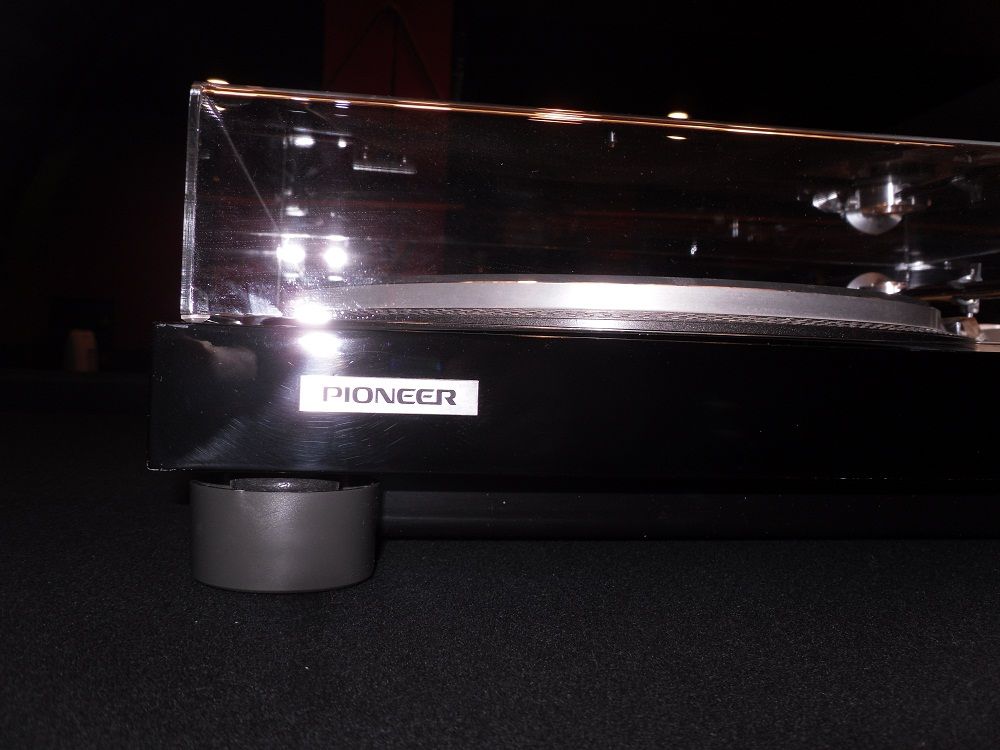
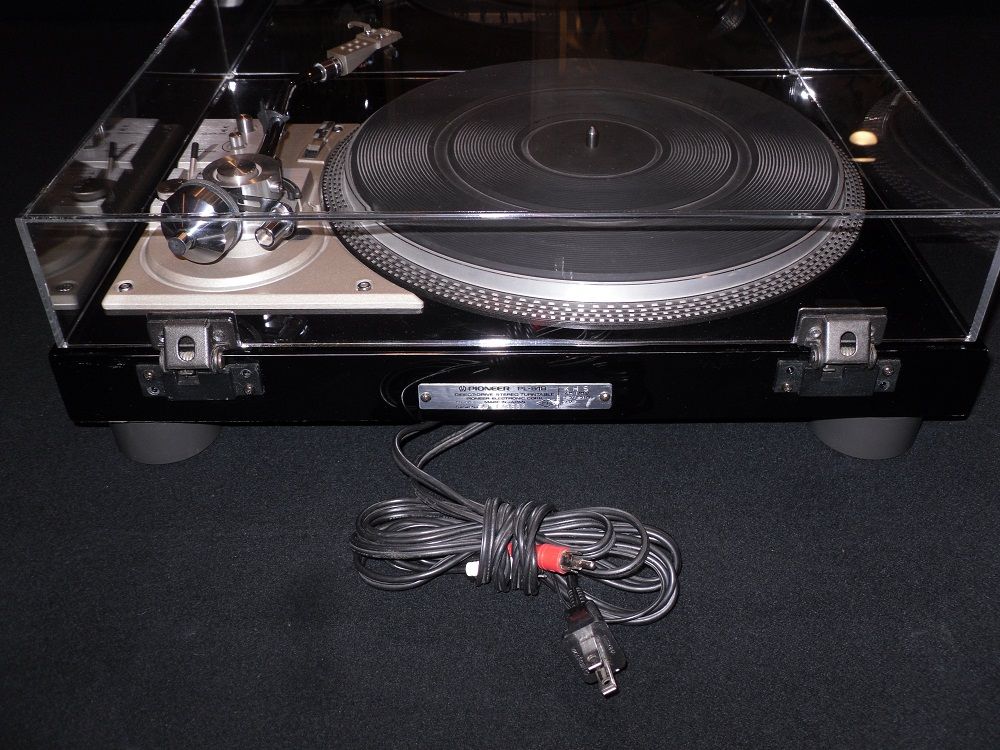
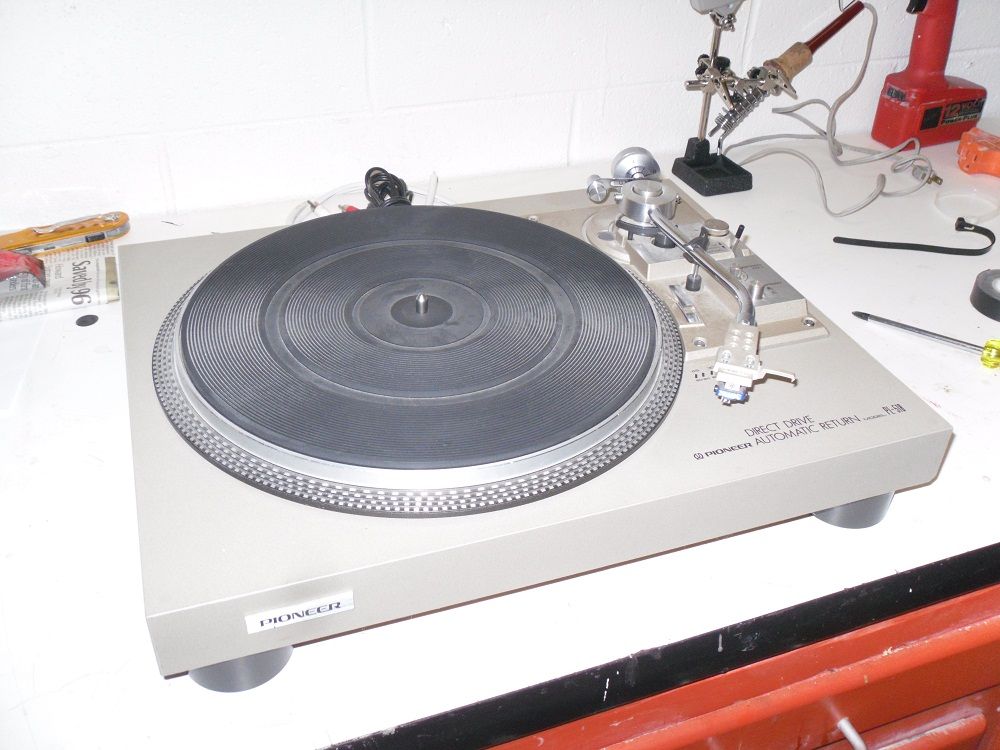
Start with a few pictures of the before. Man I tell you I just hate the gray vinyl Pioneer went with on this dudes.
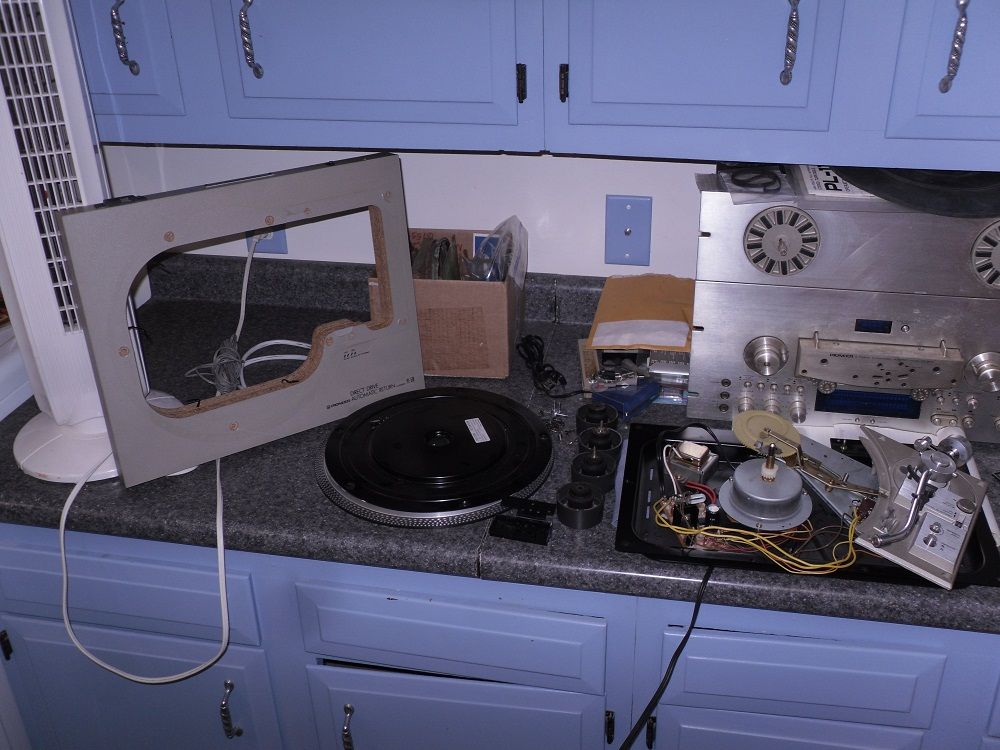
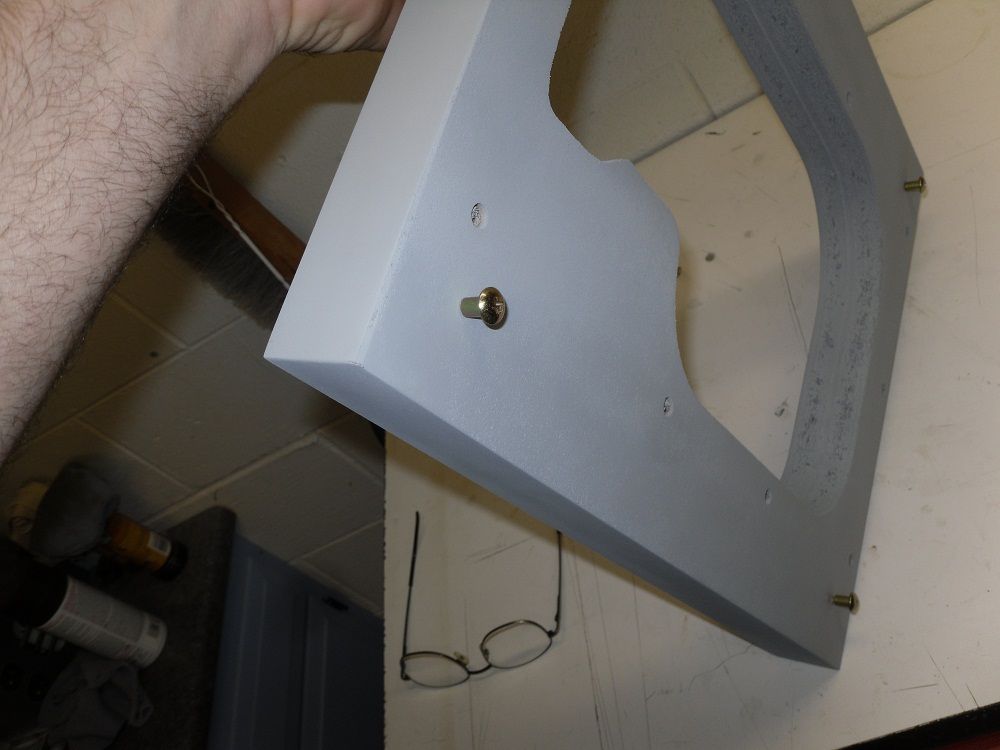
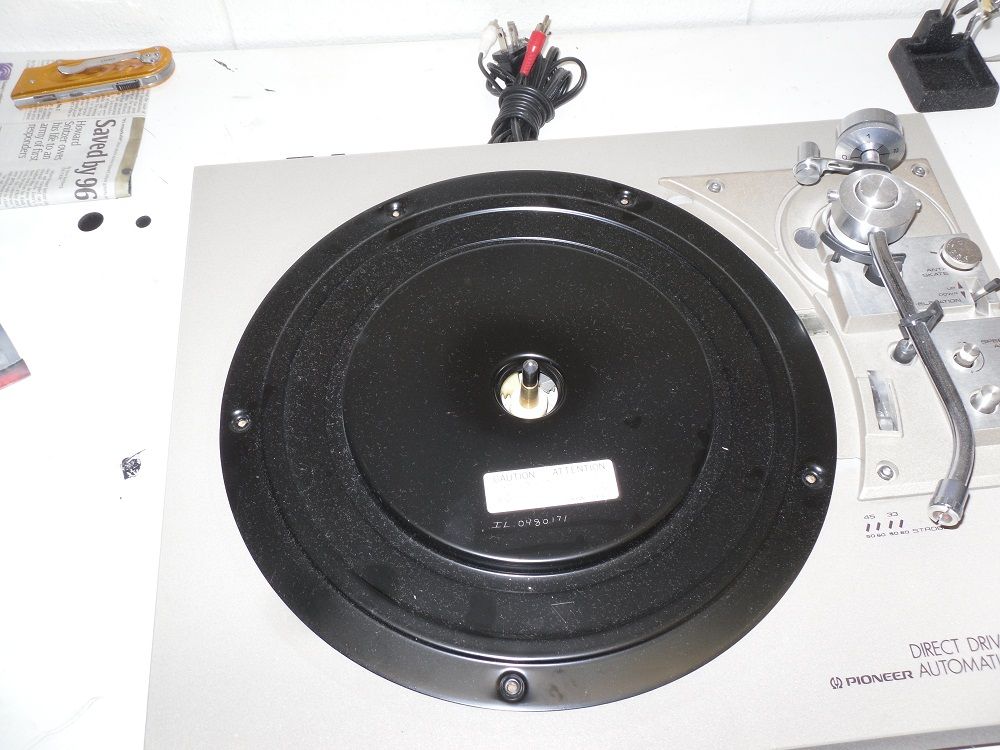
Well it is time for the disassemble. I removed the 5 screws holding the cover.
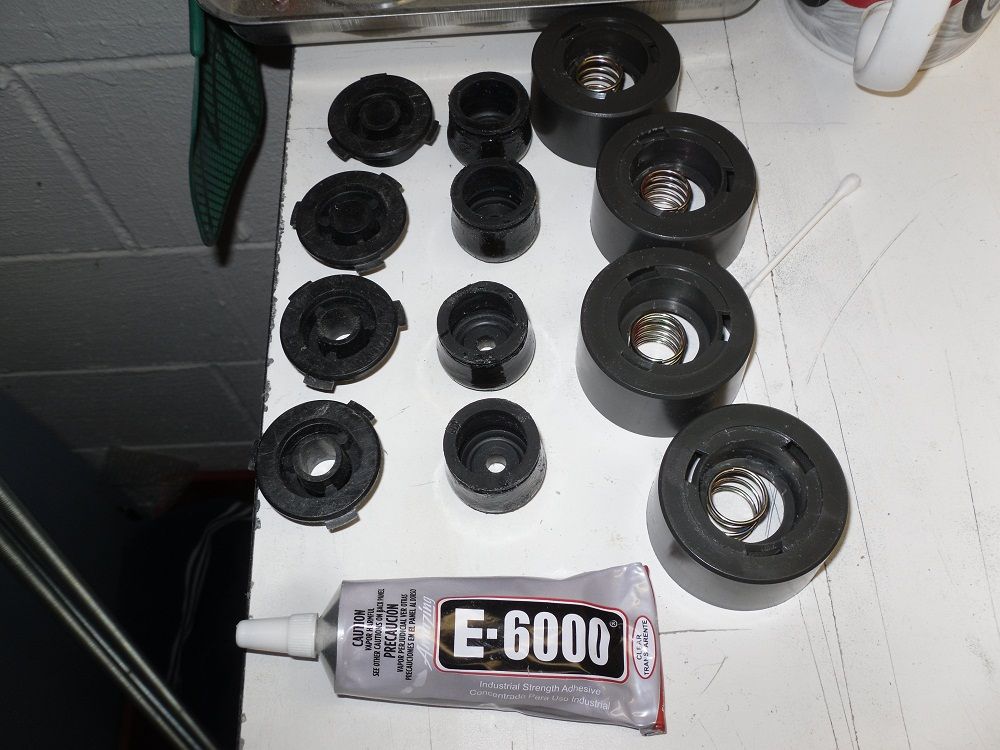
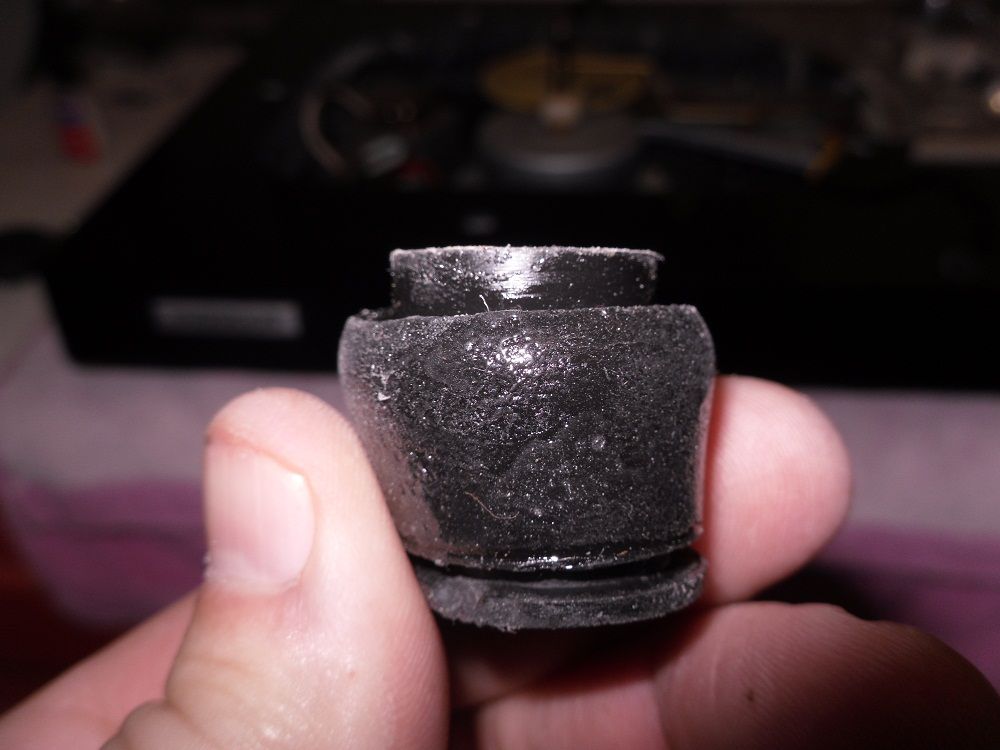
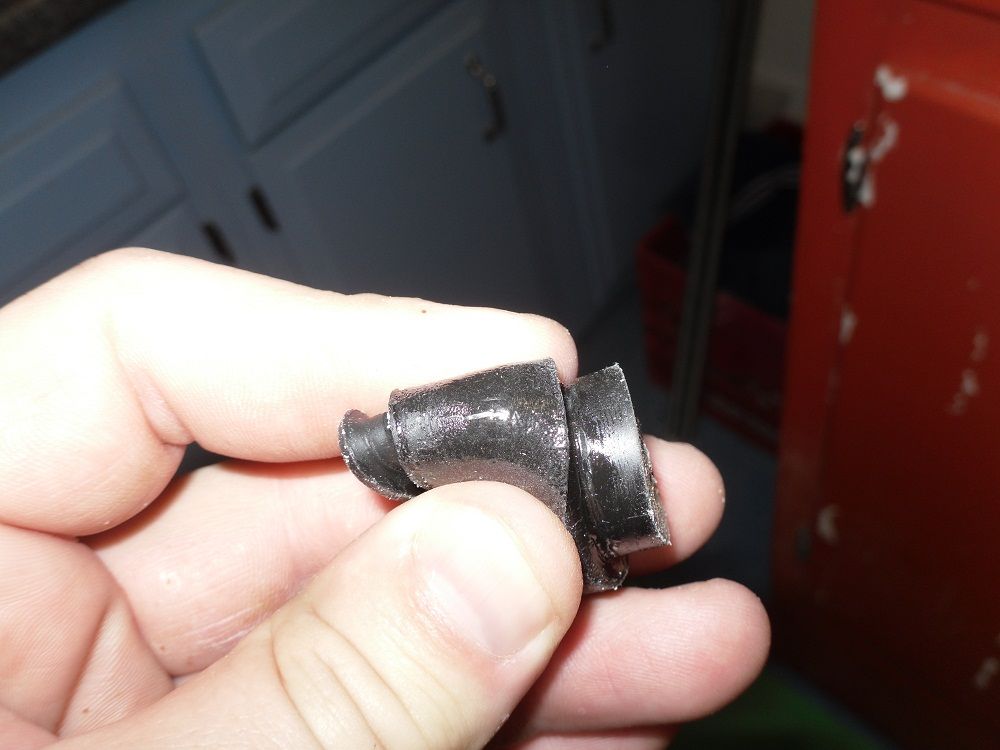
Now I turned my attention to the bottom of the turntable and removed the four feet.I guess I'm pretty lucky, that the feet has not rotted off of it. They are splitting and dry rotted cracks all around them. I fixed this problem by simply smearing them in a rubber cement. I tell you this worked far better then I could have expected.
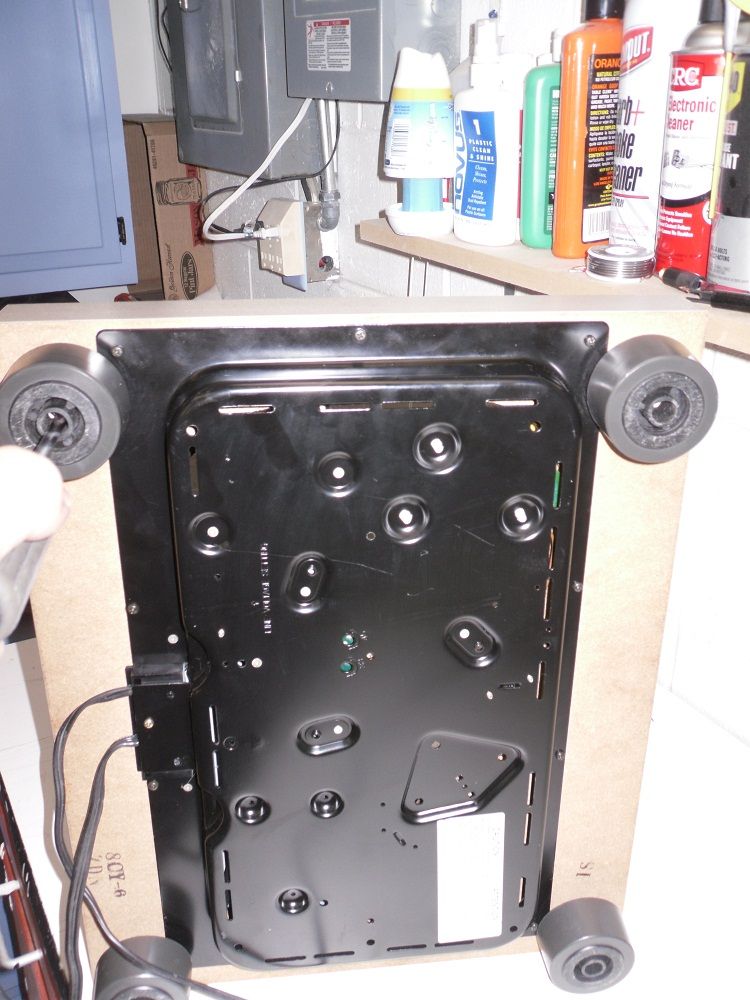
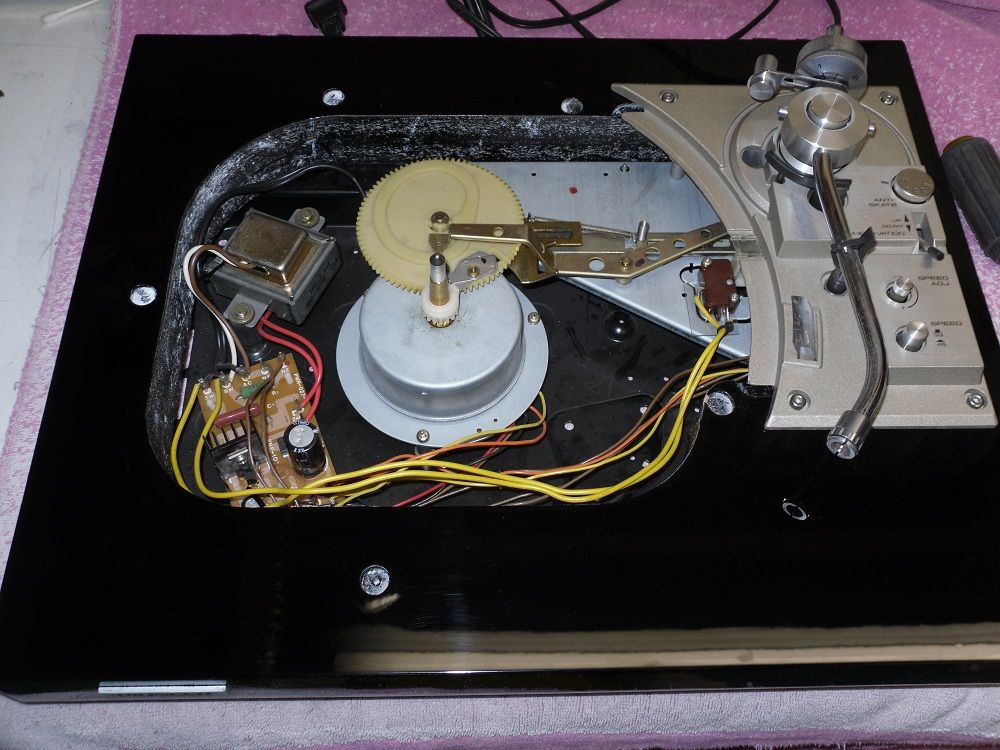
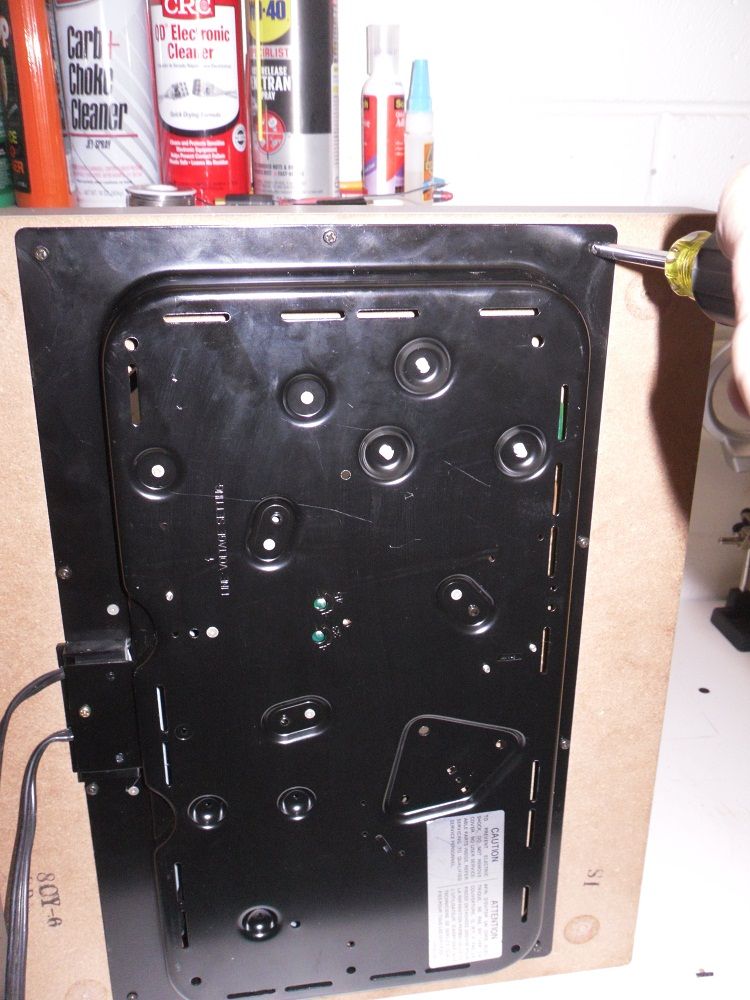
Next I removed the 10 screws that hold the under panel on. At this point you have to be careful, because the under panel will shift around on you. I just grabbed both sides of the turn table holding the cabinet and the under panel to lay the table down.
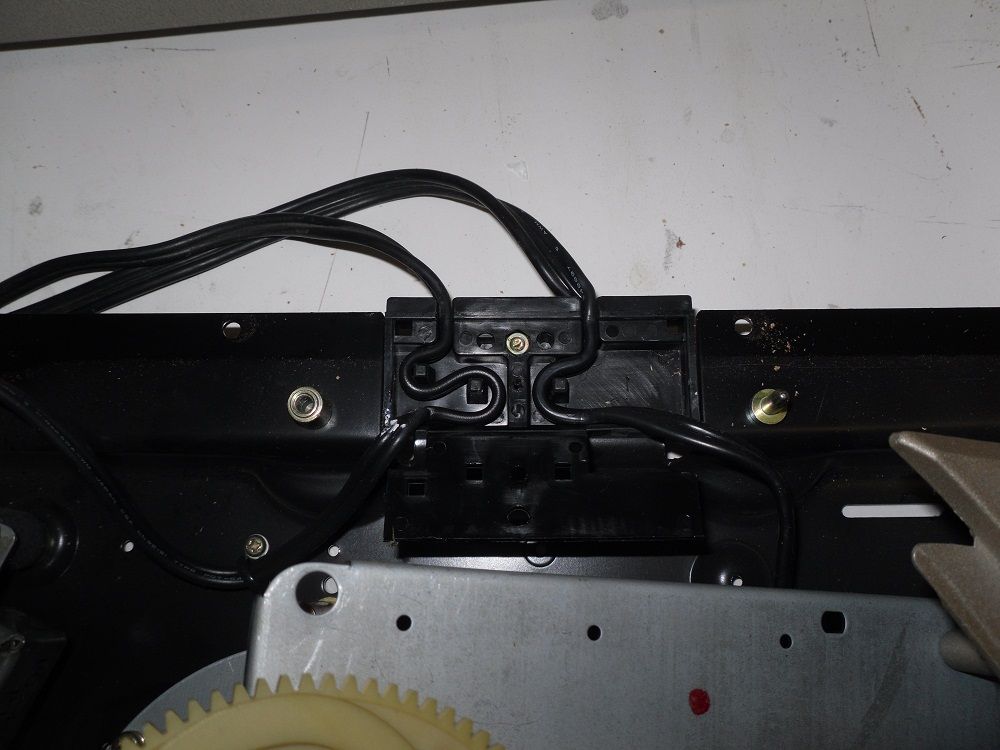
Okay, lets move back to the top. Almost ready to separate the cabinet from the rest of the unit. But first you must remove the screw holding the base plate to the under panel.
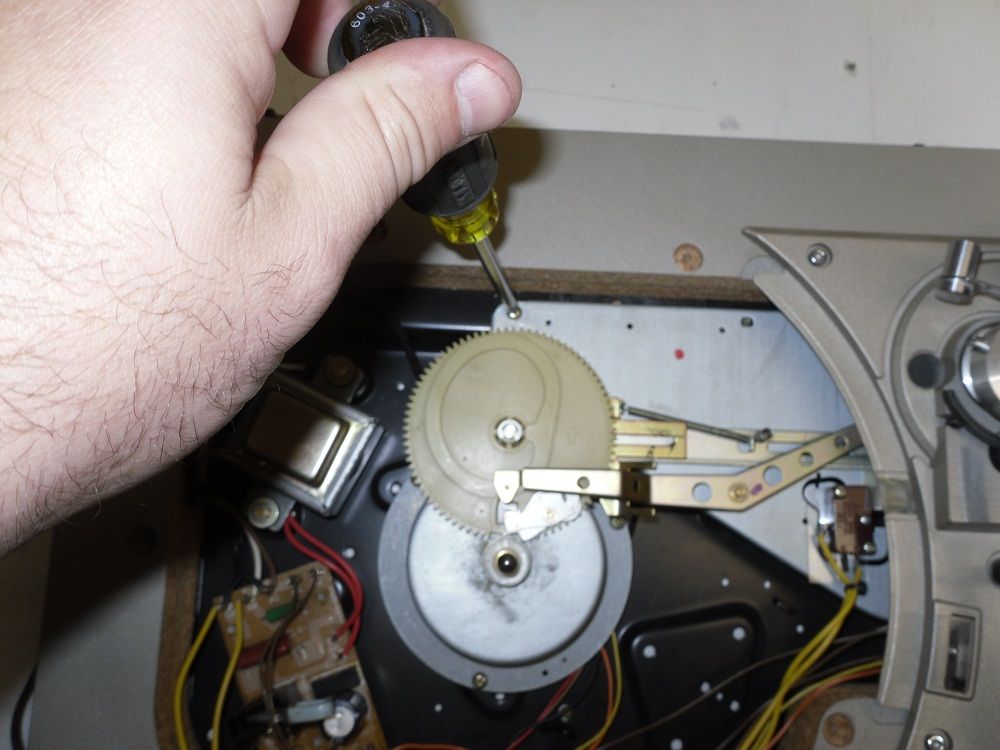
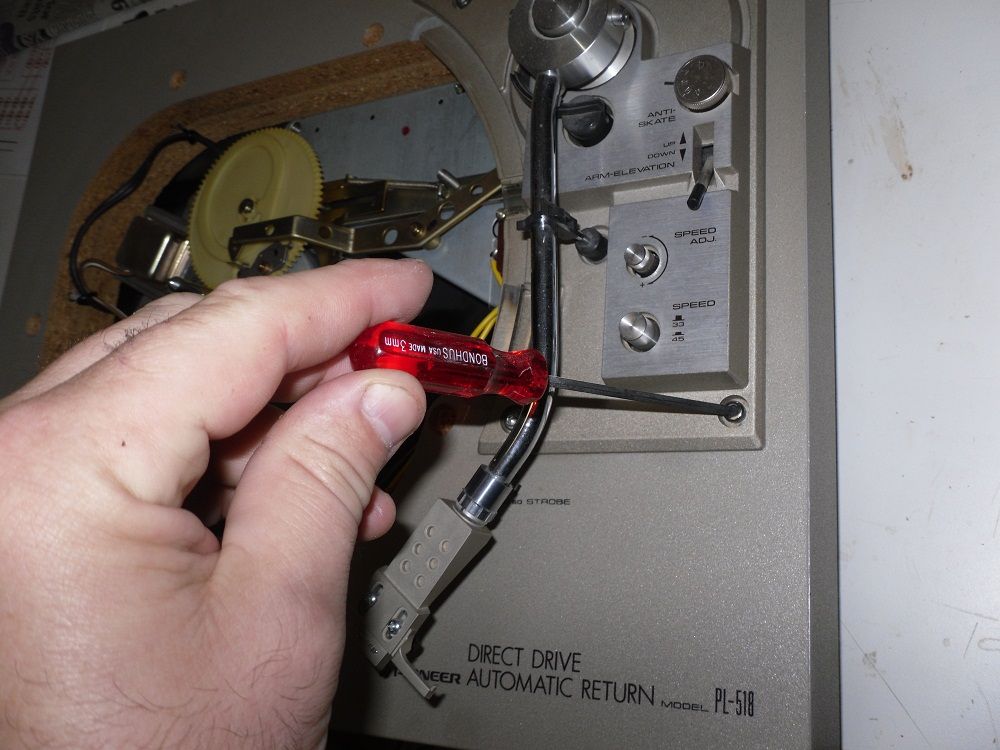
Next you have to use a allen wrench to remove the 4 screws from the arm base.
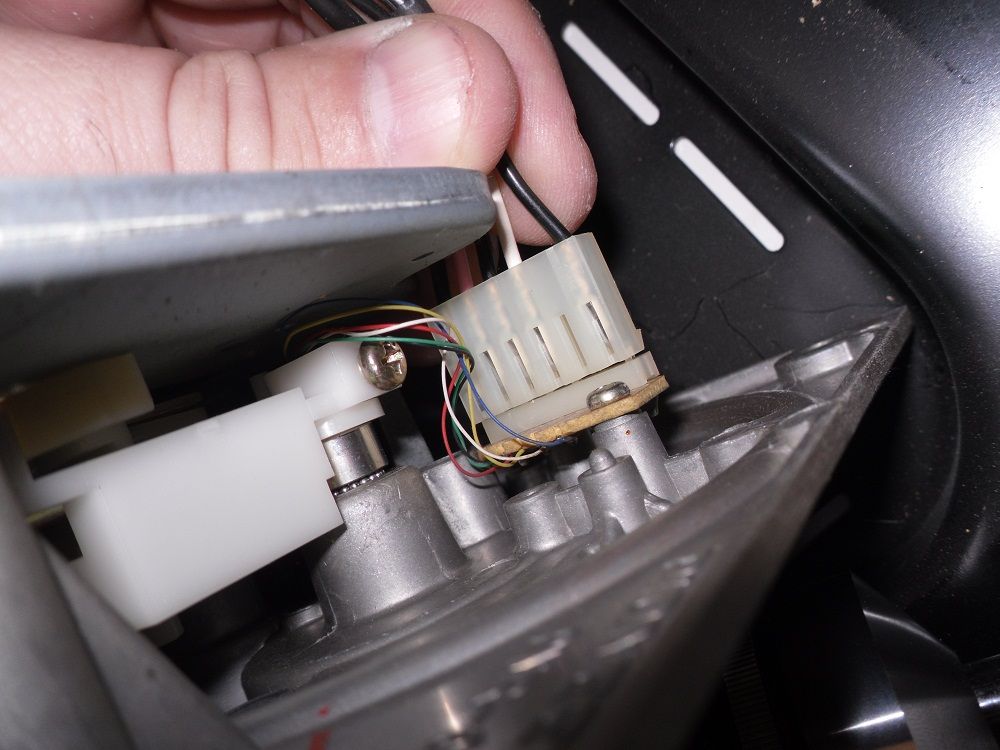
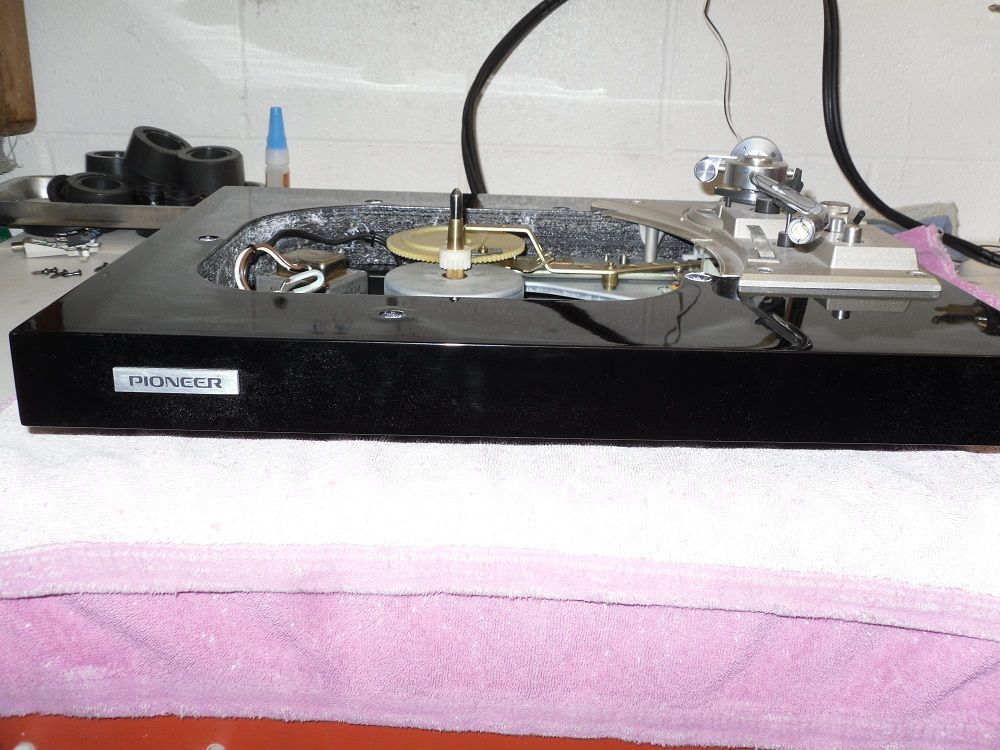
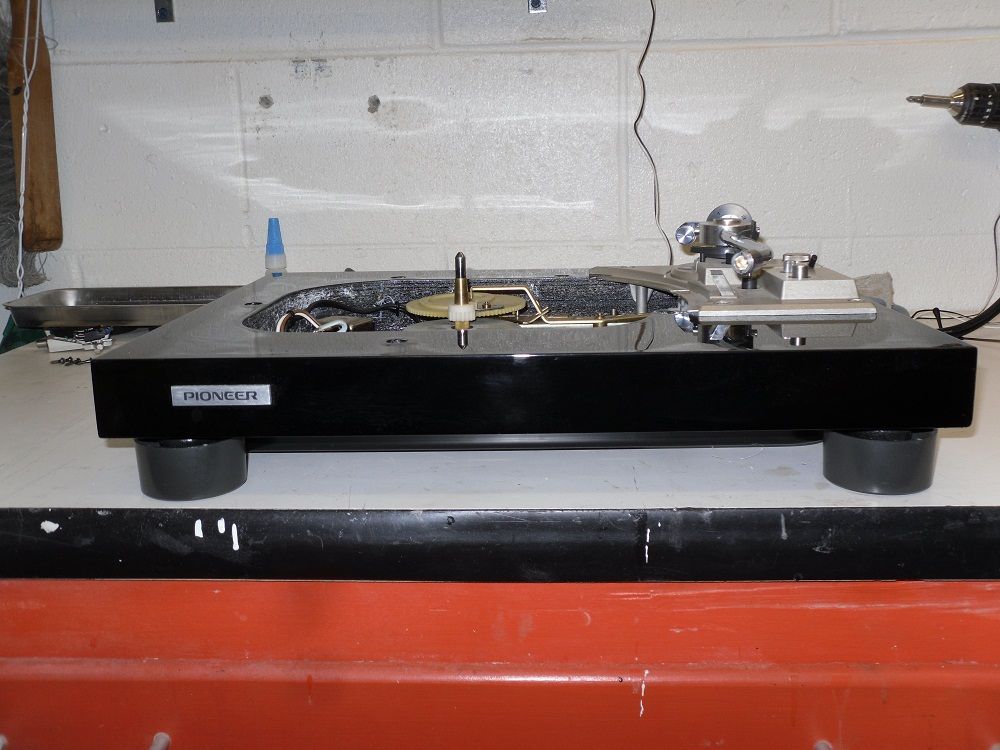
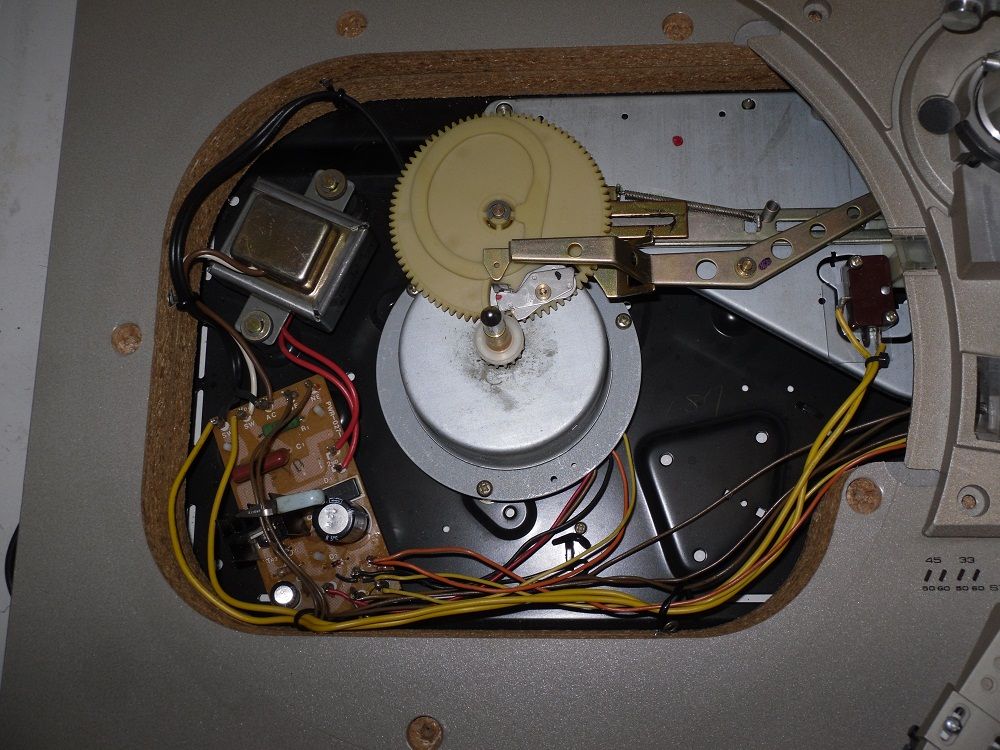
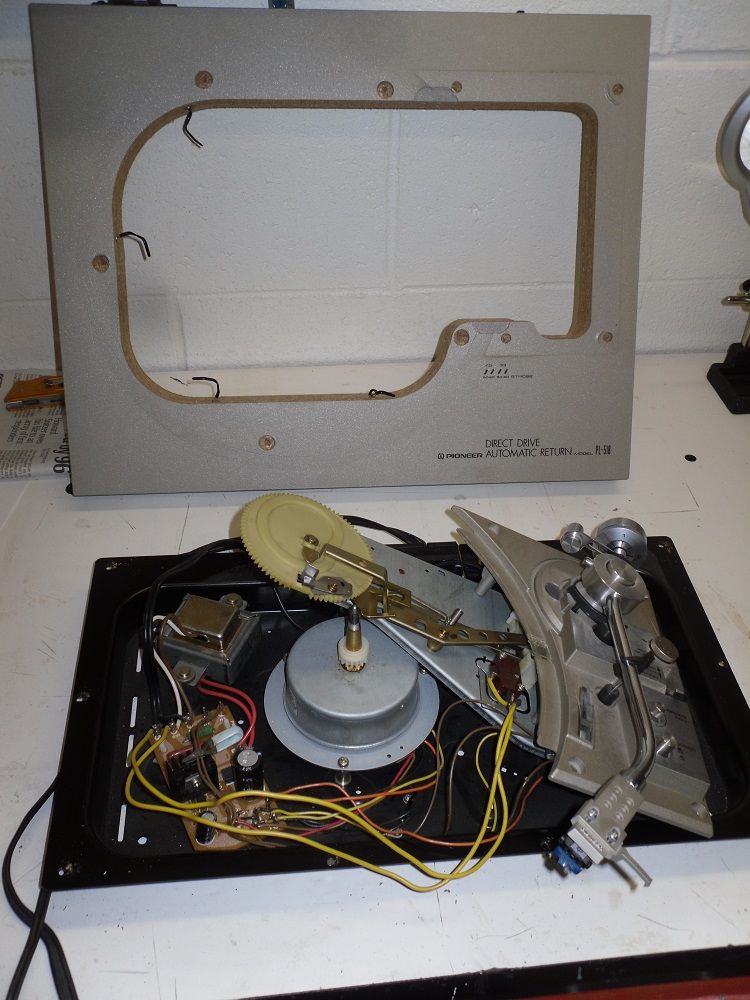
Ready to remove the cabinet. What you have to do is loosen all the wire ties that are hooked to the cabinet and carefully stand up the base plate that is still hooked to the arm base. This is kind of awkward but holding on to the base plate you can now lift the cabinet from the under panel.

MORE TO COME
What I didn't realize is how much I would enjoy my return. I can tell you I can not be more pleased. Anyways what prompted my return was last year. I was doing the garage sale seen I came to a turn table the was on the free table. I quickly snapped it not knowing a thing about it. Little did I know what a slippery slop I just jumped on. Anyways, what I ended up with was a Pioneer PL 518 with no dust cover, nor did it have a stylus...However it was free. So I turned to this forum for info and help for a cart. and info. What can I say big thanks.
The PL-518 what I ended up with. What can I say that hasn't been said already about the PL-518. I paired it with a Shure M97xE cartridge. I have grown really fond of this combination. I have purchased 7 vintage turntables in the last year, and the one I picked up free at a garage sale seems to be the one I like the most.
Anyways on to why I started this thread. Was to hopefully give back to the forum and help or inspire someone, along the way. So please if you have any question or comments or hell if you see something that could help me, please say so. I decided to give my PL-518 a face lift and, a good once over. It all started because I had a corner that had a bit a damage, not much but enough to drive me crazy ever time I looked at it. I posted so photos on it in this thread http://www.audiokarma.org/forums/showthread.php?t=46606. I really tried what was suggested. But ones I did the cabinet just crumbled turned to dust and fell right out. Well that, just would not do. So this is what I ended up doing. I hope you enjoy it.
Start with a few pictures of the before. Man I tell you I just hate the gray vinyl Pioneer went with on this dudes.
Well it is time for the disassemble. I removed the 5 screws holding the cover.
Now I turned my attention to the bottom of the turntable and removed the four feet.I guess I'm pretty lucky, that the feet has not rotted off of it. They are splitting and dry rotted cracks all around them. I fixed this problem by simply smearing them in a rubber cement. I tell you this worked far better then I could have expected.
Next I removed the 10 screws that hold the under panel on. At this point you have to be careful, because the under panel will shift around on you. I just grabbed both sides of the turn table holding the cabinet and the under panel to lay the table down.
Okay, lets move back to the top. Almost ready to separate the cabinet from the rest of the unit. But first you must remove the screw holding the base plate to the under panel.
Next you have to use a allen wrench to remove the 4 screws from the arm base.
Ready to remove the cabinet. What you have to do is loosen all the wire ties that are hooked to the cabinet and carefully stand up the base plate that is still hooked to the arm base. This is kind of awkward but holding on to the base plate you can now lift the cabinet from the under panel.
MORE TO COME