

-
Feeling lucky? Check out the AK 24th Anniversary Giveaway thread and join in the fun!
You are using an out of date browser. It may not display this or other websites correctly.
You should upgrade or use an alternative browser.
You should upgrade or use an alternative browser.
Restoring Sansui Dynamic Oval Capacitors
- Thread starter Kale
- Start date
vitalsigns65
Bron-Yr-Aur

This dates back about two years to the day......quality work is timeless! I just completed a trade for a G-9000 and want to thank all who contribute like this....doing what I can for now. (Back to cleaning,physical resto,bulbs,adjusting.....it's like kissing your sister...) The crimp work and other considerations to bring this back to that quality level absolutely rocks!
Last edited:
Kale
Super Member
Some news about the same thing...
Finally I finished another Sansui oval capacitor restoring job, so let’s go with pictures….
Some months ago, I have bought Sansui some used oval capacitors for AU919, and I decided to restore them…
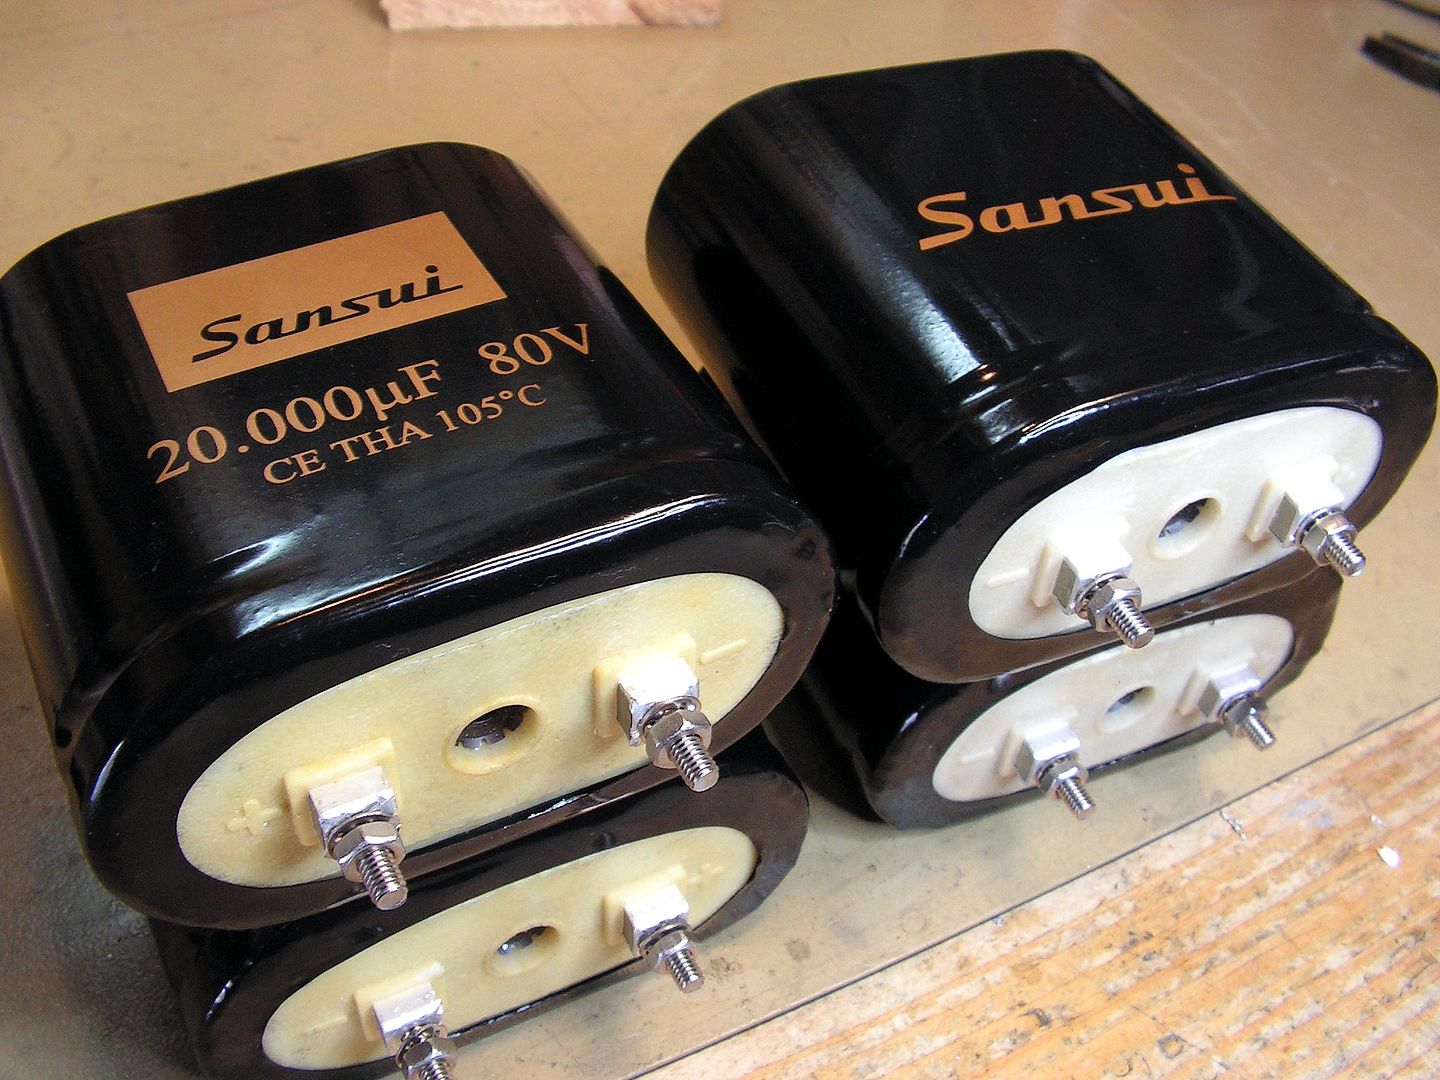
First what I did is to choose what capacitor I will use from today production, and my choice is Panasonic THA series 10000uF 80V but for max 105 degrees C. Here I decided that 20000uF capacitance is enough for all Sansui vintage devices what they used oval capacitors, but for me, it is very important that they have higher max. temperature resistance, so I chose 105 degrees C model…
And here they are:


Finally I finished another Sansui oval capacitor restoring job, so let’s go with pictures….
Some months ago, I have bought Sansui some used oval capacitors for AU919, and I decided to restore them…
First what I did is to choose what capacitor I will use from today production, and my choice is Panasonic THA series 10000uF 80V but for max 105 degrees C. Here I decided that 20000uF capacitance is enough for all Sansui vintage devices what they used oval capacitors, but for me, it is very important that they have higher max. temperature resistance, so I chose 105 degrees C model…
And here they are:
Kale
Super Member
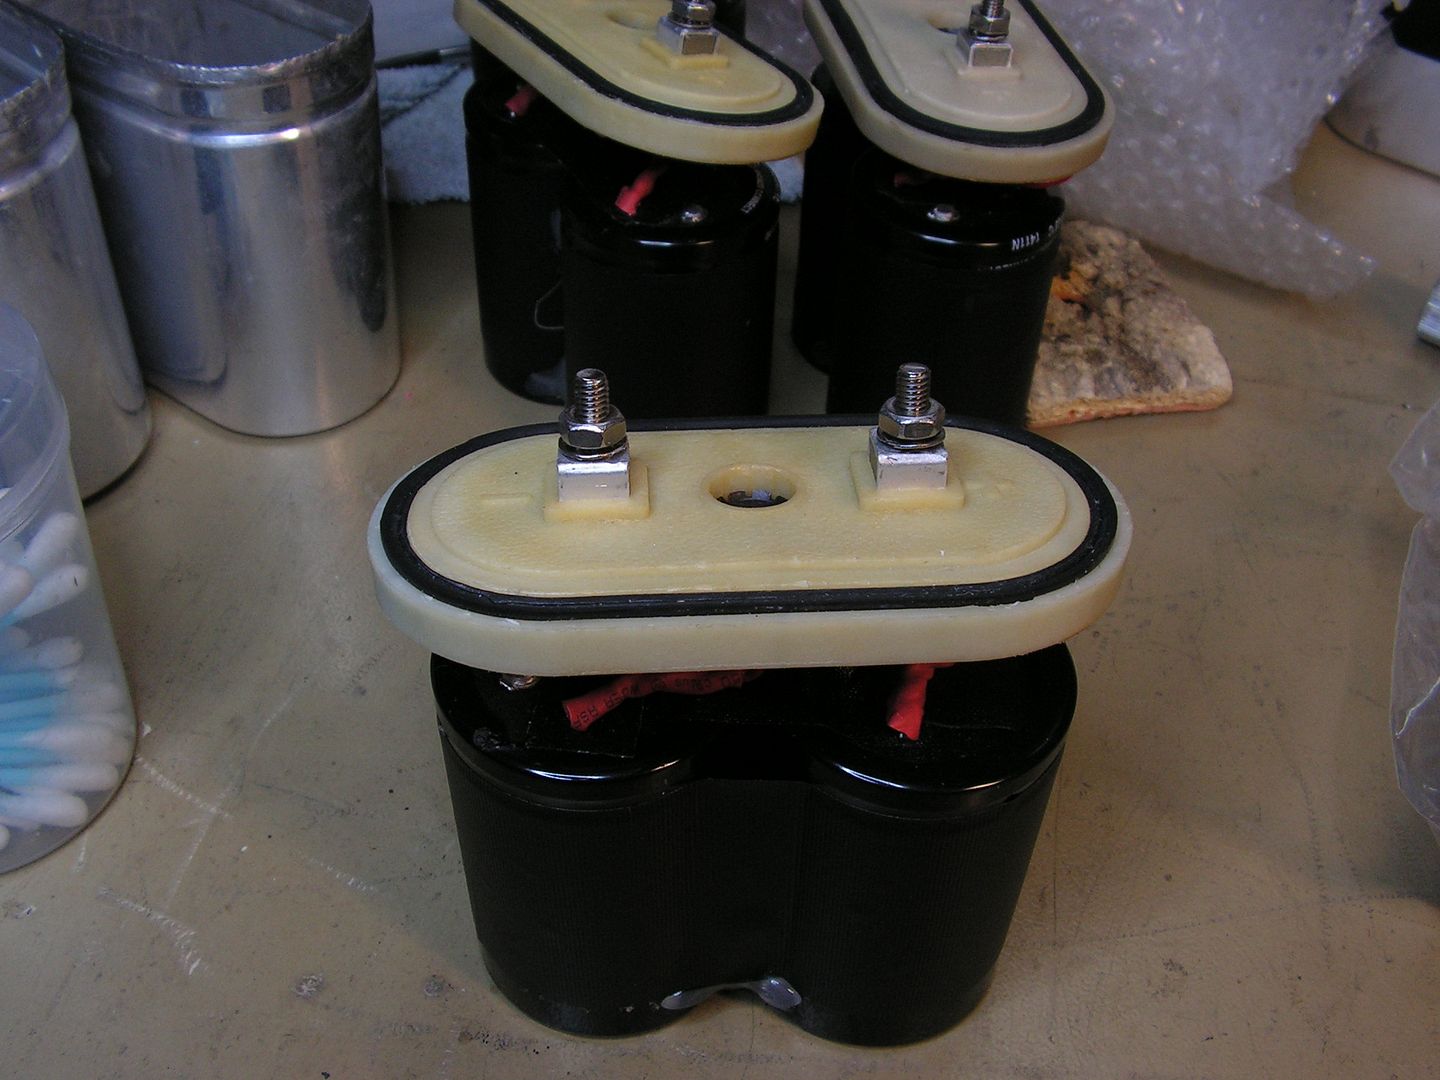
After that, very sensitive job, to open dual capacitor case without damage it, and remove old capacitor contents from interior of capacitor case…

After that, the most important job, make a connection from wires to capacitor connector. Here you cant use solder technique, because old tabs are made from aluminum, it is not good to use female terminal faston wire connectors, because for me, they are not good in high amper currents like sometime capacitor has… so here it is my choice:


... Inox screws … and after all protected by silicone ….


After that, the most important job, make a connection from wires to capacitor connector. Here you cant use solder technique, because old tabs are made from aluminum, it is not good to use female terminal faston wire connectors, because for me, they are not good in high amper currents like sometime capacitor has… so here it is my choice:
... Inox screws … and after all protected by silicone ….


Kale
Super Member
One thing occurred to me - the Sansui Logo (and other) printing on the (shrink?) sleeving - how did you get that done Kale old chap?
I made a Sansui logo (one and other) as vector graphic file, I cut out the foil to proper dimension, and carried that all to the printing company to print. But it is not so easy to shrink foil by heating, two foils I have to cut , because they were shrink on incorrectly way, the logo was deformed.
Now I am going to do second four pieces because, I have 8 pieces of those Nichicon oval capacitors

Attachments

Kale
Super Member
Now I am not at my home, but I think they are 40mm, I would check when I will be back to my homeKale - Wow! - Superb restoration - excellent detailed pix - very much like the "Sansui" logo together with the large character/lettering on these cap's
Btw - which Panasonic cap diameter did you use - 35mm or 40mm?
Would it be possible to only cut off the bottom edge of the original shrink wrap, and hide the removed area under the clamp?